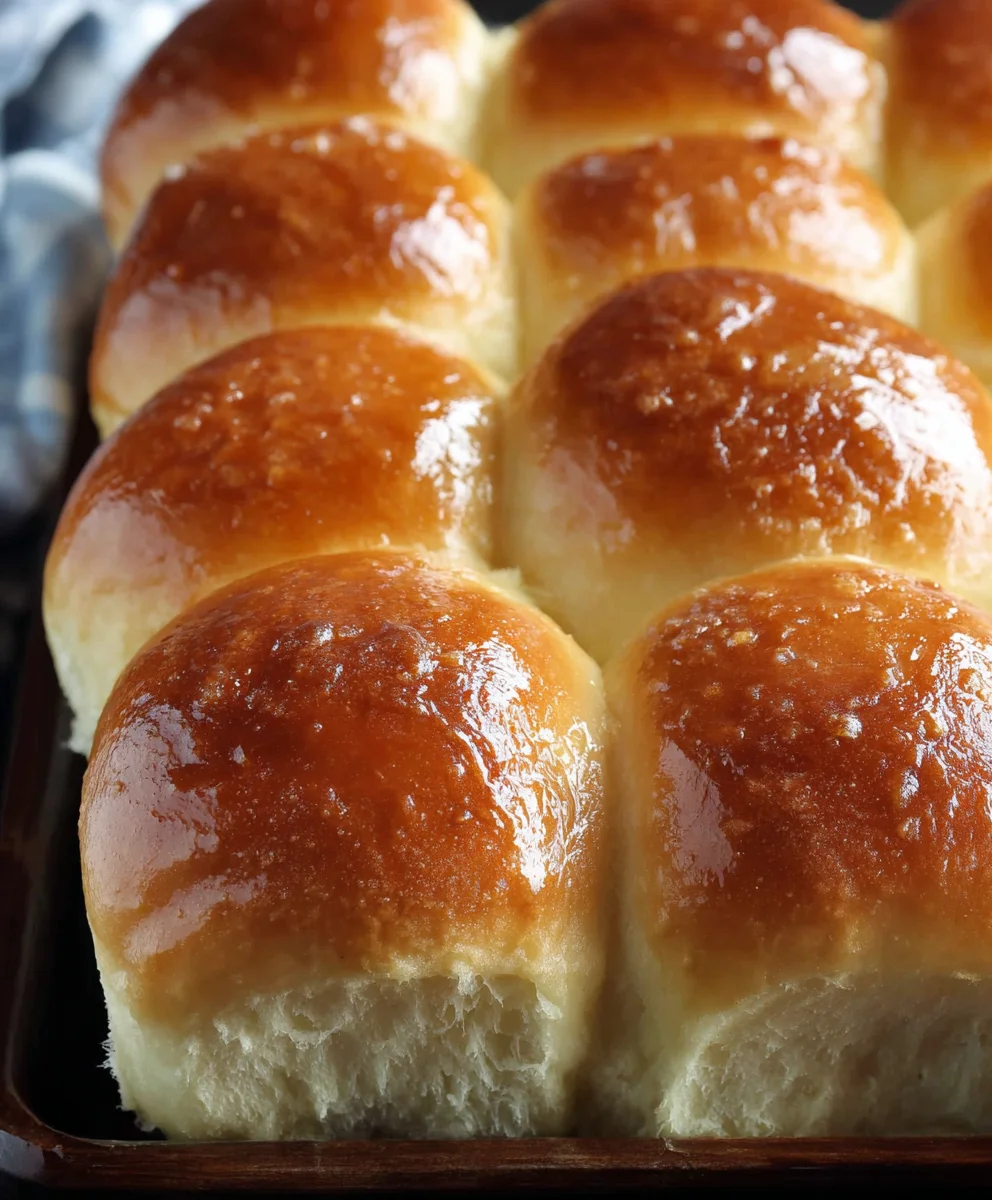
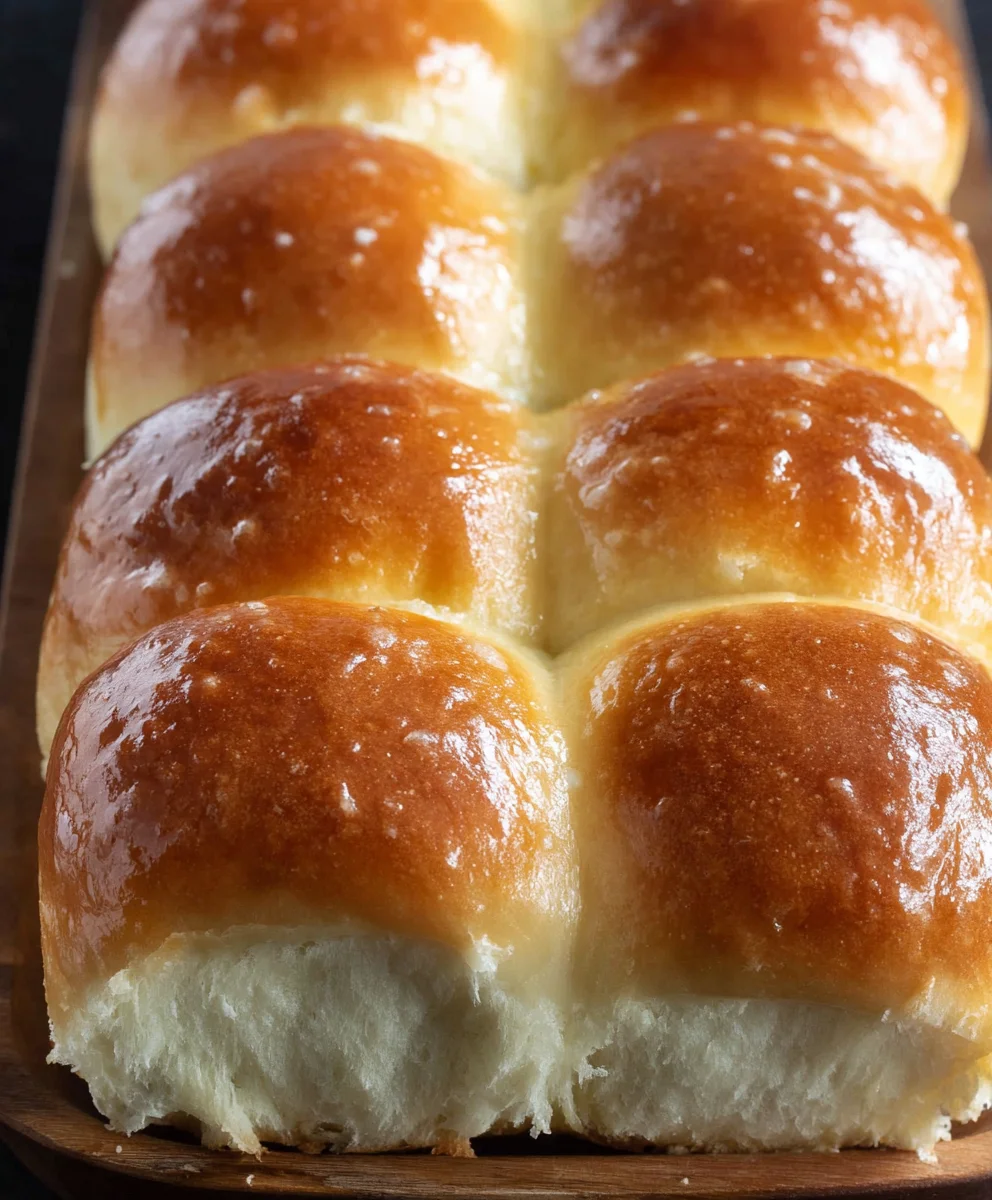
Easy Homemade Yeast Rolls From Scratch Recipe
Homemade Yeast Rolls from Scratch are more than just a side dish; they are a warm hug, a nostalgic trip to grandma’s kitchen, and the undisputed cbeef hampion of any dinner table. There’s something undeniably magical about pulling a basket of these golden, fluffy delights straight from the oven, the irresistible aroma filling your home. People fall in love with homemade yeast rolls from scratch because they offer a taste of pure comfort and simplicity that store-bought versions simply can’t replicate. Each bite is a testament to patience and a little bit of culinary love. What makes them truly special is the transformation of basic ingredients – flour, yeast, water, and a touch of sweetness – into something so incredibly tender and flavorful. They are perfectly pillowy, with a slightly crisp exterior and a wonderfully soft, airy crum extractb that makes them ideal for soaking up gravy or simply enjoying with a smear of butter.
Ingredients:
- 2 cups milk (480 ml)
- 2 tablespoons instant dry yeast
- ¼ cup granulated sugar (50 g)
- ⅓ cup unsalted butter, softened, plus 1 extra tablespoon butter for brushing (80 g total)
- 2 large eggs, at room temperature
- 6¼ cups all-purpose flour (750 g)
- 2 teaspoons fine sea salt
Preparing the Dough
Step 1: Activating the Yeast and Combining Wet Ingredients
Let’s start by waking up our yeast. In a large mixing bowl, or the bowl of your stand mixer if you’re using one, combine the milk and the granulated sugar. Gently warm the milk; it shouldn’t be hot, just lukewarm, around 105-115°F (40-46°C). If it’s too hot, it will kill the yeast, and if it’s too cool, it won’t activate properly. You can test this by dipping your pinky finger in; it should feel comfortably warm. Sprinkle the instant dry yeast over the surface of the milk and sugar mixture. Give it a very gentle stir, or just let it sit. Within 5-10 minutes, you should see a foamy, bubbly layer form on top. This is the yeast blooming and signifies that it’s alive and ready to work its magic. If you don’t see this foamy layer, your yeast might be old or the milk was too hot, and you’ll need to start this step again with fresh yeast.
Once the yeast is activated, add the softened unsalted butter to the mixture. The butter should be soft enough to mash easily with a fork, but not melted. This will help it incorporate smoothly into the dough. Next, crack in your two large eggs. It’s important that your eggs are at room temperature, as cold eggs can slightly lower the temperature of the dough, potentially hindering the yeast’s activity. Whisk these wet ingredients together until they are well combined.
Step 2: Incorporating Flour and Salt for the Dough Base
Now it’s time to add the dry ingredients that will form the structure of our homemade yeast rolls. In a separate medium bowl, whisk together 6¼ cups of all-purpose flour and the 2 teaspoons of fine sea salt. Whisking them together ensures that the salt is evenly distributed throughout the flour, which is crucial for flavor and controlling the yeast’s fermentation.
Gradually add the flour and salt mixture to the wet ingredients in your large mixing bowl. If you are using a stand mixer with a dough hook attachment, add about half of the flour mixture and mix on low speed until it’s just combined. Then, add the remaining flour mixture and continue mixing. If you are mixing by hand, add the flour mixture in stages, stirring with a sturdy spoon or spatula until a shaggy dough begin extracts to form. Don’t be tempted to add all the flour at once; this gradual addition helps to prevent overmixing.
Kneading and First Rise
Step 3: Kneading the Dough to Develop Gluten
Once the dough has come together and most of the flour has been incorporated, it’s time to knead. If you’re using a stand mixer, increase the speed to medium-low and knead for about 8-10 minutes. The dough should become smooth, elastic, and pull away from the sides of the bowl. It will be slightly tacky, but not stick excessively to your fingers.
If you’re kneading by hand, turn the dough out onto a lightly floured surgin extracte. Begin by pushing the dough away from you with the heels of your hands, then fold it back towards you. Rotate the dough a quarter turn and repeat. Continue this process of pushing, folding, and turning for about 10-15 minutes. You’re looking for the same result as with the stand mixer: a smooth, elastic dough that springs back slowly when gently poked. This kneading process develops the gluten strands in the flour, which are essential for the light and airy texture of our rolls. Don’t worry if the dough feels a bit sticky at first; as you knead, it will become more manageable. If it’s excessively sticky, add a tiny bit more flour, but do so sparingly, as too much flour will result in dry, dense rolls.
Step 4: First Rise – Allowing the Dough to Double in Size
Lightly grease the mixing bowl you used (or a clean one) with a little bit of oil or cooking spray. Form the kneaded dough into a smooth ball and place it in the greased bowl, turning it to coat all sides. Cover the bowl tightly with plastic wrap or a clean kitchen towel. Place the bowl in a warm, draft-free spot to rise. An oven that has been turned off but still retains a little warmth (with the light on, perhaps) is ideal.
Allow the dough to rise for 1 to 1.5 hours, or until it has doubled in size. This period is crucial for the yeast to ferment, producing carbon dioxide gas that will give our rolls their lift and airy texture. You’ll know it’s ready when it looks puffy and a double-decker has formed. Don’t rush this process; patience is key to perfect rolls.
Shaping and Second Rise
Step 5: Shaping the Rolls and Allowing for the Second Rise
Once the dough has doubled in size, gently punch it down to release the air. Turn the dough out onto a lightly floured surface. You can divide the dough into equal portions for individual rolls. For classic dinner rolls, aim for pieces that are about 2-3 ounces each. You can use a kitchen scnon-alcoholic ale for precision or simply estimate. Roll each piece into a smooth ball. To create a classic shape, you can slightly flatten each ball, then tuck the edges underneath to create a taut surface. Place the shaped rolls into a greased 9×13 inch baking pan, leaving about 1-2 inches of space between them to allow for expansion.
Alternatively, if you want a pull-apart style roll, you can divide the dough and roll each portion into a rope. Brush each rope lightly with melted butter and then coil them together in the baking pan. For an even simpler shape, just pinch off pieces of dough and place them in the pan. After shaping all the rolls, cover the baking pan loosely with plastic wrap or a clean kitchen towel. Let them rise again in a warm place for another 30-45 minutes, or until they are visibly puffy and have almost doubled in size again. This second rise is essential for achieving that wonderfully soft and fluffy interior.
Baking the Golden Rolls
Step 6: Baking the Rolls to Perfection
Preheat your oven to 375°F (190°C). This is the optimal temperature for baking these rolls, ensuring a golden-brown crust and a tender interior. Once the rolls have completed their second rise and look beautifully puffed, remove the plastic wrap or towel.
Before they go into the oven, you have the option to brush them with a little extra melted butter. This adds a beautiful sheen and an extra layer of richness to the finished rolls. You can also brush them with a beaten egg wash for a deeper golden color if you prefer. Place the baking pan in the preheated oven. Bake for 15-20 minutes, or until the tops are a deep golden brown and the bottoms sound hollow when tapped. The exact baking time can vary depending on your oven, so keep an eye on them. As soon as they are done, remove the pan from the oven. For extra soft rolls, you can immediately brush the tops with the remaining tablespoon of melted butter right out of the oven. This will give them a lovely sheen and prevent the crust from becoming too hard. Allow them to cool slightly in the pan for a few minutes before transferring them to a wire rack to cool completely, or serve them warm.
Conclusion:
Congratulations, you’ve successfully navigated the delightful journey of creating Homemade Yeast Rolls from Scratch! This recipe, while requiring a bit of patience for the yeast to work its magic, yields incredibly soft, fluffy, and flavorful rolls that are far superior to any store-bought alternative. The aroma filling your kitchen as they bake is simply heavenly, and the taste is pure comfort. I hope you enjoyed the process and are ready to impress your friends and family with these wonderful creations.
These Homemade Yeast Rolls from Scratch are incredibly versatile. They make the perfect accompaniment to any meal, from hearty stews and savory roasts to a simple bowl of soup. For an extra special touch, consider serving them warm with a generous smear of butter, a drizzle of honey, or even a dollop of homemade jam. They also form the ideal base for mini sandwiches or sliders. Don’t be afraid to experiment with variations; adding a sprinkle of herbs like rosemary or chives to the dough, or brushing the tops with melted garlic butter after baking, can elevate them even further. Enjoy every delicious bite!
Frequently Asked Questions:
Why aren’t my Homemade Yeast Rolls from Scratch rising properly?
There could be a few reasons. Ensure your yeast is fresh and active; you can test this by dissolving it in warm water with a pinch of sugar. If it foams within 5-10 minutes, it’s good to go. Also, make sure your liquid (milk or water) is warm, not hot, as excessive heat can kill the yeast. Proofing the dough in a warm, draft-free place is crucial for optimal rising. Cold temperatures will significantly slow down or even stop the rising process.
Can I make Homemade Yeast Rolls from Scratch ahead of time?
Yes, absolutely! You can prepare the dough, let it rise once, punch it down, shape the rolls, and then place them on a baking sheet, cover them, and refrigerate them overnight. In the morning, let them sit at room temperature for about 30 minutes to an hour to finish rising before baking. Alternatively, you can bake them completely and then reheat them gently in the oven or microwave before serving.
Easy Homemade Yeast Rolls From Scratch
A simple and delicious recipe for soft, fluffy yeast rolls made from scratch, perfect for any meal.
Ingredients
-
2 cups milk
-
2 tablespoons instant dry yeast
-
1/4 cup granulated sugar
-
1/3 cup unsalted butter, softened, plus 1 extra tablespoon butter for brushing
-
2 large eggs
-
6 1/4 cups all-purpose flour
-
2 teaspoons fine sea salt
Instructions
-
Step 1
In a large bowl, combine lukewarm milk (105-115°F) and sugar. Sprinkle yeast over the top and let sit for 5-10 minutes until foamy. Stir in softened butter and room temperature eggs until well combined. -
Step 2
In a separate bowl, whisk together flour and salt. Gradually add the flour mixture to the wet ingredients, mixing until a shaggy dough forms. -
Step 3
Knead the dough on a lightly floured surface or in a stand mixer for 8-15 minutes until smooth and elastic. The dough should be slightly tacky. -
Step 4
Place the dough in a greased bowl, cover, and let rise in a warm place for 1 to 1.5 hours, or until doubled in size. -
Step 5
Punch down the dough, divide into equal portions, and shape into smooth balls. Place in a greased 9×13 inch baking pan, leaving space between rolls. Cover and let rise again for 30-45 minutes until puffy. -
Step 6
Preheat oven to 375°F (190°C). Brush rolls with melted butter or egg wash. Bake for 15-20 minutes until golden brown. Brush with remaining butter immediately after baking.
Important Information
Nutrition Facts (Per Serving)
It is important to consider this information as approximate and not to use it as definitive health advice.
Allergy Information
Please check ingredients for potential allergens and consult a health professional if in doubt.