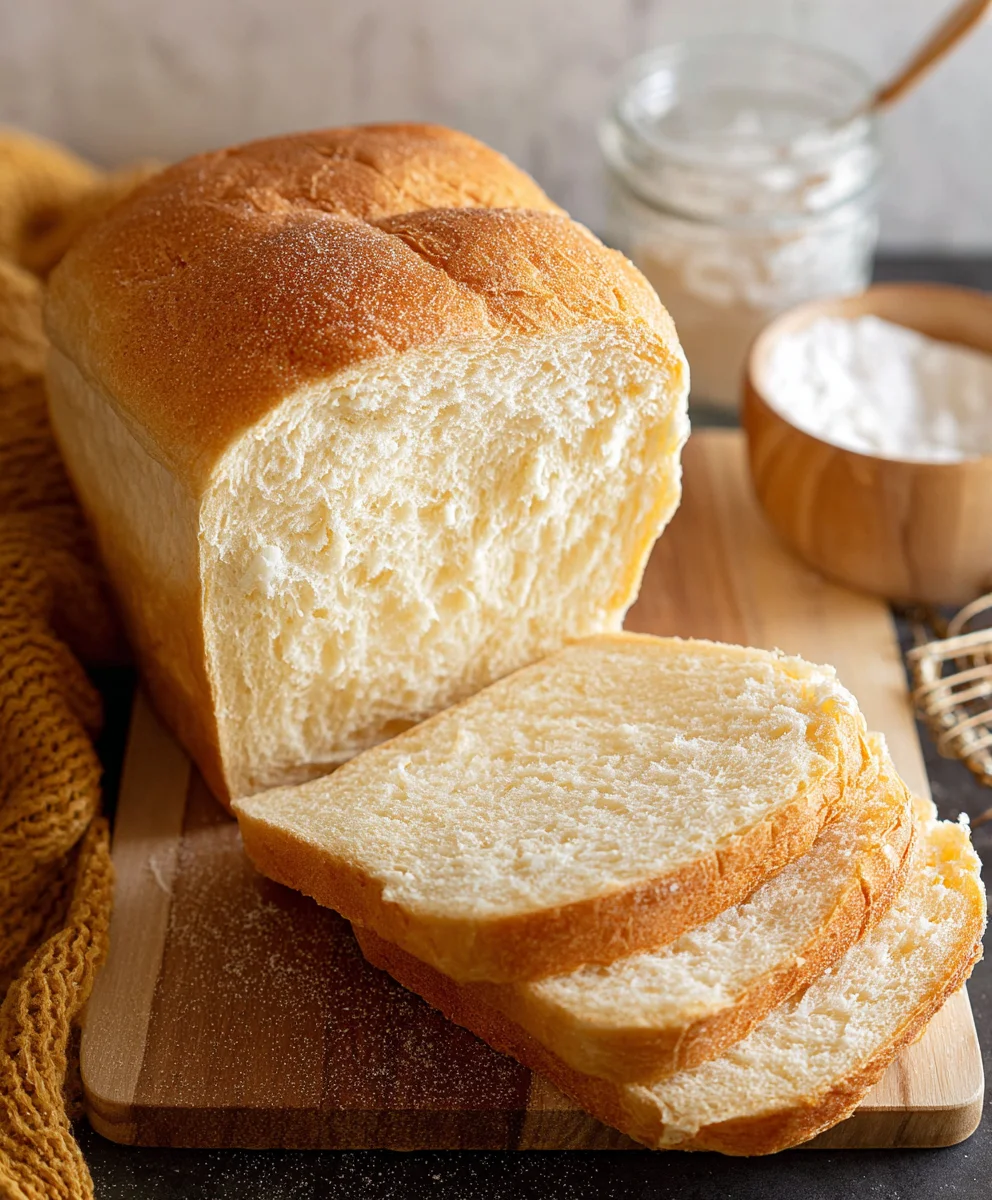
Best Bread Machine Bread Recipe-Foolproof & Delicious
The Best Bread Machine Bread Recipe is more than just a set of instructions; it’s a gateway to aroma-filled mornings and satisfying, homemade goodness. Imagin extracte the scent of freshly baked bread wafting through your home, a testament to your culinary prowess, even if you’re using the effortless magic of a bread machine. This particular recipe has earned its stellar reputation for a reason. It consistently delivers a perfect loaf – a beautiful golden crust giving way to a soft, airy, and flavorful interior that’s simply divine. People adore this dish because it strikes that ideal balance: incredibly easy to make, thanks to the hands-off nature of a bread machine, yet yielding results that rival those from a professional baker. What truly sets this bread apart is its foolproof simplicity and the consistent, outstanding texture and taste it achieves every single time. It’s the kind of reliable recipe that becomes a staple, a go-to for everything from a simple breakfast toast to the foundation of a hearty sandwich.
Ingredients:
- 1 ¾ cups warm water (approximately 415g)
- 2 tablespoons vegetable oil or other neutral cooking oil (approximately 25g)
- 1 ½ teaspoons granulated sugar (approximately 7g)
- 1 teaspoon salt (approximately 8g)
- 4 cups bread flour (approximately 570g). Using bread flour is key for that chewy texture and good rise. All-purpose flour can be substituted in a pinch, but the results won’t be quite as ideal.
- 2 teaspoons bread machine yeast (approximately 8g). Ensure your yeast is fresh for optimal results. Expired yeast can lead to a flat loaf.
Preparing Your Bread Machine for The Best Bread Machine Bread Recipe
Before we dive into mixing, let’s get our bread machine ready. Most bread machines have a specific order for adding ingredients to the pan. Typically, liquids go in first, followed by dry ingredients, and finally the yeast. This separation is important because it prevents the yeast from activating too early and prematurely. Consult your bread machine’s manual if you’re unsure about the correct order for your specific model, as a few models might have a slightly different recommendation. For this recipe, we’ll follow the common method of liquids first.
Step 1: Adding the Liquids
Begin extract by pouring the warm water into your bread machine’s baking pan. The water should feel warm to the touch, not hot. Think of it like a comfortably warm bath – around 105-115°F (40-46°C). This ideal temperature helps activate the yeast without killing it. Too hot, and you’ll destroy the yeast’s ability to make your bread rise; too cold, and the yeast will be sluggish and your bread might be dense. Next, add the 2 tablespoons of oil to the pan. This oil contributes to the tenderness and richness of the final loaf.
Step 2: Incorporating the Dry Ingredients (Except Yeast)
Now, it’s time to add the dry ingredients that don’t include the yeast. Sprinkle the 1 ½ teaspoons of granulated sugar over the liquids. Sugar not only adds a touch of sweetness but also acts as food for the yeast, further helping it to activate and produce carbon dioxide, which creates those lovely air pockets in your bread. Following the sugar, add the 1 teaspoon of salt. Salt is crucial for flavor, but it also controls the rate at which the yeast ferments, preventing it from fermenting too quickly and resulting in a coarse texture. After the salt, add the 4 cups of bread flour, making sure to level it off gently over the liquids. Try to create a slight mound or dome with the flour, ensuring all the liquid is covered. This creates a barrier that keeps the yeast from prematurely contacting the liquid.
Step 3: Adding the Yeast
This is a critical step to ensure your bread rises beautifully. Make a small well in the center of the flour mound you just created. This well should be deep enough to accommodate the yeast. Carefully measure out your 2 teaspoons of bread machine yeast and pour it directly into this well. The goal here is to keep the yeast completely separate from the liquid and salt until the magin extractne begins its mixing cycle. This prevents premature activation and potential spoilage of the dough.
Step 4: Setting Up Your Bread Machine and Starting the Cycle
Once all the ingredients are in the baking pan according to your machine’s instructions (liquids, then dry ingredients, with yeast added last into a well in the flour), it’s time to place the pan into your bread machine. Secure the pan firmly, ensuring it locks into place. Close the lid of your bread machine. Now, select the appropriate setting for your bread. For this basic white bread, you’ll want to choose the “Basic” or “White Bread” cycle. Most machines also offer crust color and loaf size options. For a classic loaf, select a medium crust color and the standard loaf size. Then, press the “Start” button. Your bread machine will now take over the kneading, rising, and baking processes automatically. Resist the urge to open the lid during the kneading and rising cycles, as this can disrupt the process and affect the final outcome.
Step 5: Monitoring and Baking
The beauty of a bread machine is its automation. You can walk away and let it do its magic! The machine will typically go through several phases: kneading, resting (first rise), kneading again, second rise, and finally, baking. The entire process usually takes between 3 to 4 hours, depending on your machine and the selected cycle. During the kneading phase, you can peek (briefly!) through the viewing window, if your machine has one, to ensure the dough is forming a cohesive ball. If the dough seems too dry and stiff, you can add a teaspoon of water at a time during the first few minutes of kneading. Conversely, if it looks too wet and sticky, add a tablespoon of bread flour at a time. However, for this specific recipe, with the precise measurements provided, this shouldn’t be necessary. Once thegin extractking cycle begins, you’ll notice a wonderful aroma filling your kitchen. The machine will bake the bread to perfection. When the cycle is complete and the machine beeps to signal it’s done, carefully remove the bread pan using oven mitts. Turn the pan upside down over a wire cooling rack and gently shake to release the loaf. Allow the bread to cool completely on the wire rack for at least 30 minutes before slicing. This cooling period is essential for the texture to set properly; slicing too early can result in a gummy texture.
Conclusion:
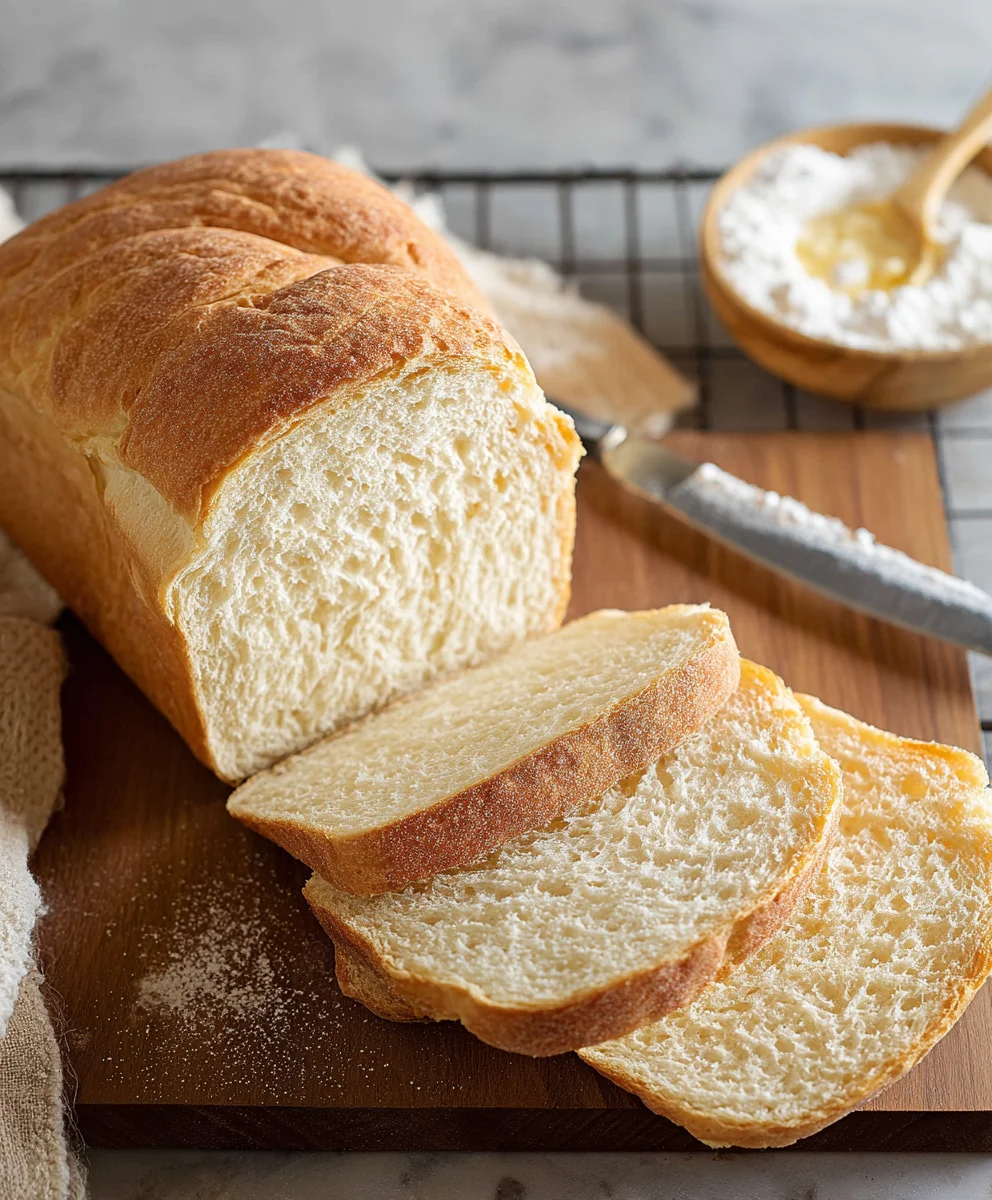
There you have it – the definitive guide to making The Best Bread Machine Bread Recipe! We’ve walked through each step, from selecting your ingredients to achieving that perfect golden crust. This recipe is incredibly rewarding, offering the satisfying aroma and delicious taste of homemade bread with minimal fuss. Whether you’re a seasoned baker or just starting your journey, this straightforward method is sure to become a staple in your kitchen. Don’t be afraid to experiment with serving suggestions; this versatile loaf pairs wonderfully with a hearty stew, a light salad, or simply slathered with butter. We encourage you to share your creations and discover your own favorite ways to enjoy this delightful bread.
Frequently Asked Questions about The Best Bread Machine Bread Recipe:
Why isn’t my bread rising properly?
Several factors can affect bread rise. Ensure your yeast is fresh and properly activated. Double-check your ingredient measurements, especially for flour and liquid, as inaccuracies can throw off the dough consistency. Also, confirm that your bread machine is set to the correct cycle for the type of bread you’re making. Extreme temperatures in your kitchen can also play a role, so try to maintain a consistent, moderate environment.
Can I substitute different types of flour in The Best Bread Machine Bread Recipe?
While this recipe is optimized for the specified flour types for the best results, you can experiment with substitutions in small amounts. For example, you could try incorporating a small percentage of whole wheat or rye flour for added flavor and texture. However, significant changes to the flour can alter the gluten structure and liquid absorption, potentially affecting the outcome. It’s often best to stick to the recommended flour for your first few attempts.
Best Bread Machine Bread Recipe-Foolproof & Delicious
A foolproof and delicious recipe for making amazing bread in your bread machine.
Ingredients
-
1 ¾ cups warm water (415g)
-
2 tablespoons vegetable oil (25g)
-
1 ½ teaspoons granulated sugar (7g)
-
1 teaspoon salt (8g)
-
4 cups bread flour (570g)
-
2 teaspoons bread machine yeast (8g)
Instructions
-
Step 1
Pour the warm water (around 105-115°F or 40-46°C) and vegetable oil into your bread machine’s baking pan. -
Step 2
Add the granulated sugar and salt to the pan. Then, add the bread flour, gently leveling it off to cover the liquids. Create a small well in the center of the flour. -
Step 3
Carefully measure out the bread machine yeast and pour it directly into the well in the flour, ensuring it’s separate from the liquids. -
Step 4
Place the baking pan into your bread machine, secure it, close the lid, and select the ‘Basic’ or ‘White Bread’ cycle. Choose your desired crust color and loaf size, then press ‘Start’. -
Step 5
Allow the bread machine to complete its cycle (approximately 3-4 hours). Once finished, carefully remove the bread pan using oven mitts, invert it over a wire cooling rack, and shake gently to release the loaf. Let it cool completely for at least 30 minutes before slicing.
Important Information
Nutrition Facts (Per Serving)
It is important to consider this information as approximate and not to use it as definitive health advice.
Allergy Information
Please check ingredients for potential allergens and consult a health professional if in doubt.