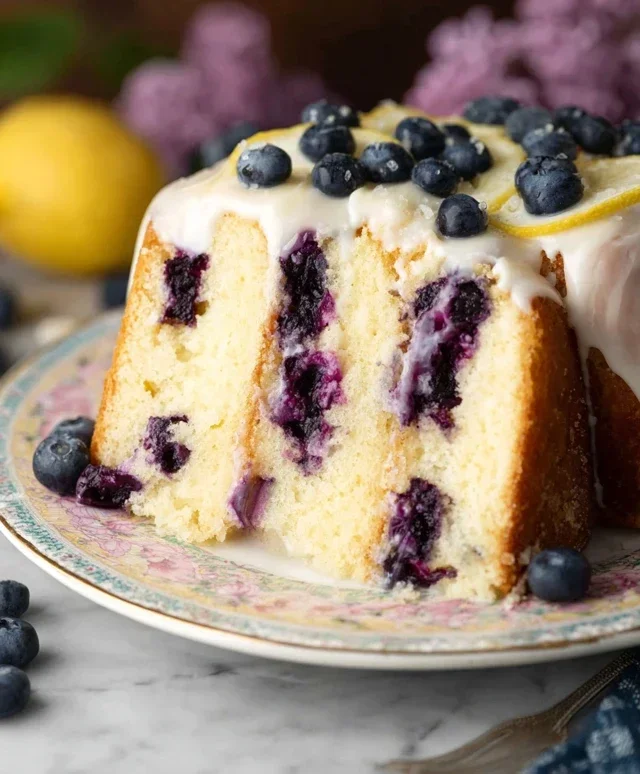
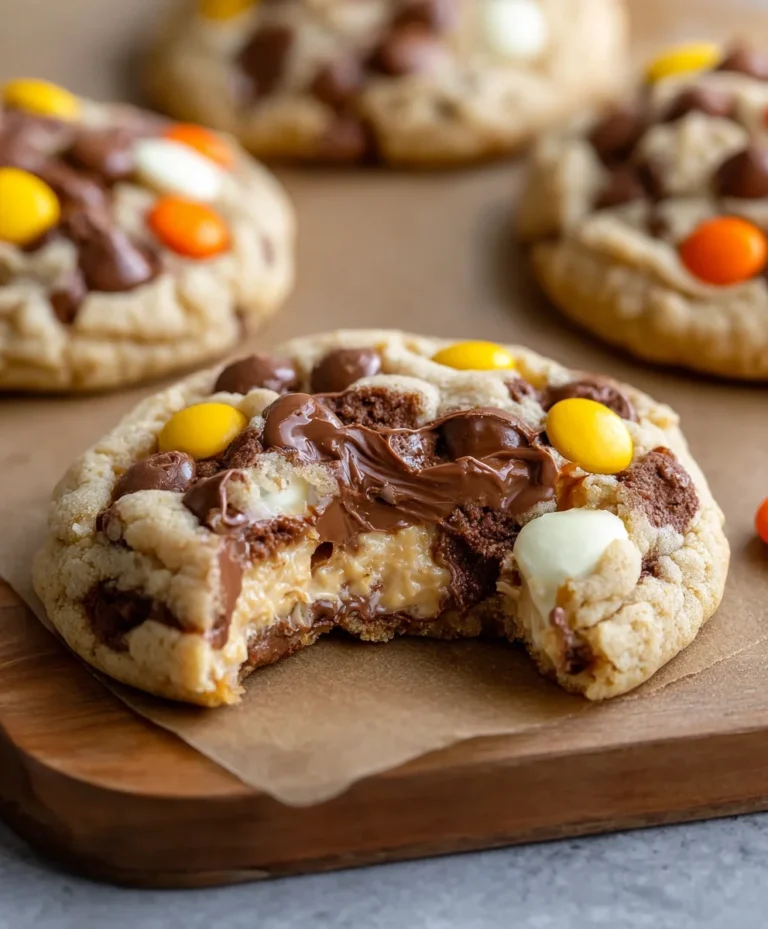
Baklava Babka Buns – Sweet Swirls You’ll Love
Baklava Babka Buns are a symphony of flavors and textures that have taken the baking world by storm, and for good reason! Imagin extracte the shatteringly crisp, honey-drenched layers of classic baklava meeting the soft, swirled richness of a tender babka, all baked into irresistible individual buns. It’s an ambitious mashup, I know, but trust me, it’s a culinary dream come true. These delightful creations capture the best of both worlds, offering a sophisticated yet comforting treat that’s perfect for any occasion, from a special brunch to an afternoon indulgence. What makes these Baklava Babka Buns truly special is the ingenious way they combine the iconic sweetness and crunch of baklava with the delightful chegrape juicess and spiced filling of a babka, all presented in a perfectly portioned bun that’s almost too beautiful to eat. Get ready to fall in love with this extraordinary fusion!

Baklava Babka Buns
Get ready for a treat that’s going to blow your taste buds away! We’re talking about Baklava Babka Buns – a glorious fusion of two beloved classics. Imagin extracte the flaky, syrupy sweetness of baklava married with the rich, swirled dough of babka, all in a perfectly portioned bun. This recipe takes a little love and patience, but trust me, the moment you pull these fragrant, golden beauties from the oven and drizzle them with that luscious honey syrup, you’ll know every step was worth it. They’re perfect for brunch, a special dessert, or just because you deserve something truly decadent.
Ingredients:
Instructions:
Preparing the Dough
Creating the Baklava Filling
Assembling the Buns
Baking and Finishing Touches

Conclusion:
I hope you’re as excited to bake these Baklava Babka Buns as I am to share them with you! This recipe truly offers the best of both worlds: the rich, flaky layers of baklava combined with the soft, swirled dough of a classic babka. The buttery layers, the sweet nutty filling infused with warming spices, and that irresistible honey syrup create a dessert that’s both comforting and incredibly decadent. It’s perfect for any occasion, from a special brunch to an elegant afternoon tea, or simply when you crave something truly extraordinary.
To serve, I love these warm, perhaps with a dollop of thick Greek yogurt or a scoop of vanilla bean ice cream for an extra treat. They’re also delicious at room temperature, making them ideal for making ahead. Don’t be afraid to experiment with the nut filling – pistachios are traditional for baklava, but walnuts or even pecans would be wonderful additions. You could also add a pinch of cardamom to the syrup for an extra aromatic touch. I truly encourage you to give these Baklava Babka Buns a try; I promise they’ll be a showstopper!
Frequently Asked Questions:
Can I make the dough ahead of time?
Yes! The babka dough can be made a day in advance and refrigerated. Punch it down once, cover tightly, and let it rest in the fridge. This can actually improve the flavor and texture. Just bring it to room temperature for about an hour before shaping and baking.
How should I store leftover Baklava Babka Buns?
Store any leftover buns in an airtight container at room temperature for up to 2-3 days. If they start to lose their crispness, you can briefly warm them in a low oven (around 300°F or 150°C) for a few minutes.
Baklava Babka Buns
A delightful fusion of flaky baklava and rich babka, baked into tender, sweet buns.
Ingredients
-
3 ½ cups all-purpose flour
-
¼ cup granulated sugar
-
1 packet (2 ¼ tsp) instant yeast
-
½ cup warm milk
-
2 eggs
-
½ cup unsalted butter, melted
-
½ tsp salt
-
1 cup walnuts, finely chopped
-
½ cup pistachios, finely chopped
-
¼ cup granulated sugar
-
1 tbsp cinnamon
-
¼ cup unsalted butter, melted
-
½ cup honey
-
¼ cup water
-
1 tsp vanilla extract
Instructions
-
Step 1
In a large bowl, combine flour, ¼ cup sugar, yeast, and salt. In a separate bowl, whisk together warm milk, eggs, and ½ cup melted butter. Add the wet ingredients to the dry ingredients and mix until a shaggy dough forms. Knead on a floured surface for 8-10 minutes until smooth and elastic. -
Step 2
Place the dough in a greased bowl, cover, and let rise in a warm place for 1-1.5 hours, or until doubled in size. -
Step 3
While the dough rises, prepare the filling. In a bowl, combine walnuts, pistachios, ¼ cup sugar, and cinnamon. In a small saucepan, melt ¼ cup butter over low heat. Stir in honey, water, and vanilla extract. Let cool slightly. -
Step 4
Punch down the risen dough. On a lightly floured surface, roll the dough into a large rectangle, approximately 12×18 inches. Brush the dough evenly with the honey-butter mixture, leaving a small border. Sprinkle the nut and cinnamon mixture evenly over the honey-butter. -
Step 5
Starting from the long edge, tightly roll up the dough into a log. Cut the log into 12 equal pieces. Place the buns cut-side up in a greased baking dish or individual muffin liners. Cover and let rise for another 30-45 minutes. -
Step 6
Preheat oven to 375°F (190°C). Bake for 20-25 minutes, or until golden brown and cooked through. While still warm, brush with additional honey if desired.
Important Information
Nutrition Facts (Per Serving)
It is important to consider this information as approximate and not to use it as definitive health advice.
Allergy Information
Please check ingredients for potential allergens and consult a health professional if in doubt.