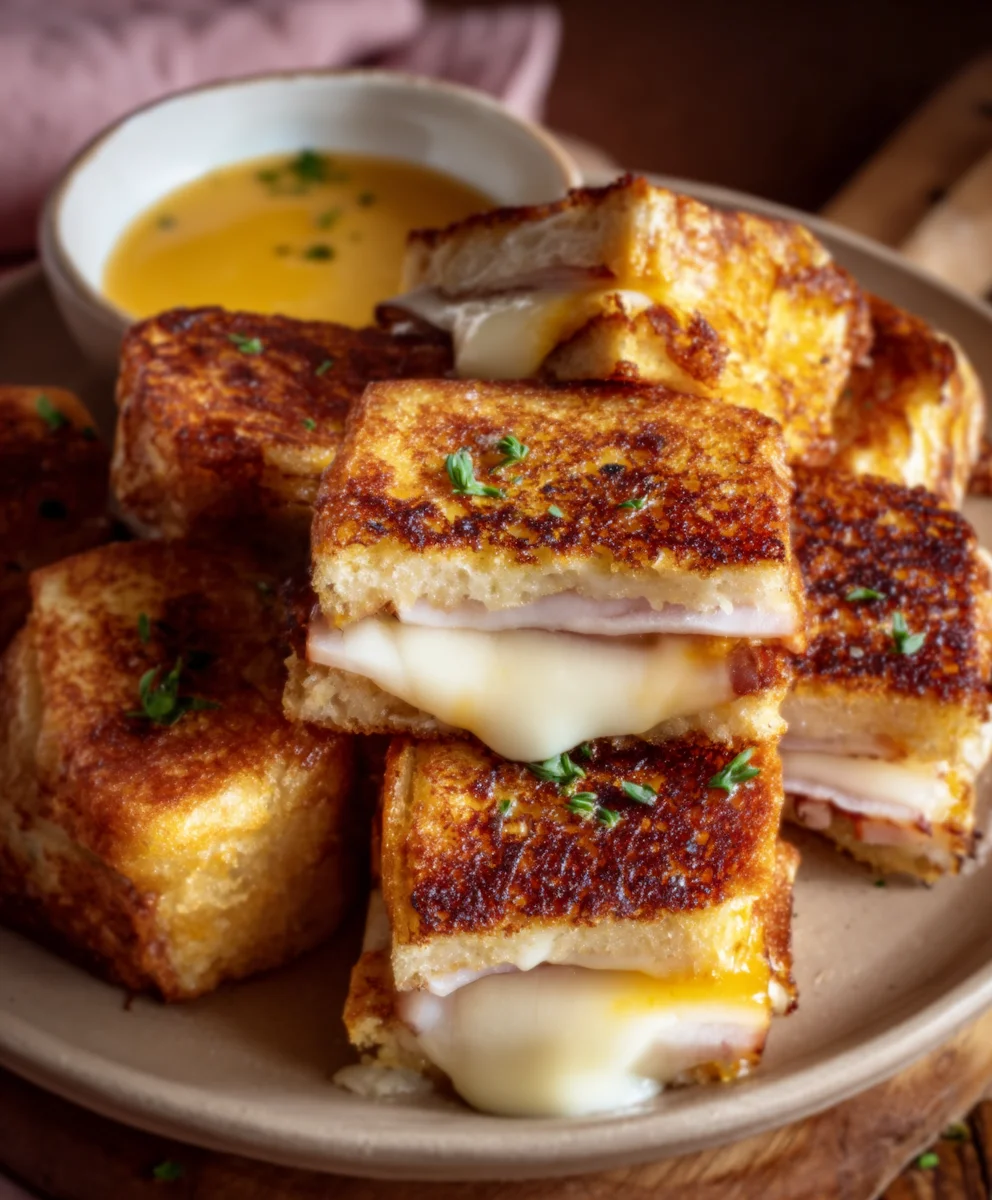
Hawaiian Roll Grilled Cheese-Ultimate Comfort Food
Hawaiian Roll Grilled Cheese is more than just a sandwich; it’s a miniaturized portal to pure comfort and irresistible sweetness. Imagin extracte biting into a warm, pillowy bun, its subtle sugar notes perfectly complementing the gooey, melted cheese within. It’s the ultimate handheld delight that has captured hearts (and stomachs!) for a reason. This isn’t your average grilled cheese; the tender, slightly sweet Hawaiian rolls provide a unique textural and flavor contrast that elevates the classic. They transform a simple meal into something truly special, making it perfect for a quick lunch, a fun appetizer, or even a delightful breakfast treat. Get ready to fall in love with this surprisingly sophisticated, yet utterly simple, Hawaiian Roll Grilled Cheese.
Ingredients:
- 4 Hawaiian rolls
- 1 cup shredded Monterey Jack cheese
- 2 tablespoons unsalted butter
- Optional: Sliced tomatoes or crispy beef beef bacon
Preparing Your Delicious Hawaiian Roll Grilled Cheese
Now that you have all your ingredients ready, it’s time to assemble and cook these delightful Hawaiian Roll Grilled Cheese sandwiches. The sweetness of the Hawaiian rolls, combined with the melty, mild Monterey Jack cheese, creates a truly irresistible combination. We’ll be using a simple griddle or skillet method to achieve that perfect golden-brown crust and gooey center.
Step 1: Prepare the Rolls and Cheese
The first step is to prepare your Hawaiian rolls. Using a serrated knife, carefully slice each of the four Hawaiian rolls in half horizontally. You want to create a top and bottom bun for each sandwich. Be gentle to avoid squishing the soft rolls. Next, ensure your Monterey Jack cheese is shredded. If you bought a block, shredding it yourself often yields a better melt than pre-shredded cheese, as pre-shredded varieties sometimes contain anti-caking agents. Having the cheese ready to go will make assembly much quicker and more efficient, preventing the rolls from getting soggy.
Step 2: Buttering the Rolls
For that signature grilled cheese crispiness and flavor, we need to butter the outside of the rolls. Take your softened unsalted butter and spread a generous, even layer onto the cut sides of all the bottom halves of the Hawaiian rolls. This butter will be the key to achieving a beautiful golden-brown exterior when the sandwich hits the hot pan. You can use a butter knife or even the back of a spoon for this. Don’t be shy with the butter; it’s essential for both taste and texture.
Step 3: Assembling the Sandwiches
With the bottom halves buttered, it’s time to build your sandwiches. Place the buttered side down onto a clean surface or a plate. Now, evenly distribute the shredded Monterey Jack cheese over the buttered side of each bottom roll half. Pile it on! The cheese will melt and spread, so make sure you have enough to go all the way to the edges. If you’re opting for the optional additions, this is the perfect time to add them. Layer your sliced tomatoes or the crispy beef baconbacon directly on top of the cheese. Then, place the top half of each Hawaiian roll over the cheese (and optional fillings). The inside of the top half of the roll will now be facing the cheese.
Step 4: Grilling the First Side
Heat a non-stick skillet or a griddle over medium-low heat. It’s crucial to use medium-low heat to allow the cheese to melt thoroughly without burning the delicate Hawaiian rolls. Once the pan is gently warm, carefully place the assembled sandwiches onto the skillet, butter-side down. You should hear a gentle sizzle. Let them cook undisturbed for about 3 to 5 minutes. The goal here is to achieve a beautiful golden-brown crust on the bottom and for the cheese to start softening and melting. Resist the urge to press down too hard with a spatula, as this can push out the melted cheese and create a denser sandwich.
Step 5: Grilling the Second Side and Finishing
After 3 to 5 minutes, carefully check the bottom of one of the sandwiches. If it’s a lovely golden brown, it’s time to flip. Using a spatula, gently flip each sandwich over to cook the other side. If you’ve added optional ingredients like tomatoes, you might see some juices release, which is perfectly fine and adds extra flavor. Continue to cook on this second side for another 3 to 5 minutes, or until it’s also golden brown and the cheese inside is completely melted and gooey. You might see some cheese oozing out the sides – this is a sign of a perfectly cooked grilled cheese! For an even melt, you can tent the skillet loosely with foil for the last minute of cooking, which traps steam and helps the cheese become incredibly oozy.
Step 6: Serving Your Hawaiian Roll Grilled Cheese
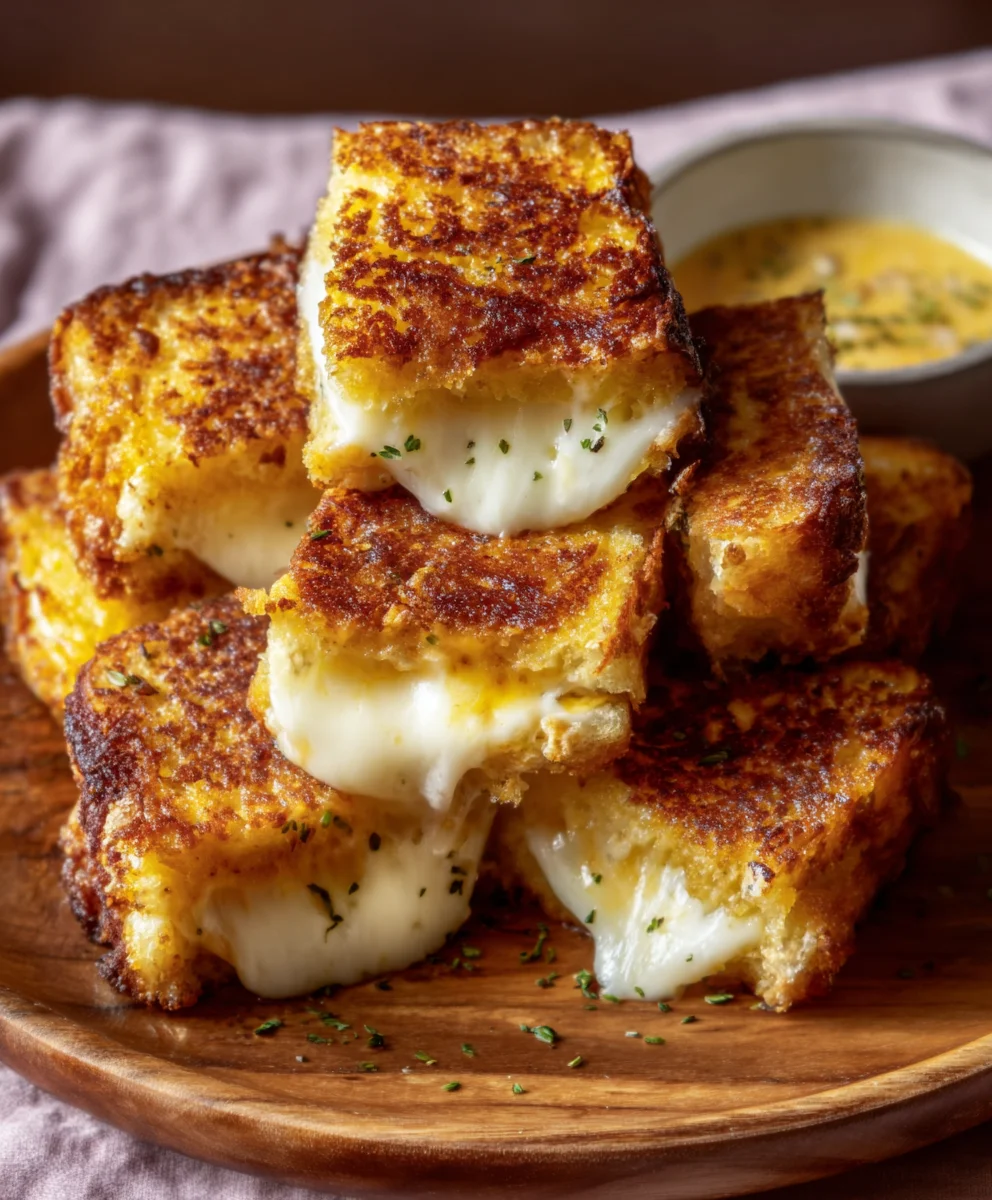
Once both sides are perfectly golden brown and the cheese is luxuriously melted, carefully remove the Hawaiian Roll Grilled Cheese sandwiches from the skillet. You can place them on a cutting board and, if desired, slice them in half diagonally. This makes them easier to handle and showcases the beautiful melted cheese. Serve them immediately while they are hot and the cheese is at its most delightful. These are fantastic on their own or can be paired with a side of soup or a simple salad. Enjoy every sweet, savory, and cheesy bite!
Conclusion:
And there you have it – the perfect Hawaiian Roll Grilled Cheese! This recipe transforms a simple snack into something truly special, with the sweet, fluffy Hawaiian rolls providing a delightful contrast to the melty, savory cheese. It’s incredibly easy to whip up, making it ideal for a quick lunch, a satisfying dinner, or even a crowd-pleasing appetizer. The beauty of this Hawaiian Roll Grilled Cheese lies in its simplicity and the inherent deliciousness of its core components.
For an elevated experience, consider serving your Hawaiian Roll Grilled Cheese alongside a warm bowl of tomato soup for that classic pairing, or perhaps a fresh side salad with a tangy vinaigrette. The sweetness of the rolls also pairs wonderfully with a side of crispy sweet potato fries.
Don’t be afraid to experiment with this recipe! You can absolutely change up the cheese blend to suit your taste. Sharp cheddar, Monterey Jack, pepper jack for a kick, or even a bit of Gruyere would be fantastic additions. You could also add a thin layer of beef ham, turkey, or even some caramelized onions for an extra layer of flavor.
I truly hope you enjoy making and devouring this delicious Hawaiian Roll Grilled Cheese as much as I do. It’s a recipe that’s sure to become a regular in your rotation. Happy cooking!
Frequently Asked Questions about Hawaiian Roll Grilled Cheese:
Q: Can I make Hawaiian Roll Grilled Cheese ahead of time?
A: While you can prepare the ingredients ahead of time (like slicing cheese and buttering the rolls), it’s best to assemble and grill the Hawaiian Roll Grilled Cheese just before serving for the optimal texture and meltiness. Grilling it fresh ensures the rolls are perfectly toasted and the cheese is wonderfully gooey.
Q: What kind of cheese works best for a Hawaiian Roll Grilled Cheese?
A: A good melting cheese is key! Classic choices like cheddar, Colby Jack, or Monterey Jack are excellent. For a richer flavor, consider adding a bit of Gruyere or Provolone. You can also mix and match your favorite cheeses for a personalized flavor profile. The mild sweetness of the Hawaiian rolls complements a wide variety of cheeses.
Q: Can I add other ingredients to my Hawaiian Roll Grilled Cheese?
A: Absolutely! This recipe is incredibly versatile. You can add a thin slice of your favorite deli meat beef hame ham or turkey, some crispy beef bacon, caramelized onions, sautéed mushrooms, or even a thin spread of fig jam for a sweet and savory twist. Just be mindful not to overstuff the rolls, as this can make them difficult to grill evenly.
Hawaiian Roll Grilled Cheese – Ultimate Comfort Food
A quick and delicious comfort food recipe featuring sweet Hawaiian rolls, melty Monterey Jack cheese, and a perfectly golden-brown crust.
Ingredients
-
4 Hawaiian rolls
-
1 cup shredded Monterey Jack cheese
-
2 tablespoons unsalted butter
-
Optional: Sliced tomatoes
-
Optional: Crispy beef bacon
Instructions
-
Step 1
Slice each of the four Hawaiian rolls in half horizontally using a serrated knife. Ensure your Monterey Jack cheese is shredded. -
Step 2
Spread a generous, even layer of softened unsalted butter onto the cut sides of all the bottom halves of the Hawaiian rolls. -
Step 3
Place the buttered side down onto a clean surface. Evenly distribute the shredded Monterey Jack cheese over the buttered side of each bottom roll half. Add optional sliced tomatoes or crispy beef bacon on top of the cheese. Place the top half of each Hawaiian roll over the fillings. -
Step 4
Heat a non-stick skillet or a griddle over medium-low heat. Carefully place the assembled sandwiches onto the skillet, butter-side down. Cook for about 3 to 5 minutes until golden brown. -
Step 5
Gently flip each sandwich and cook on the second side for another 3 to 5 minutes, or until golden brown and the cheese is completely melted and gooey. For an even melt, tent the skillet loosely with foil for the last minute of cooking. -
Step 6
Remove from skillet, slice in half diagonally if desired, and serve immediately while hot.
Important Information
Nutrition Facts (Per Serving)
It is important to consider this information as approximate and not to use it as definitive health advice.
Allergy Information
Please check ingredients for potential allergens and consult a health professional if in doubt.