Easy Homemade Fruit Leather – Delicious Healthy Snack
Homemade fruit leather is a nostalgic treat that instantly transports me back to sunny afternoons and carefree days. There’s something undeniably magical about transforming simple, ripe fruit into a chewy, intensely flavored snack. What’s not to love? It’s incredibly versatile, allowing you to use whatever fruits are in season or simply your favorites. Imagin extracte the vibrant colors and the concentrated burst of natural sweetness! Unlike store-bought versions, which can sometimes be overly processed or packed with artificial ingredients, this homemade fruit leather recipe lets you control exactly what goes in. You get pure, unadulterated fruit goodness, making it a healthier and far more satisfying option. Get ready to create a pantry staple that will have everyone asking for seconds!
Why You’ll Love This Recipe
A Taste of Summer, Anytime
This delightful creation captures the essence of ripe fruit, offering a wonderfully chewy texture and an explosion of flavor in every bite. It’s a simple pleasure that’s perfect for lunchboxes, hiking trips, or just a guilt-free indulgence.
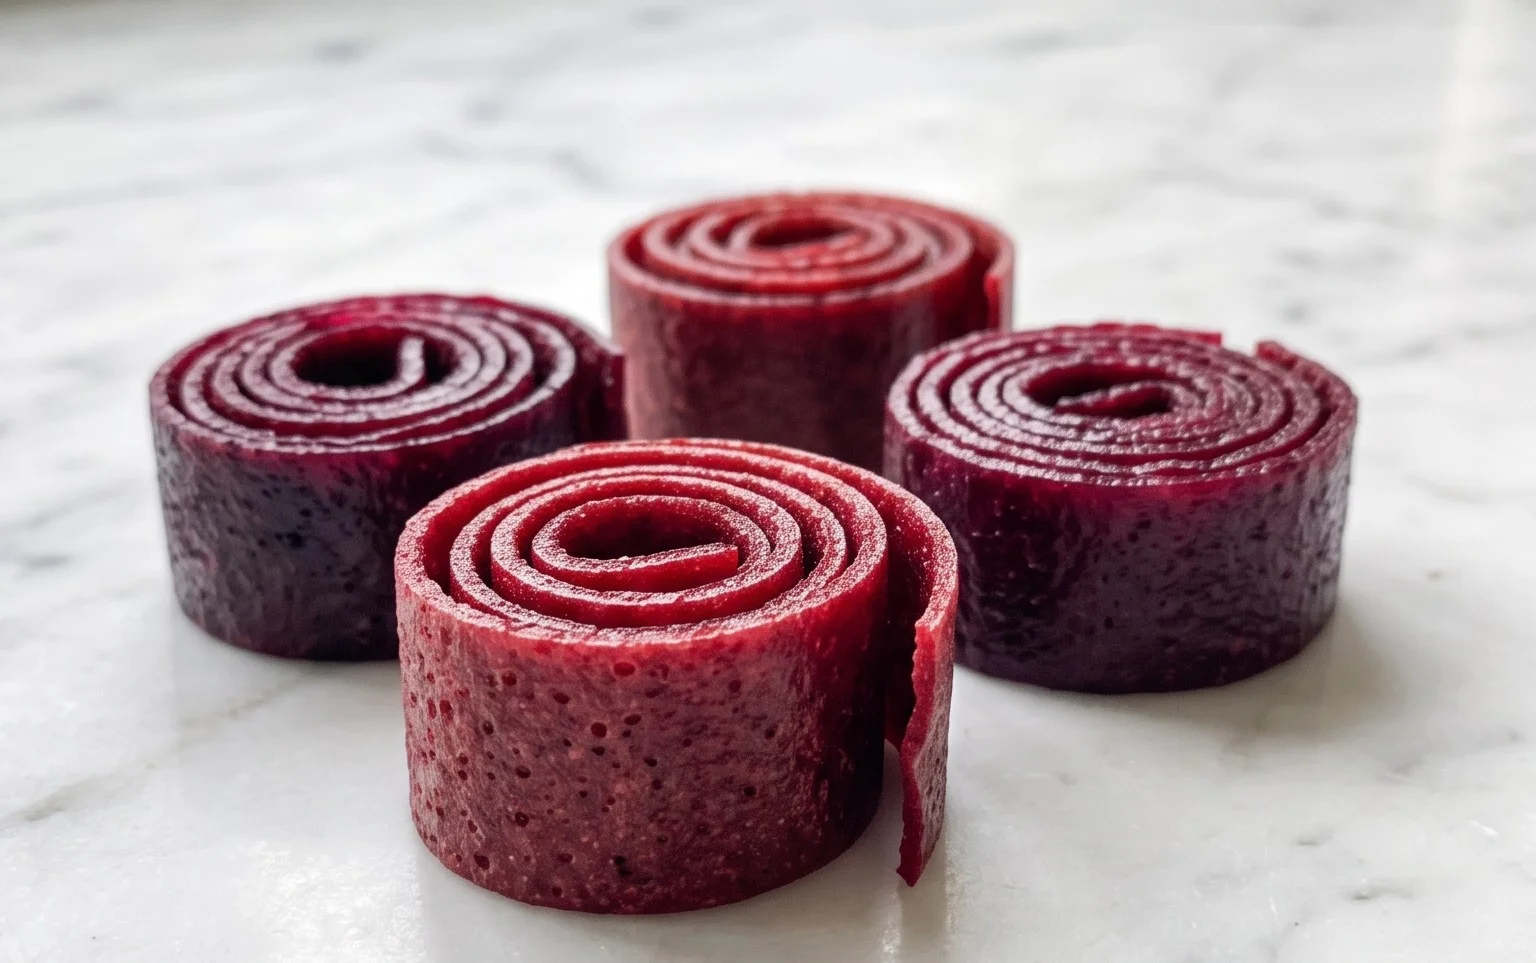
Homemade Fruit Leather Recipe
There’s something undeniably magical about fruit leather. It’s a classic childhood treat, a perfectly portable snack, and a fantastic way to preserve the bounty of fresh fruit. Making it at home is surprisingly simple and incredibly rewarding. Forget those store-bought varieties with their long ingredient lists and artificial colors; our homemade version is pure, unadulterated fruit goodness. This recipe is incredibly adaptable, meaning you can use almost any fruit you have on hand. Think sweet strawberries, tangy raspberries, vibrant mangoes, or even a mix of your favorites! The result is a chewy, slightly sweet, and wonderfully fruity snack that everyone will love.
Ingredients:
Cooking Instructions:
The process of making fruit leather is straightforward and doesn’t require any fancy equipment. You’ll primarily need a blender or food processor, a baking sheet, and some patience for the drying process. The key is to achieve a consistency that is pliable when cooked but not sticky.
Step 1: Prepare Your Fruit and Flavor Base
Begin extract by selecting your fruit. For the best flavor and texture, opt for ripe, in-season fruits. If you’re using fruits like apples or pears, you’ll want to peel and core them before chopping. For berries, a quick rinse is usually sufficient. Chop the fruit into roughly uniform pieces so they cook and blend evenly. Once chopped, place the 2 cups of fruit into your blender or food processor. Add the 3 tablespoons of white sugar. The amount of sugar can be adjusted based on the natural sweetness of your fruit. If you’re using very sweet fruits like ripe mangoes, you might even get away with a little less sugar. Conversely, if your berries are a bit tart, you might want to add an extra teaspoon. Finally, squeeze in the juice of ½ a whole lemon. The lemon juice isn’t just for taste; it acts as a natural preservative and helps to brighten the fruit’s natural flavors, preventing it from tasting dull.
Step 2: Blend Until Smooth
Now, it’s time to transform your chopped fruit and sugar mixture into a smooth puree. Process the ingredients in your blender or food processor until you achieve a completely smooth consistency. There should be no chunks of fruit remaining. You’re aiming for something that resembles a thick smoothie or applesauce. If your blender is struggling to get everything smooth, you can add a tablespoon or two of water at a time, but be careful not to make it too thin, as this will extend the drying time significantly. A good, thick puree is essential for a well-formed fruit leather.
Step 3: Prepare the Baking Sheet for Drying
Preheat your oven to its lowest possible setting, typically around 170-200°F (75-95°C). This low temperature is crucial for drying the fruit mixture without actually cooking it, which would result in a different texture. Line a large baking sheet with parchment paper or a silicone baking mat. Ensure the lining completely covers the surface of the baking sheet. This will prevent the fruit leather from sticking and make it easy to peel off once it’s done. For best results, use a baking sheet that has raised edges to contain the fruit mixture.
Step 4: Spread and Bake
Pour the fruit puree onto the prepared baking sheet. Using a spatula or the back of a spoon, spread the puree evenly across the entire surface of the parchment paper. Aim for a thickness of about ¼ inch. Try to get the edges as even as possible, as this will ensure consistent drying. If you have thicker spots, they will take longer to dry, and you might end up with an uneven texture. You can gently shake the baking sheet to help the puree settle and create a smoother surface. Place the baking sheet in your preheated oven.
Step 5: The Drying Process and Checking for Doneness
This is where patience comes in. The fruit leather needs to dry slowly and gently. The baking time can vary significantly depending on your oven, the thickness of your puree, and the moisture content of your fruit. It typically takes anywhere from 4 to 8 hours, and sometimes even longer. You’ll want to check on it periodically. After about 4 hours, start checking more frequently. The fruit leather is done when it is no longer sticky to the touch and peels easily away from the parchment paper. It should be pliable and slightly leathery, not brittle. You can test a small area by gently touching it; if your finger doesn’t stick, it’s likely ready. If it’s still wet or gummy, continue baking, checking every 30 minutes. Don’t over-bake it, or it will become hard and brittle.
Step 6: Cooling and Cutting
Once the fruit leather is dried to perfection, carefully remove the baking sheet from the oven. Let the fruit leather cool completely on the baking sheet. This cooling process is important as it allows the fruit leather to firm up further. Once cool, you can gently peel the entire sheet of fruit leather off the parchment paper. You can then cut it into strips, squares, or any shape you desire using a sharp knife or kitchen scissors. To prevent sticking, you can lightly dust the cut pieces with a tiny bit of cornstarch or powdered sugar if you find them a bit tacky, though usually, this isn’t necessary if it’s dried properly.
Store your homemade fruit leather in an airtight container at room temperature for a few days, or in the refrigerator for longer storage. Enjoy this healthy and delicious homemade treat!
Conclusion:
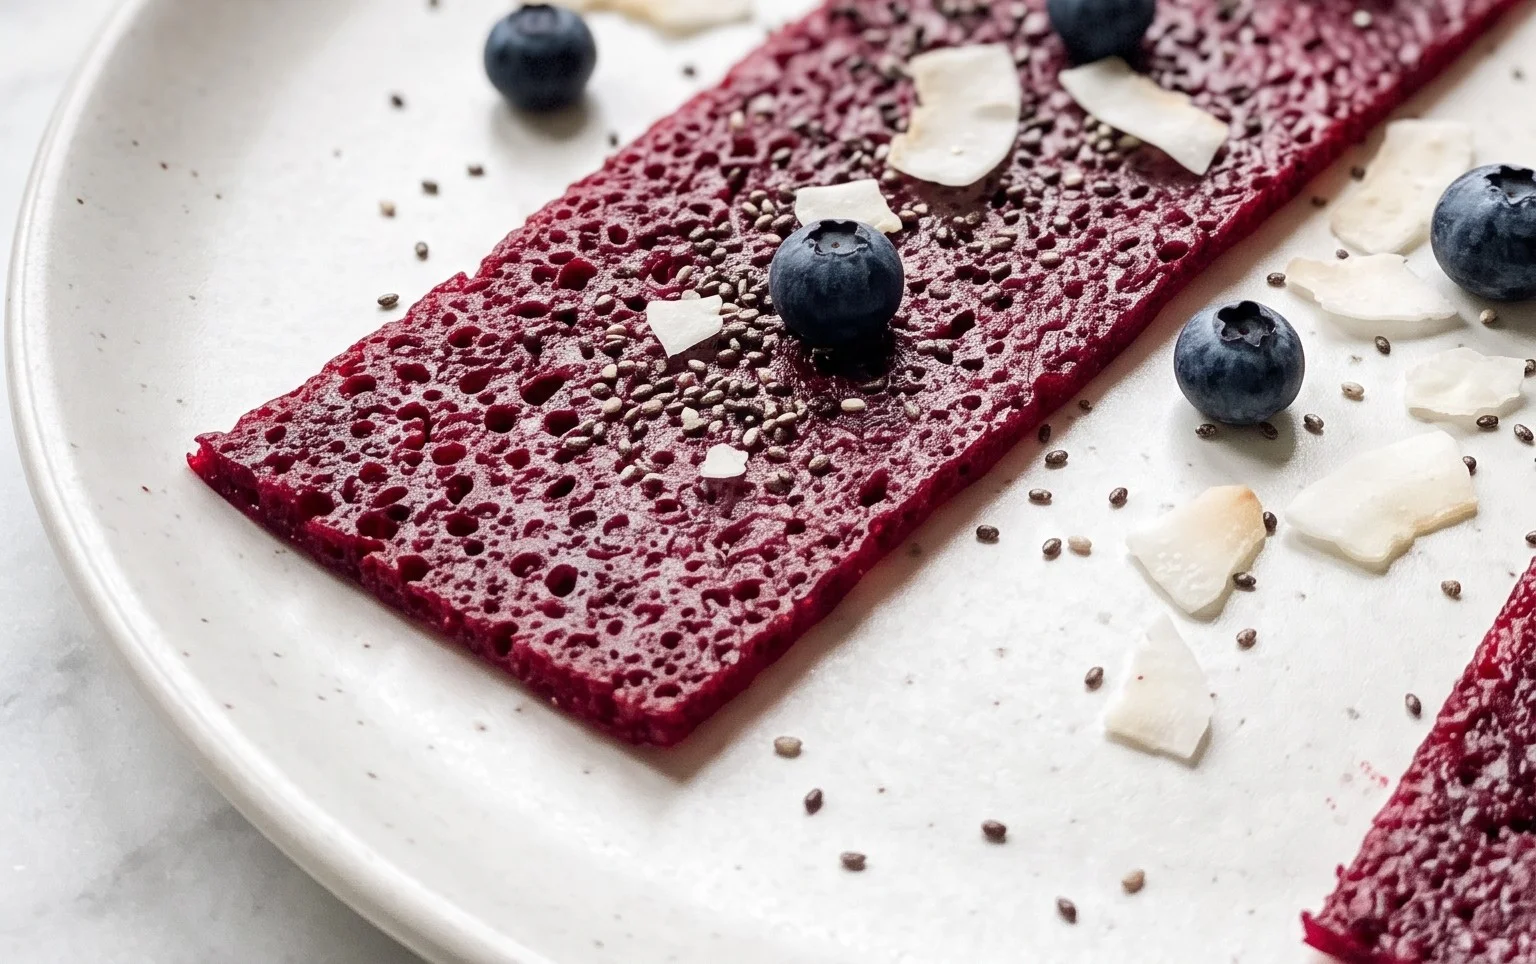
Making your own homemade fruit leather is such a rewarding experience, and honestly, it’s so much simpler than you might think! The process unlocks a vibrant world of pure fruit flavor, free from the artificial additives and excessive sugars often found in store-bought versions. It’s a fantastic way to preserve seasonal fruits, reduce food waste, and create a healthy, portable snack that everyone, from kids to adults, will love. The satisfaction of peeling back that pliable, chewy strip of pure fruit goodness you made yourself is unparalleled.
These delightful fruit leather strips are incredibly versatile. Enjoy them straight from the roll as a guilt-free treat any time of day, pack them into lunchboxes for a school snack, or even use them as a fun topping for yogurt parfaits or homemade ice cream. The possibilities are endless!
Don’t be afraid to experiment with different fruit combinations! While this recipe focuses on a classic strawberry-apple base, imagin extracte the possibilities with mango-lime, peach-raspberry, or even a tropical blend of pineapple and banana. The world of homemade fruit leather is your oyster!
I truly encourage you to give this homemade fruit leather recipe a try. It’s a simple pleasure that yields delicious results, and it’s a wonderful activity to do with family. You’ll be amazed at how easy it is to create this delightful, healthy snack!
Frequently Asked Questions:
Can I use frozen fruit for my fruit leather?
Absolutely! Frozen fruit is an excellent option, especially if you’re looking to use up berries or other fruits that are out of season. Thaw the frozen fruit completely, drain off any excess liquid, and proceed with the recipe as usual. You might find you need to cook the fruit down a little longer to achieve the desired consistency.
How long will homemade fruit leather last?
When stored properly in an airtight container at room temperature, your homemade fruit leather can last for about 1 to 2 weeks. For longer storage, you can keep it in the refrigerator for up to a month, or even freeze it for several months. Ensure it’s completely cooled before storing to prevent condensation, which can make it sticky.
My fruit leather is too sticky. What went wrong?
If your fruit leather is consistently too sticky, it likely means it wasn’t dehydrated long enough. The key is to achieve a pliable, chewy texture, not a wet one. You can often salvage sticky fruit leather by placing it back in the oven at a very low temperature (around 170°F or 75°C) for an additional 30-60 minutes, checking it frequently, until it reaches the desired consistency.
Homemade Fruit Leather
A simple and delicious recipe for making fruit leather at home, perfect for snacks.
Ingredients
-
2 cups fruit, chopped
-
3 tbsp white sugar
-
½ whole lemon, just the juice
-
1 cup applesauce
-
1 tsp vanilla extract
Instructions
-
Step 1
Preheat oven to 170°F (77°C). -
Step 2
Combine chopped fruit, sugar, lemon juice, applesauce, and vanilla extract in a blender or food processor. -
Step 3
Blend until smooth, scraping down sides as needed. -
Step 4
Line a baking sheet with parchment paper or a silicone baking mat. -
Step 5
Pour the fruit mixture onto the prepared baking sheet and spread it evenly into a thin layer (about 1/8 inch thick). -
Step 6
Bake for 4-6 hours, or until the fruit leather is no longer sticky to the touch. -
Step 7
Let cool completely on the baking sheet, then carefully peel it off. -
Step 8
Cut into desired shapes or roll up.
Important Information
Nutrition Facts (Per Serving)
It is important to consider this information as approximate and not to use it as definitive health advice.
Allergy Information
Please check ingredients for potential allergens and consult a health professional if in doubt.