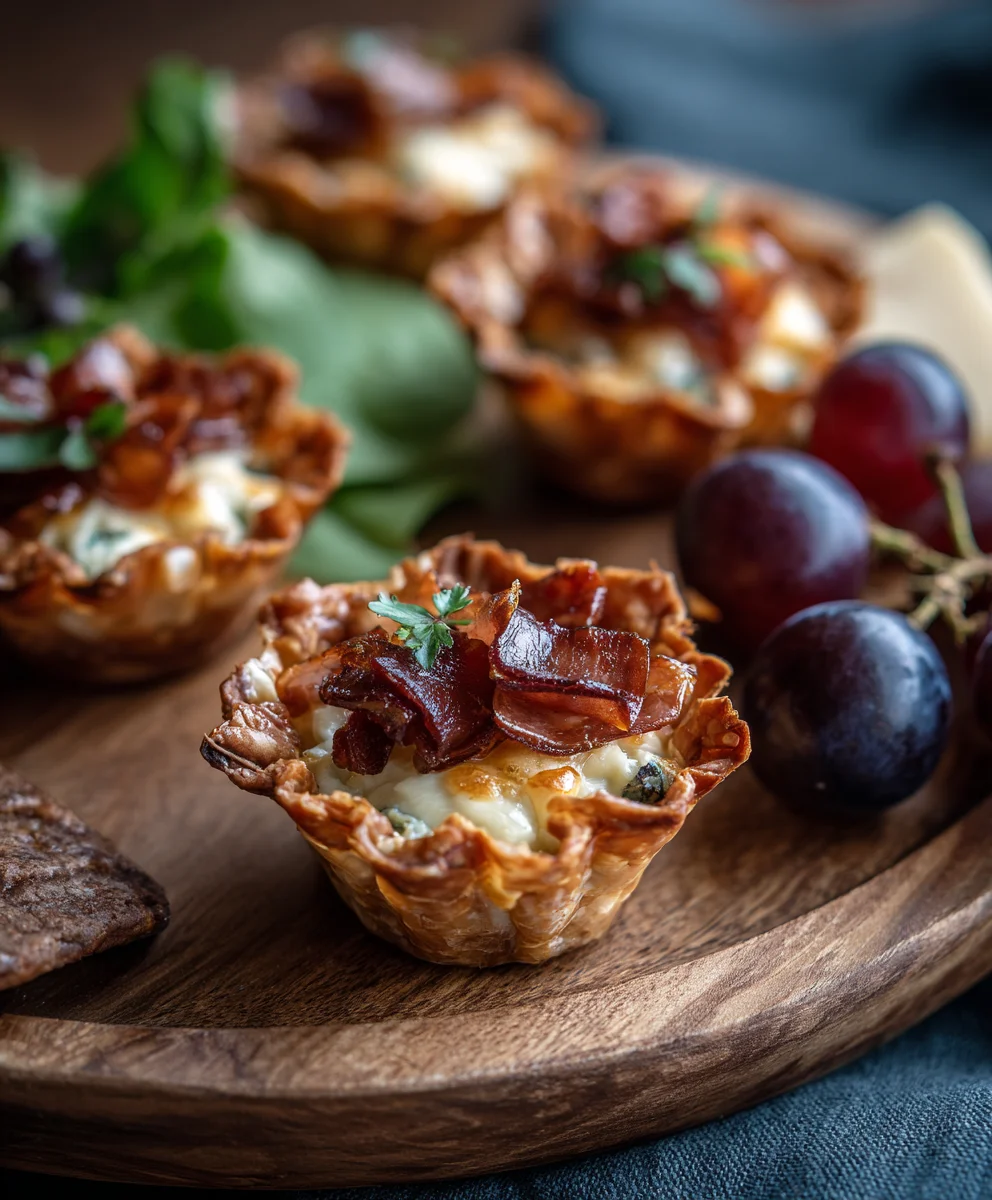
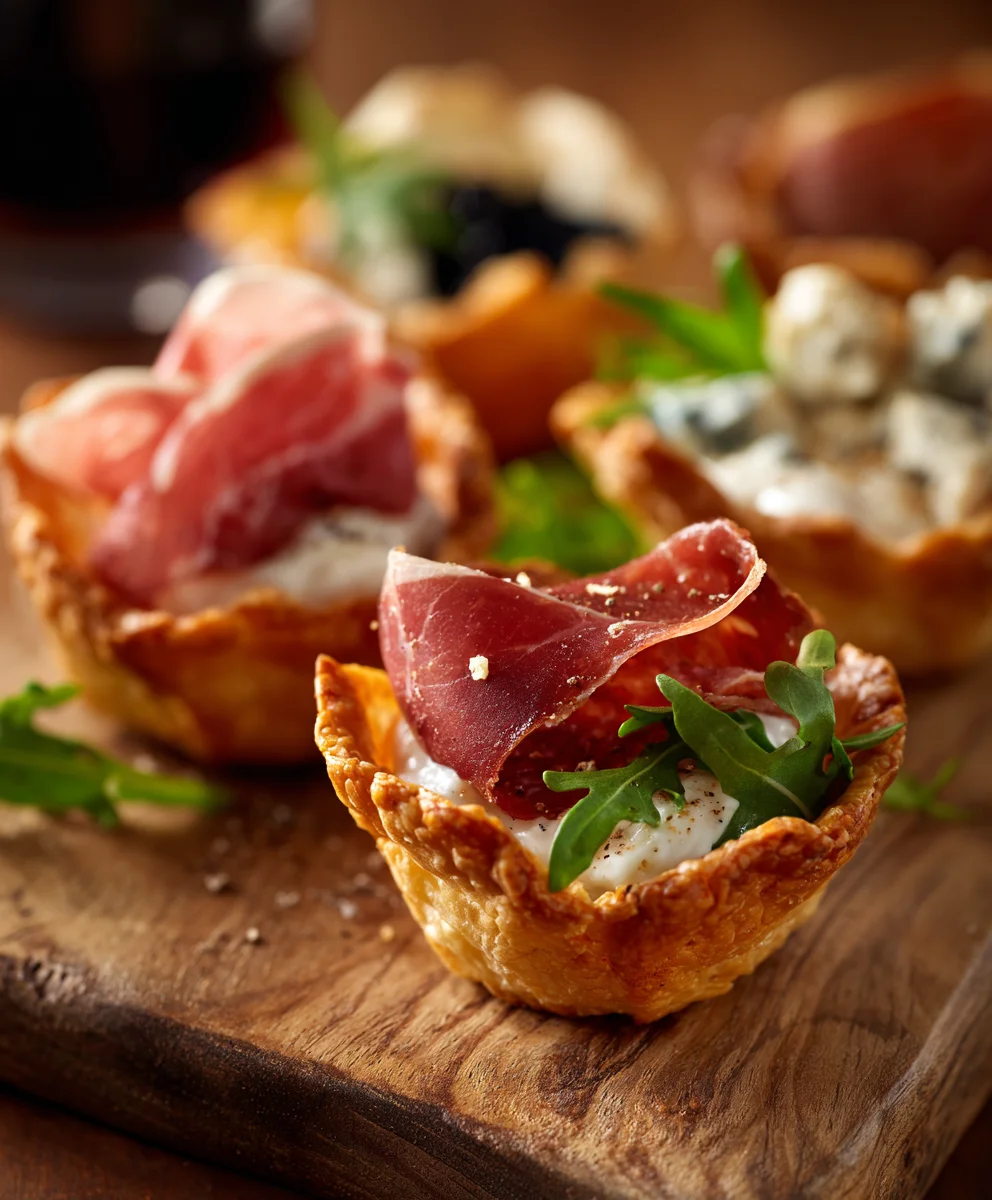
Easy Beef Charcuterie Cups- Perfect Party Appetizer
Individual Charcuterie Cups are the ultimate crowd-pleaser, offering a delightful and perfectly portioned way to enjoy all the best bits of a classic charcuterie board. Gone are the days of wrestling with a large board, trying to make sure everyone gets a little bit of everything. These charming cups allow for individual creativity and cater to every preference, making them a stress-free solution for parties, gatherings, or even a sophisticated solo snack. What truly makes these individual charcuterie cups so special is their inherent versatility. You can tailor each cup to be a mini masterpiece, from bold and savory to sweet and decadent. Guests absolutely adore them because they’re not only visually stunning but also incredibly convenient to hold and nibble on while mingling, ensuring everyone experiences a burst of delightful flavors and textures in every single bite. They represent pure, unadulterated deliciousness in a convenient package.
Ingredients:
- Strawberries (halved)
- Blackberries
- Red grapes
- Beef Beef Salami (folded)
- Brie bites
- Gouda (cubed)
- Manchego (sliced)
- Bread sticks (halved)
- Rustic Bakery Sourdough Flatbreads
- Honey sticks
- Cornichons
- Olives
- Dried apricots
- Rosemary sprigs
Preparing Your Individual Charcuterie Cups
Creating these charming Individual Charcuterie Cups is a delightful and engagin extractg process. It’s less about strict rules and more about a playful assembly, allowing you to showcase a variety of textures and flavors in a visually appealing way. The key is to have all your components prepped and ready to go beforgin extractou begin the building phase. Think of yourself as an artist,gin extractrefully arranging each element to create a miniature masterpiece of savory and sweet delights.
Step 1: Setting the Stage and Preparing the Base
The first crucial step is to select your vessels. Small, clear cups, ramekins, or even decorative Mason jars work beautifully. The transparency allows the vibrant colors of the ingredients to shine through, enhancing the overall appeal. Once your containers are ready, it’s time to think about a substantial base. We’ll be using the Rustic Bakery Sourdough Flatbreads. Break or cut these flatbreads into manageable pieces that will fit comfortably at the bottom of your cups. Aim for pieces that can act as a foundation for the other ingredients, providing a satisfying crunch. Some people prefer to slightly toast these flatbreads for an extra layer of flavor and crispness, but it’s entirely optional. If you do toast them, ensure they are completely cooled before proceeding. This initial layer is important for structural integrity and for providing a bread element that can be dipped or enjoyed alongside the other components.
Step 2: Layering the Cheeses and Meats
Now, let’s introduce the heart of any charcuterie: the cheeses and meats. We have a fantastic selection here. Start by gently placing a few Brie bites into each cup. Theigin extractreamy texture will begin to soften and mingle with other flavors as time goes on. Next, strategically add the cubed Gouda and sliced Manchego. Try to alternate their placement so that you get a good visual mix of the different cheeses. For the beef salamialami, folding each slice creates a more inviting, voluminous appearance, preventing them from lying flat and looking sparse. Tuck thebeef salamided salami pieces in amongst the cheeses, ensuring they stand out a bit. The idea here is to create a foundation of richness and savory notes that will be the backbone of your charcuterie cup. Don’t overstuff at this stage; leave room for the more delicate and sweet components.
Step 3: Incorporating the Fruits for Sweetness and Color
The fruits bring a burst of freshness and vibrant color, beautifully balancing the richngin extract of the cheeses and meats. Begin with the halved strawberries, their bright red hue immediately adding visual appeal. Nestle them in amongst beef salamieese and salami. Follow with the plump blackberries, their deep, dark color offering a lovely contrast. Then, add the red grapes. You can either place them whole or halve them depending on their size and how you want them to fit. The natural sugars in the fruits will start to release, creating a subtle sweetness that complements the salty and savory elements. This step is all about creating an appealing visual mosaic of colors and shapes. Think about how each fruit contributes to the overall aesthetic and flavor profile.
Step 4: Adding Texture and Complementary Flavors
This is where we bring in those delightful little accents that elevate the charcuterie experience. The halved breadsticks are perfect for adding a vertical element and a satisfying crunch. Stand them up in the cups, or let them lean against the other ingredients. Next, consider the cornichons and olives. Their briny, tangy flavors are essential for cutting through the richness. Place a few cornichons and olives strategically within the cups, ensuring they are easily accessible. The dried apricots offer a chewy sweetness with a slightly tart edge, adding another layer of complexity. Tuck them in where there are gaps, allowing their vibrant orange to peek through. These additions are crucial for creating a well-rounded and interesting tasting experience.
Step 5: The Finishing Touches and Sweet Finnon-alcoholic ale
The final flourish brings everything together. Drizzle a touch of honey, perhaps using the honey sticks as a serving tool to allow guests to add more if they desire. This adds a touch of golden sweetness that ties all the elements together. For a final aromatic and decorative touch, tuck in a few rosemary sprigs. Their fresh, herbaceous scent enhances the overall sensory experience and adds a sophisticated visual element. The rosemary doesn’t necessarily need to be eaten but adds a beautiful, fragrant garnish. As you place the last sprig, take a moment to admire your work. Each cup should be a miniature, self-contained celebration of flavors and textures, ready to be enjoyed by your guests. Ensure everything is securely placed so it doesn’t topple when moved.
Conclusion:
We hope you’ve enjoyed learning how to create these delightful Individual Charcuterie Cups! These miniature masterpieces are perfect for parties, gatherings, or even a sophisticated solo snack. They offer a visually stunning and incredibly convenient way to serve a variety of savory delights. The beauty of these cups lies in their versatility. Feel free to get creative and customize them with your favorite cheeses, cured meats, fruits, nuts, and crackers. The possibilities are truly endless!
For serving suggestions, these Individual Charcuterie Cups are ideal as appetizers for any occasion, from casual brunches to elegant cocktail parties. They also make a fantastic addition to picnic baskets or as a portable lunch option. Don’t be afraid to experiment with different flavor profiles. Consider adding a touch of sweetness with dried cranberries or apricots, a bit of brine with olives or cornichons, or some crunch with toasted almonds or pistachios. The key is to create a balanced and appealing combination of textures and tastes.
We encourage you to give making these Individual Charcuterie Cups a try. They are surprisingly simple to assemble and are sure to impress your guests. Enjoy the process of creating your own edible art!
Frequently Asked Questions:
What are the best types of cheeses to include in Individual Charcuterie Cups?
For Individual Charcuterie Cups, a good mix includes a hard cheese like cheddar or Gruyère, a soft cheese such as brie or goat cheese, and a blue cheese for a bolder flavor. Cubed or crum extractbled cheese works best for easy snacking.
Can I prepare Individual Charcuterie Cups in advance?
Yes, you can prepare many components of your Individual Charcuterie Cups in advance. Pre-slice cheeses and meats, wash and cut fruits, and portion out nuts and olives. Assemble the cups a few hours before serving and store them covered in the refrigerator. Add delicate items like crackers just before serving to prevent soggin extractess.
What are some budget-friendly ingredient options for these cups?
To keep costs down for your Individual Charcuterie Cups, opt for more affordable cheeses like sharp cheddar or Monterey Jack. Cured beef salami or beef pepperoni are usually more budget-friendly than beef prosciutto or other specialty meats. Use seasonal fruits, dried fruits, and readily available nuts like peanuts or sunflower seeds. Simple crackers or breadsticks can also be used.
Easy Beef Charcuterie Cups – Perfect Party Appetizer
Charming individual charcuterie cups filled with a delightful mix of savory beef salami, creamy cheeses, fresh fruits, crunchy breadsticks, and sweet honey, perfect for any party.
Ingredients
-
Strawberries (halved)
-
Blackberries
-
Red grapes
-
Beef Salami (folded)
-
Brie bites
-
Gouda (cubed)
-
Manchego (sliced)
-
Bread sticks (halved)
-
Rustic Bakery Sourdough Flatbreads
-
Honey sticks
-
Cornichons
-
Olives
-
Dried apricots
-
Rosemary sprigs
Instructions
-
Step 1
Select small, clear cups or ramekins. Break or cut Rustic Bakery Sourdough Flatbreads into pieces to form a base in each cup. Toasting the flatbreads slightly is optional for added flavor and crispness. -
Step 2
Gently place Brie bites into each cup. Add cubed Gouda and sliced Manchego, alternating placement for visual appeal. Fold beef salami slices to create a more voluminous appearance and tuck them amongst the cheeses. -
Step 3
Incorporate halved strawberries, blackberries, and red grapes (whole or halved) to add freshness and vibrant color. Arrange them to create an appealing mosaic of colors and shapes. -
Step 4
Add halved breadsticks for a vertical element and crunch. Strategically place cornichons and olives for their briny, tangy flavors. Tuck in dried apricots for a chewy sweetness and tart edge. -
Step 5
Finish by drizzling a touch of honey, using honey sticks for guests to add more if desired. Tuck in a few rosemary sprigs for an aromatic and decorative touch.
Important Information
Nutrition Facts (Per Serving)
It is important to consider this information as approximate and not to use it as definitive health advice.
Allergy Information
Please check ingredients for potential allergens and consult a health professional if in doubt.