Dairy Free Pesto Recipe – Easy & Delicious Vegan Twist
Dairy Free Pesto is a culinary revelation, and I’m so excited to share this recipe with you! For so long, I believed that true, vibrant pesto was inextricably linked to that salty, umami-rich Parmesan cheese. But let me tell you, the world of flavor is vast, and this dairy free pesto proves it with every delightful bite. It’s a dish that whispers of sun-drenched Italian gardens, bursting with the fresh, herbaceous notes of basil, the peppery bite of garlic, and the satisfying crunch of pine nuts. What makes this dairy free pesto so incredibly special is its ability to deliver all those beloved pesto qualities – the creamy texture, the pungent aroma, and the wonderfully versatile flavor – without a single drop of dairy. It’s perfect for pasta, an incredible spread for sandwiches, a fantastic dip for vegetables, or even drizzled over grilled chicken or fish. Get ready to fall in love with pesto all over again, the dairy-free way!
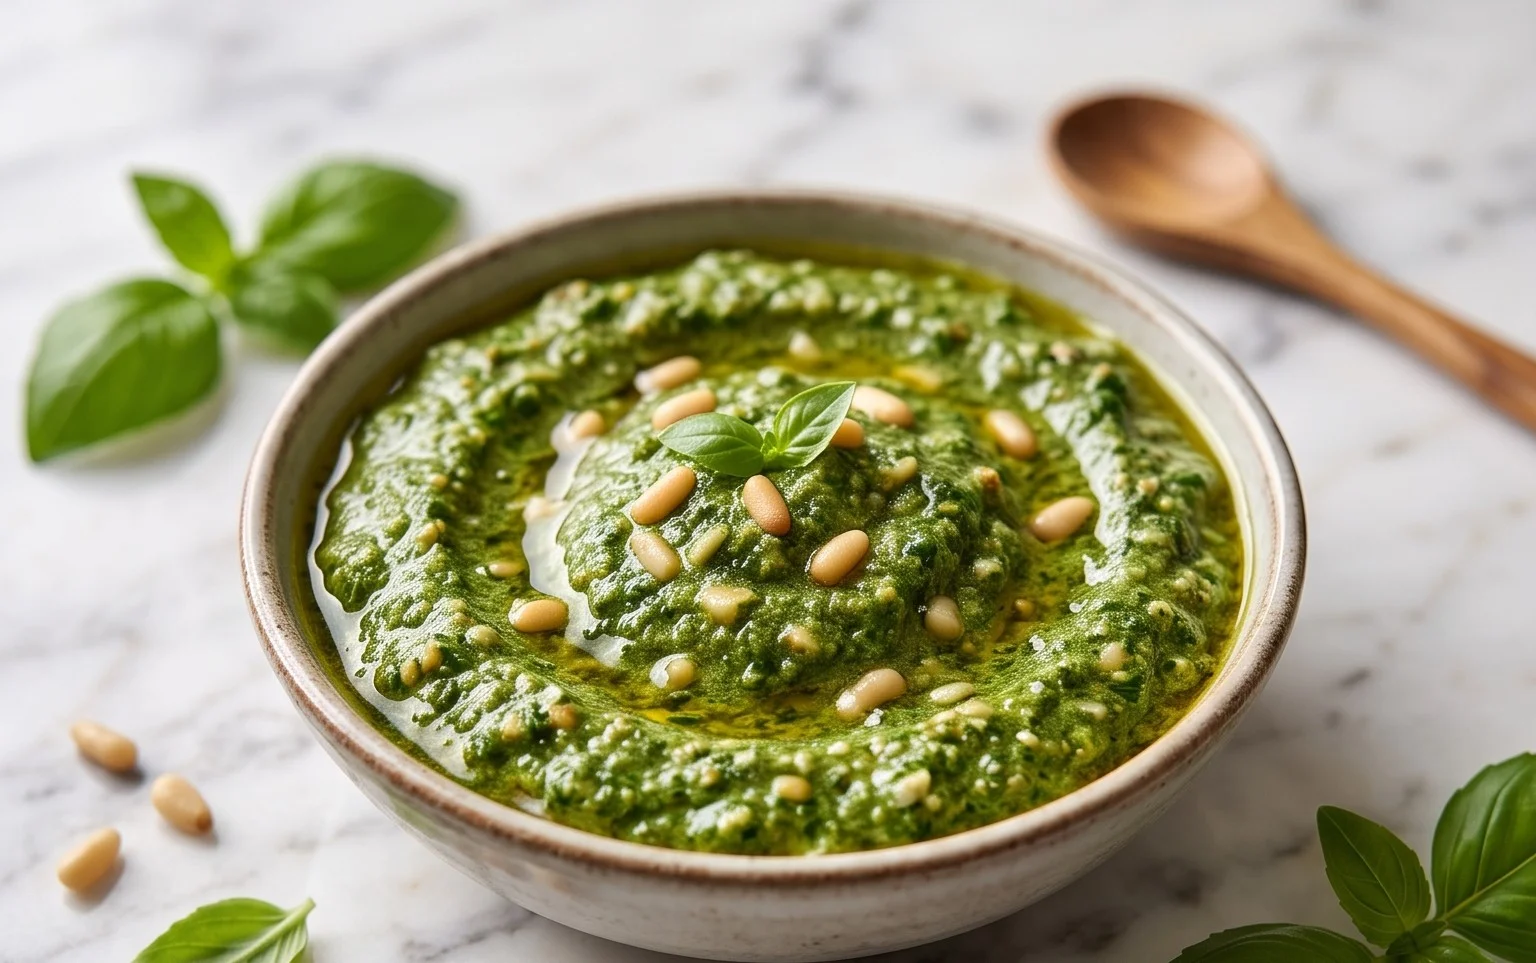
Dairy Free Pesto
Pesto is one of those magical sauces that can elevate almost any dish. Traditionally made with Parmesan cheese, I’ve found a way to create a deliciously rich and vibrant dairy-free version that’s just as satisfying, if not more so. This recipe is incredibly easy and versatile, making it a staple in my kitchen. Whether you’re tossing it with pasta, spreading it on a sandwich, or dolloping it onto roasted vegetables, this dairy-free pesto is sure to impress. The key to a great pesto lies in the freshness of the ingredients, and this recipe highlights those beautiful, bright flavors. Let’s get started!
Ingredients:
Cooking Instructions:
Phase 1: Preparing the Nuts and Garlic
The first step is to toast your nuts. This might seem like an extra step, but it makes a world of difference in the flavor profile of your pesto. It brings out a wonderful depth and nuttiness that raw nuts just don’t have. You can do this in a dry skillet over medium-low heat. Keep a close eye on them, as they can go from perfectly toasted to burnt very quickly. Stir them frequently until they are fragrant and lightly golden. This usually takes about 3-5 minutes. Once toasted, remove them from the skillet immediately and set them aside to cool completely. While your nuts are toasting and cooling, you can peel your garlic cloves. For a milder garlic flavor, you can gently sauté the garlic cloves in a tiny bit of olive oil for a minute or two until they are just softened, but not browned. If you love a strong garlic punch, you can add them raw. I prefer the raw garlic for a sharper, more classic pesto flavor.
Phase 2: Combining the Ingredients
Now for the fun part – bringin extractg it all together! You can use a food processor or a blender for this. A food processor is generally preferred for pesto as it gives you more control over the texture, allowing you to achieve a coarser grind if that’s what you prefer. If you’re using a food processor, add the toasted and cooled pine nuts (or your chosen nuts/seeds) and the garlic cloves. Pulse them a few times until they are roughly chopped. You want some texture here, not a paste just yet.
Next, add the fresh basil leaves to the food processor. It might seem like a lot of basil, but it will wilt down significantly as you process it. Add the lemon juice, salt, and the nutritional yeast (if using). Pulse again, scraping down the sides of the food processor bowl as needed, until the basil is finely chopped and the ingredients are starting to combine. At this stage, you’ll begin extract to add the olive oil. Drizzle in the olive oil slowly while the food processor is running. This emulsifies the pesto, creating a smooth and creamy consistency. Continue processing until the pesto reaches your desired texture. If you prefer a looser pesto, you can add a little more olive oil, a tablespoon at a time, until you reach the perfect consistency. Taste and adjust the salt if necessary. Lemon juice also plays a crucial role in brightening the flavors, so don’t be shy if you feel it needs a little extra zest.
Phase 3: Achieving the Perfect Consistency
The key to a perfect pesto, whether dairy-free or not, is the balance of flavors and the right consistency. As you’re drizzling in the olive oil, pay attention to how the pesto is coming together. You’re looking for a vibrant green sauce that’s thick enough to cling to pasta but not so thick that it’s difficult to spread. If your basil leaves are particularly dry, you might need a touch more olive oil to achieve the desired smoothness. Conversely, if your basil is very fresh and moist, you might find you need less oil than initially specified. The nutritional yeast, if you’re using it, also contributes to the body of the pesto, giving it a satisfying richness. Don’t be afraid to stop the food processor and scrape down the sides a few times to ensure all the ingredients are incorporated evenly. This process helps to break down the basil leaves thoroughly and creates a more uniform texture.
Phase 4: Tasting and Adjusting
Once your pesto is processed to your liking, it’s time for the most important step: tasting! Dip a spoon in and give it a try. Does it have enough salt? Is the lemon juice bright enough? Do you want a more pronounced garlic flavor? This is your chance to customize it to your exact preferences. If it needs more salt, add a pinch at a time and pulse again. If it’s a bit too sharp from the garlic, you can add a tiny bit more olive oil to mellow it out. For a richer, more complex flavor, you could even add a few more toasted pine nuts and give it a final pulse. This step is crucial for ensuring you end up with a pesto that you absolutely love.
Phase 5: Storing Your Dairy-Free Pesto
Once you’re happy with your delicious dairy-free pesto, it’s time to store it. You can transfer it to an airtight container or a glass jar. To keep it fresh for longer and prevent oxidation (which can cause it to turn brown), it’s a good idea to cover the surface of the pesto with a thin layer of olive oil before sealing the container. This acts as a barrier against air. Your homemade dairy-free pesto will keep in the refrigerator for about 5-7 days. For longer storage, you can freeze it in ice cube trays. Once frozen, transfer the pesto cubes to a freezer-safe bag or container. This way, you can easily pull out individual portions whenever you need a burst of fresh, vibrant flavor. It’s a fantastic way to have homemade pesto on hand year-round!
Conclusion:
I hope you’ve enjoyed learning how to make this delicious dairy free pesto! It’s truly a game-changer for anyone looking to enjoy the vibrant flavors of traditional pesto without the dairy. This recipe is wonderfully versatile, incredibly easy to whip up, and packed with fresh, wholesome ingredients. It’s a fantastic way to elevate pasta dishes, grilled vegetables, sandwiches, or even to use as a dip. Don’t be afraid to get creative with it – this dairy free pesto recipe is designed to be a springboard for your culinary adventures!
Now, let’s address a few common questions you might have:
Frequently Asked Questions:
Q: How long will this dairy free pesto last in the refrigerator?
A: Stored in an airtight container with a thin layer of olive oil on top to prevent oxidation, your dairy free pesto should stay fresh in the refrigerator for about 5-7 days. You can also freeze it in ice cube trays for individual portions that are perfect for quick additions to meals.
Q: Can I substitute the pine nuts in this dairy free pesto?
A: Absolutely! If pine nuts are not your preference or are unavailable, you can easily substitute them with other nuts or seeds. Walnuts, almonds, or even sunflower seeds work wonderfully and offer a slightly different, but equally delicious, flavor profile. Just toast them lightly for enhanced taste!
Q: Are there any other ways to use this dairy free pesto besides on pasta?
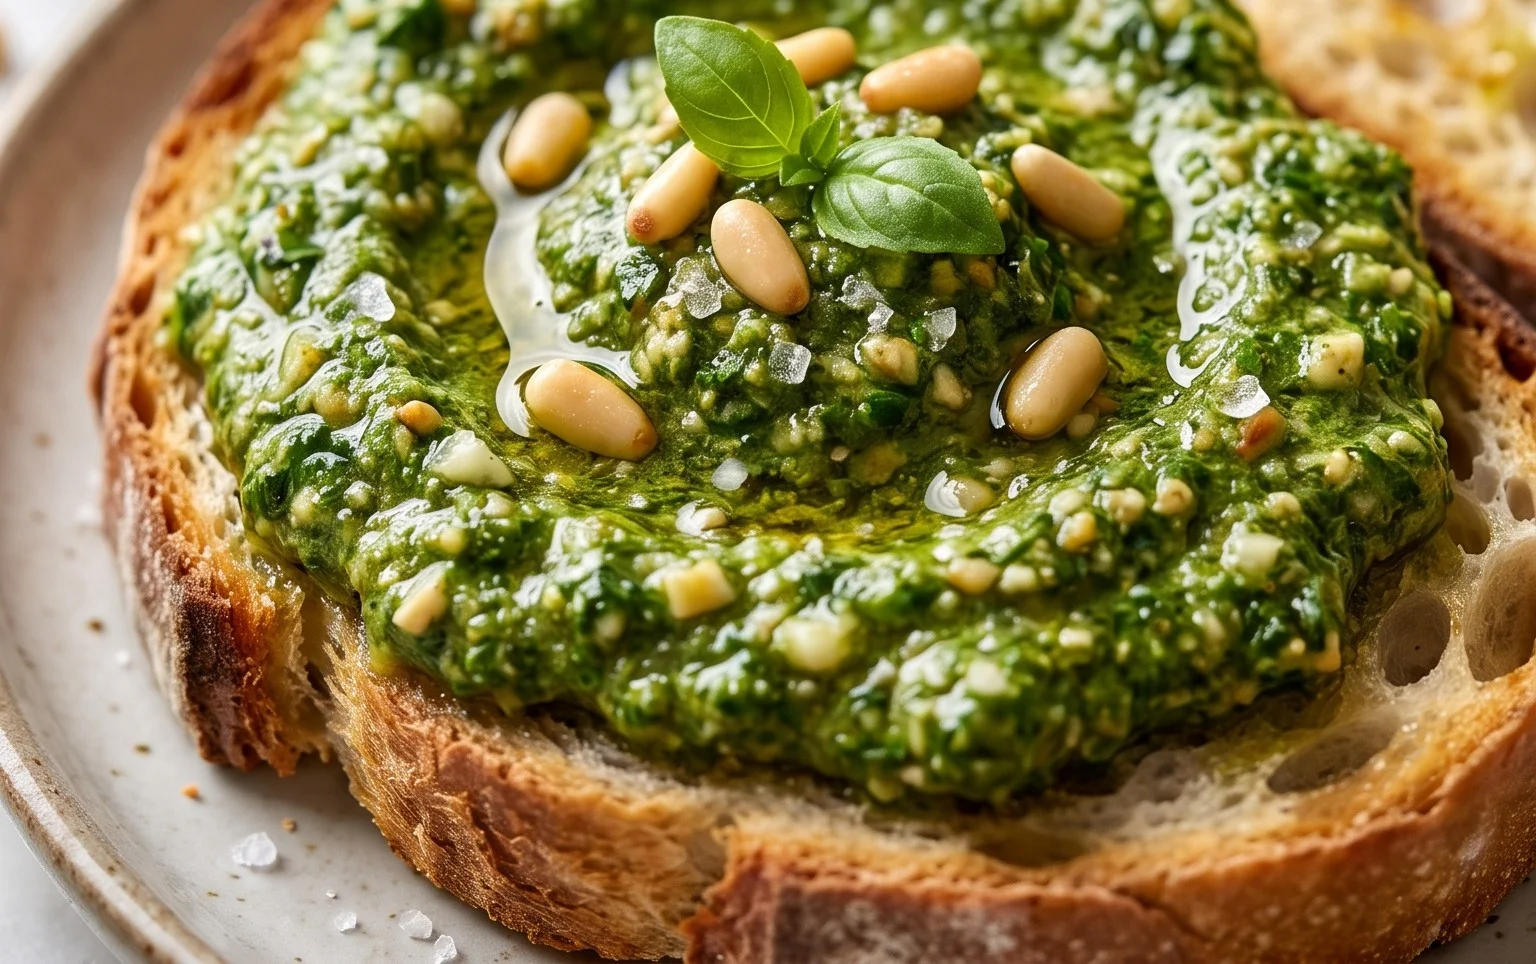
A: Oh, the possibilities are endless! I love spreading it on toasted sourdough for a quick appetizer, mixing it into potato salad for a zesty kick, dolloping it onto grilled chicken or fish, or even swirling it into soups for added depth. It’s a fantastic flavor booster for almost anything!
Dairy Free Pesto
A vibrant and flavorful dairy-free pesto recipe perfect for pasta, sandwiches, or dips. Easily customizable with your favorite nuts or seeds.
Ingredients
-
3 cups basil
-
1/2 lemon (juiced)
-
1/2 cup pine nuts
-
2 cloves garlic
-
1/4 cup olive oil
-
1/2 tsp salt
-
2 tbsp nutritional yeast
Instructions
-
Step 1
Combine basil, pine nuts, garlic, salt, and nutritional yeast (if using) in a food processor. -
Step 2
Pulse until the ingredients are roughly chopped. -
Step 3
With the food processor running, slowly drizzle in the olive oil until the pesto is well combined and smooth. -
Step 4
Add the lemon juice and pulse a few more times to incorporate. -
Step 5
Taste and adjust seasoning if needed. Add more salt or lemon juice as desired. -
Step 6
Transfer the pesto to an airtight container and refrigerate.
Important Information
Nutrition Facts (Per Serving)
It is important to consider this information as approximate and not to use it as definitive health advice.
Allergy Information
Please check ingredients for potential allergens and consult a health professional if in doubt.