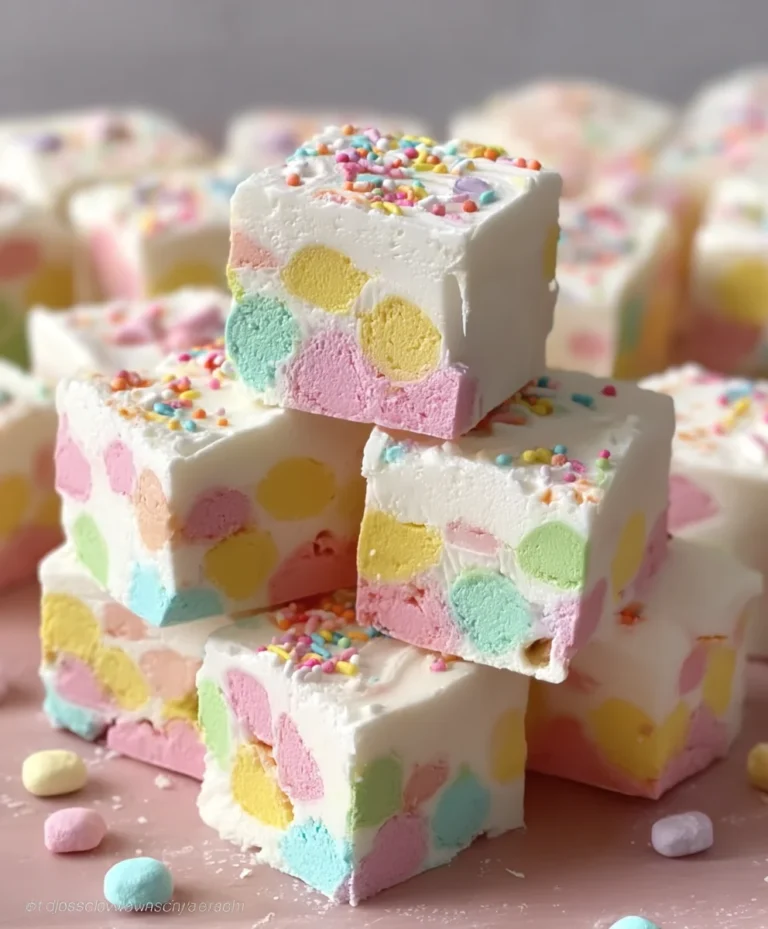
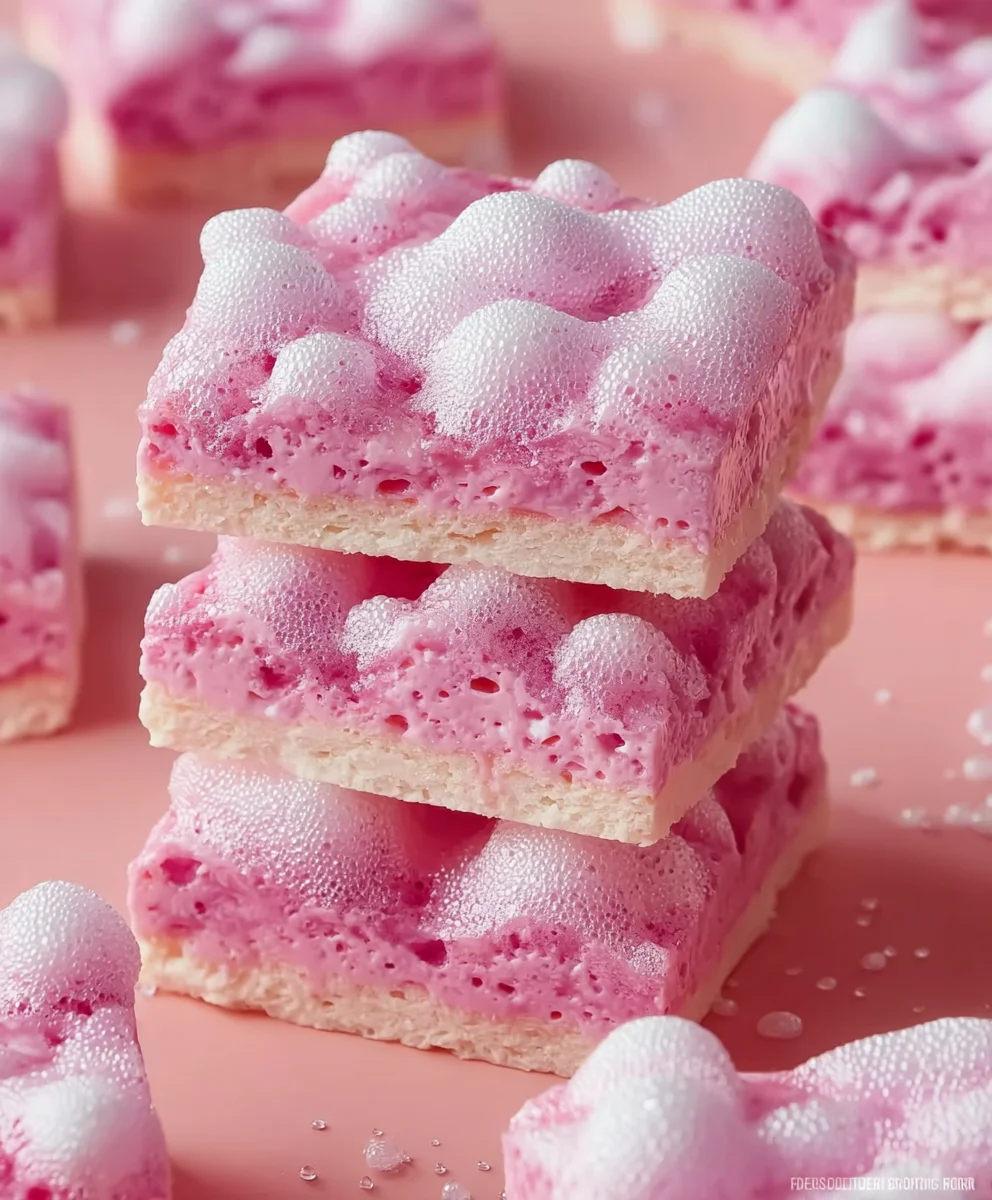
Bubblegum Slices-Sweet Nostalgic Treat
Bubblegum Slices are more than just a sweet treat; they are a vibrant explosion of nostalgia and pure joy in every chewy bite. If you’re searching for a recipe that instantly transports you back to carefree childhood days, you’ve found it! These dazzling confections are beloved for their uncanny ability to capture the playful essence of bubblegum, but with a delightful, homemade texture that store-bought versions simply can’t replicate. What truly makes Bubblegum Slices special is their unique combination of classic bubblegum flavor, a satisfyingly chewy yet tender consistency, and the captivating visual appeal of their bright, signature pink hue. They are incredibly easy to make, making them a perfect activity for families or a fun project for anyone looking to add a touch of whimsy to their dessert repertoire. Get ready to impress your friends and family with these show-stopping Bubblegum Slices!
Ingredients:
- 1 cup bubblegum-flavored syrup
- 1 cup marshmallow fluff
- 2 cups powdered sugar
- 1 teaspoon vanilla extract
- Pink food coloring (optional, for an enhanced bubblegum aesthetic)
Making Your Bubblegum Slices
This recipe for Bubblegum Slices is incredibly straightforward and results in a wonderfully sweet and chewy treat that’s surprisingly easy to whip up. They have a unique texture, somewhere between a no-bake cookie and a dense marshmallow candy, all infused with that nostalgic bubblegum flavor. The optional pink food coloring really elevates the visual appeal, making them look as fun as they taste. You don’t need any fancy equipment, just a bowl, a spatula, and a bit of patience as things come together.
Preparation and Mixing the Base
The first step is to get your base mixture ready. In a medium-sized mixing bowl, combine the 1 cup of marshmallow fluff with the 1 cup of bubblegum-flavored syrup. This is where the magic starts to happen. The syrup will lend that distinctive sweet and fruity flavor, while the marshmallow fluff provides the chewy, airy structure. Use a sturdy spatula or a wooden spoon to really work these two ingredients together. At first, they might seem a bit reluctant to combine, with the syrup potentially looking a little separate from the fluff. Keep stirring and folding until you achieve a relatively smooth, unified mixture. Don’t worry if it’s not perfectly uniform at this stage; the powdered sugar will help to bring everything together more cohesively.
Now, it’s time to introduce the vanilla extract. Add the 1 teaspoon of vanilla extract to the marshmallow fluff and syrup mixture. This is a crucial step for adding depth to the sweetness and rounding out the bubblegum flavor. Vanilla works wonders to enhance other sweet notes and prevent the overall taste from being one-dimensionally sugary. Stir this in thoroughly until it’s well incorporated.
Incorporating the Powdered Sugar
Next, we begin extract the process of adding the dry ingredients. Gradually add the 2 cups of powdered sugar to the wet mixture. It’s best to do this in stages rather than dumping it all in at once. Start by adding about half of the powdered sugar and mix it in until it’s mostly incorporated. You’ll notice the mixture starting to thicken considerably. This is exactly what you want! As you continue to add the remaining powdered sugar, the mixture will become very stiff and dough-like. This is the point where a spatula might start to become difficult to use. You might even find yourself needing to use your hands to knead and fully incorporate the last bits of powdered sugar. Ensure there are no pockets of unmixed powdered sugar remaining. The goal is a firm, pliable dough that you can handle.
Achieving the Perfect Bubblegum Hue (Optional)
If you want to give your Bubblegum Slices that iconic vibrant pink look, now is the time to add the food coloring. For this recipe, we’re suggesting a few drops of pink food coloring. Start with just 2-3 drops. Gently fold the food coloring into the mixture. Continue to mix and knead until the color is evenly distributed throughout the dough. You can add more drops, one at a time, if you desire a more intense pink. Be mindful that food coloring can sometimes slightly alter the texture, so incorporate it as gently as possible until you reach your desired shade. This step is purely for aesthetics but truly enhances the “bubblegum” experience.
Shaping and Chilling the Slices
Once your Bubblegum Slice dough is well-mixed and evenly colored (if you chose to add food coloring), it’s time to shape it. Lightly grease a piece of parchment paper or wax paper with a neutral oil or cooking spray to prevent sticking. Transfer the dough onto the prepared paper. Use your hands to flatten the dough into a rectangular or square shape, aiming for a thickness of about ½ inch. You want to create a uniform layer so that when you cut them, the slices are consistent in size. Once the dough is shaped, carefully cover it with another piece of parchment or wax paper. You can then use a rolling pin to further smooth and even out the surface, ensuring it’s flat and ready for chilling.
Place the shaped dough into the refrigerator. You’ll want to let it chill for at least 30 to 60 minutes. This chilling period is essential because it allows the flavors to meld and, more importantly, firms up the mixture significantly. A firm mixture is crucial for being able to cut clean slices without the dough spreading or becoming overly sticky. The cold helps the marshmallow fluff set, making the final texture of the Bubblegum Slices just right – firm enough to hold their shape but still delightfully chewy.
Cutting and Serving Your Bubblegum Slices
After the chilling period, carefully remove the dough from the refrigerator. Peel off the top layer of parchment or wax paper. Using a sharp knife or a pizza cutter, cut the chilled dough into your desired slice shapes. Squares or small rectangles are typical for this type of confection. If the dough becomes a little too soft to cut cleanly, you can pop it back into the refrigerator for another 10-15 minutes to firm up again before continuing. Gently lift the cut slices from the parchment paper. You can store these Bubblegum Slices in an airtight container at room temperature. They are best enjoyed within a few days, as their texture is at its peak when freshly made. These are perfect for a fun treat, a party favor, or just a nostalgic indulgence!
Conclusion:
And there you have it – your very own batch of delightful Bubblegum Slices! We’ve walked through the simple steps to create these chewy, sweet, and visually appealing treats that are sure to bring a smile to anyone’s face. The beauty of this recipe lies in its adaptability, making it a perfect project for bakers of all skill levels.
For serving, these Bubblegum Slices are fantastic on their own as a fun snack or dessert. They also make an excellent addition to a candy buffet, a children’s birthday party goodie bag, or even as a playful topping for ice cream. Imagin extracte the vibrant colors and fun flavors alongside a scoop of vanilla!
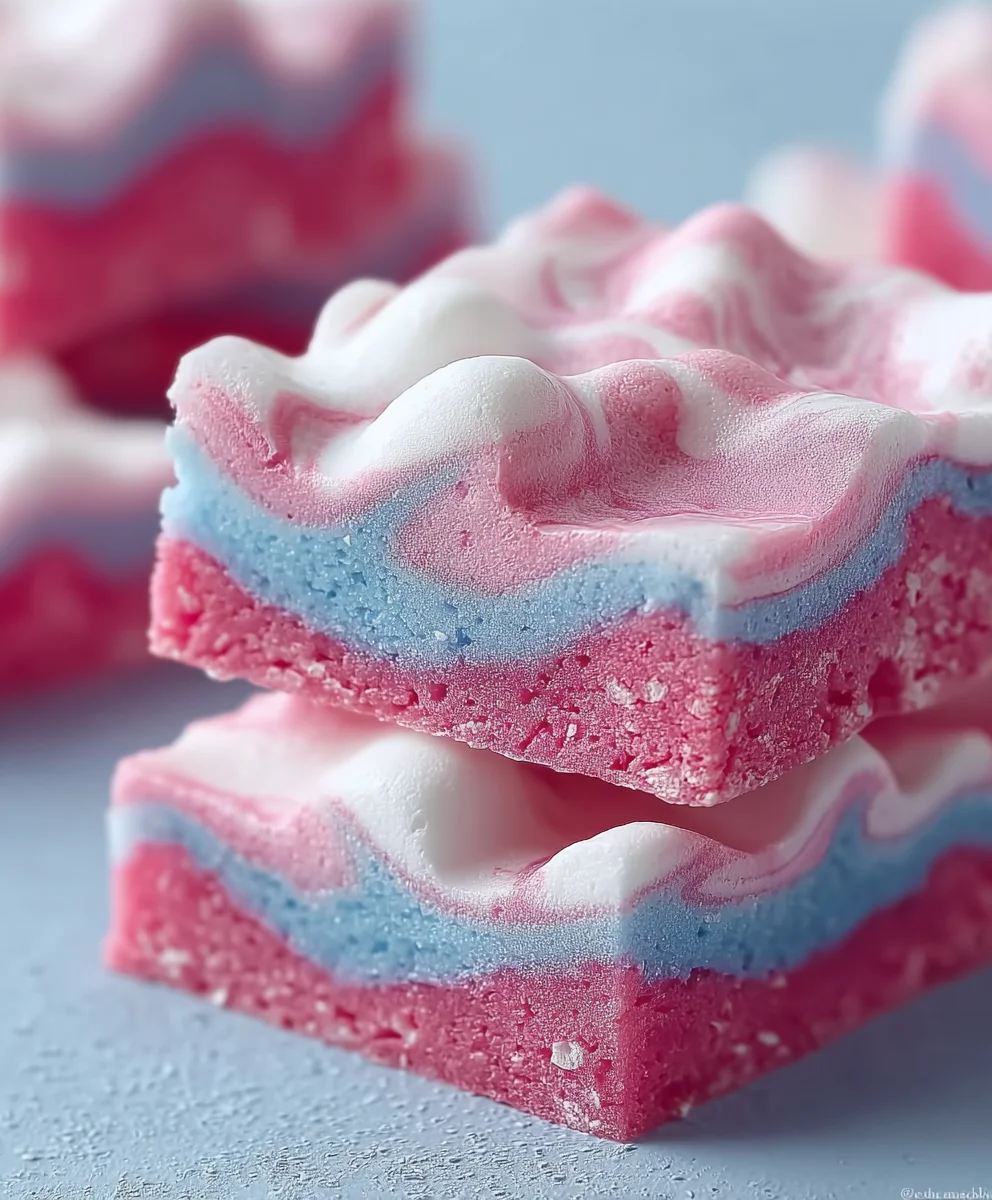
Don’t be afraid to get creative with variations! You can experiment with different food coloring combinations to achieve unique swirling effects. Tiny sprinkles can be added before the slices set for extra texture and sparkle. If you’re feeling adventurous, a hint of marshmallow extract could be added for an even chewier bite and a subtle flavor boost.
We hope you enjoyed making and tasting these wonderfully whimsical Bubblegum Slices. Happy baking, and remember to share the joy (and the treats)!
Frequently Asked Questions about Bubblegum Slices:
Q1: Can I use different flavorings besides bubblegum extract?
Absolutely! While bubblegum extract provides the signature flavor, you can certainly experiment with other extracts like strawberry, watermelon, or even a mix of berry flavors. Just be mindful that some extracts might affect the color or require slight adjustments in liquid quantities.
Q2: How should I store Bubblegum Slices?
To keep your Bubblegum Slices fresh and chewy, store them in an airtight container at room temperature. Avoid refrigerating them, as this can sometimes make them too hard. They should stay delicious for up to a week!
Bubblegum Slices-Sweet Nostalgic Treat
A wonderfully sweet and chewy treat with a nostalgic bubblegum flavor, featuring a unique texture between a no-bake cookie and a dense marshmallow candy.
Ingredients
-
1 cup bubblegum-flavored syrup
-
1 cup marshmallow fluff
-
2 cups powdered sugar
-
1 teaspoon vanilla extract
-
Pink food coloring (optional, for an enhanced bubblegum aesthetic)
Instructions
-
Step 1
In a medium-sized mixing bowl, combine the marshmallow fluff and bubblegum-flavored syrup. Stir with a spatula until a relatively smooth mixture is achieved, even if it appears a bit separate initially. -
Step 2
Add the vanilla extract to the marshmallow fluff and syrup mixture and stir thoroughly until well incorporated. This enhances the sweetness and rounds out the flavor. -
Step 3
Gradually add the powdered sugar in stages, mixing until mostly incorporated after each addition. The mixture will thicken considerably. Continue adding powdered sugar until it becomes a stiff, pliable dough, possibly requiring hands to knead in the last bits. -
Step 4
If desired, add a few drops of pink food coloring to the dough and gently fold or knead until the color is evenly distributed throughout the mixture. Add more drops one at a time for a more intense pink. -
Step 5
Lightly grease parchment or wax paper. Transfer the dough onto the paper and flatten it by hand into a rectangular or square shape, about ½ inch thick. Cover with another sheet of paper and use a rolling pin to smooth and even the surface. -
Step 6
Place the shaped dough in the refrigerator to chill for at least 30 to 60 minutes, allowing flavors to meld and the mixture to firm up. -
Step 7
Once chilled, remove the dough from the refrigerator and peel off the top paper. Using a sharp knife or pizza cutter, cut the dough into desired slice shapes (squares or rectangles). If it becomes too soft, return to the refrigerator briefly.
Important Information
Nutrition Facts (Per Serving)
It is important to consider this information as approximate and not to use it as definitive health advice.
Allergy Information
Please check ingredients for potential allergens and consult a health professional if in doubt.