Best Banana Bread Recipe- Moist & Easy
Best Banana Bread Recipe: Get ready to experience banana bread like never before! If there’s one dessert that evokes pure comfort and nostalgic joy, it’s a warm, fragrant slice of homemade banana bread. We all have that memory – the smell wafting from the kitchen, the perfectly moist crum extractb, the hint of sweetness that just makes everything feel right. But what truly elevates a good banana bread to the best banana bread recipe is a delicate balance of flavors and textures. It’s about using perfectly ripe bananas for maximum sweetness and depth, creating a tender, never-dry interior, and achieving that irresistible golden-brown crust. This isn’t just any banana bread; it’s the recipe that will become your go-to, the one you’ll share with friends and family, and the one that will consistently bring smiles to your table. Let’s dive in and create some magic!
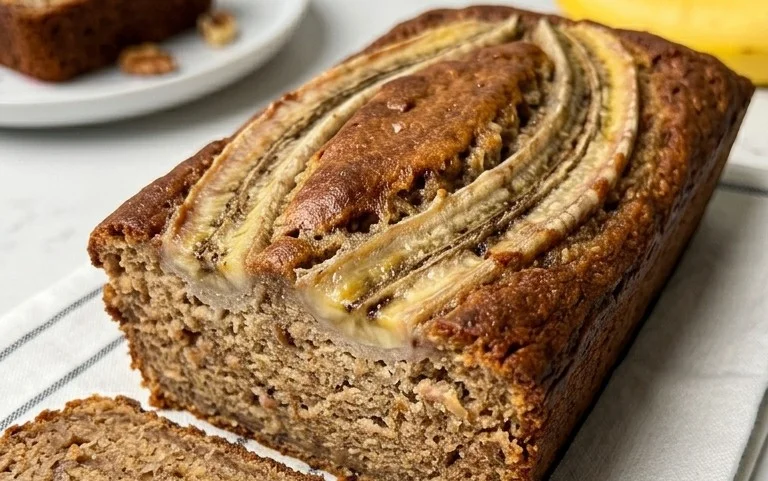
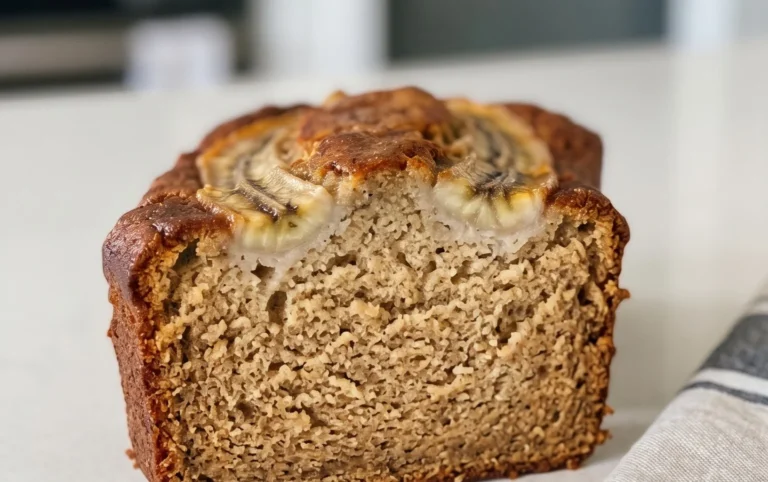
Best Banana Bread Recipe
There’s something incredibly comforting about a slice of warm, moist banana bread. It’s the perfect treat for breakfast, a snack with your afternoon tea, or even a simple dessert. This recipe has been my go-to for years, yielding a consistently delicious loaf that’s never too dense or too dry. The secret lies in using ripe bananas and not overmixing the batter. Get ready to fill your kitchen with that irresistible aroma!
Ingredients:
Instructions:
1. Prepare Your Loaf Pan and Preheat the Oven
The first step to perfect banana bread is to get your equipment ready. Preheat your oven to 350°F (175°C). While the oven is heating, lightly grease and flour a standard 9×5 inch loaf pan. This ensures that your beautiful banana bread will release cleanly once it’s baked. You can also line the pan with parchment paper, leaving some overhang on the sides, which makes lifting the loaf out even easier. Don’t skip this preparation step; it’s crucial for a beautiful presentation.
2. Cream the Butter and Sugar, Then Add the Eggs
In a large mixing bowl, cream together the softened unsalted butter and granulated sugar. You want to beat them until they are light and fluffy. This process incorporates air into the batter, contributing to a lighter texture. Using an electric mixer on medium speed is ideal, but a sturdy whisk and some elbow grease will also work. Once the butter and sugar are well combined, add the two large eggs, one at a time, beating well after each addition until they are fully incorporated. This ensures the eggs emulsify properly with the butter and sugar mixture.
3. Mash the Bananas and Incorporate Wet Ingredients
Now for the star of the show: the bananas! The riper, the better. Black spots are your friend here; they indicate sweetness and moisture. In a separate bowl, mash your ripe bananas with a fork until they are mostly smooth with a few small lumps remaining. This will give your banana bread a lovely texture. Add the mashed bananas and the vanilla extract to the creamed butter, sugar, and egg mixture. Stir gently until everything is just combined. Be careful not to overmix at this stage; we want to keep that air we incorporated earlier.
4. Combine the Dry Ingredients and Gently Fold into the Wet Mixture
In a medium bowl, whisk together the all-purpose flour, baking soda, and salt. Whisking ensures that the leavening agent (baking soda) and salt are evenly distributed throughout the flour, preventing pockets of uneven baking. Now, gradually add the dry ingredients to the wet ingredients. The key here is to fold them in gently. Use a spatula or wooden spoon and mix just until there are no dry streaks of flour visible. Overmixing at this stage can develop the gluten in the flour too much, resulting in a tough, dense banana bread. A few small lumps in the batter are perfectly fine and even desirable.
5. Bake the Banana Bread to Golden Perfection
Pour the batter into your prepared loaf pan and spread it evenly. Place the pan in the preheated oven. Bake for 50-65 minutes, or until a toothpick inserted into the center of the loaf comes out clean. The baking time can vary depending on your oven, so it’s always best to start checking around the 50-minute mark. If the top of your banana bread starts to brown too quickly before the inside is cooked, you can loosely tent it with aluminum foil.
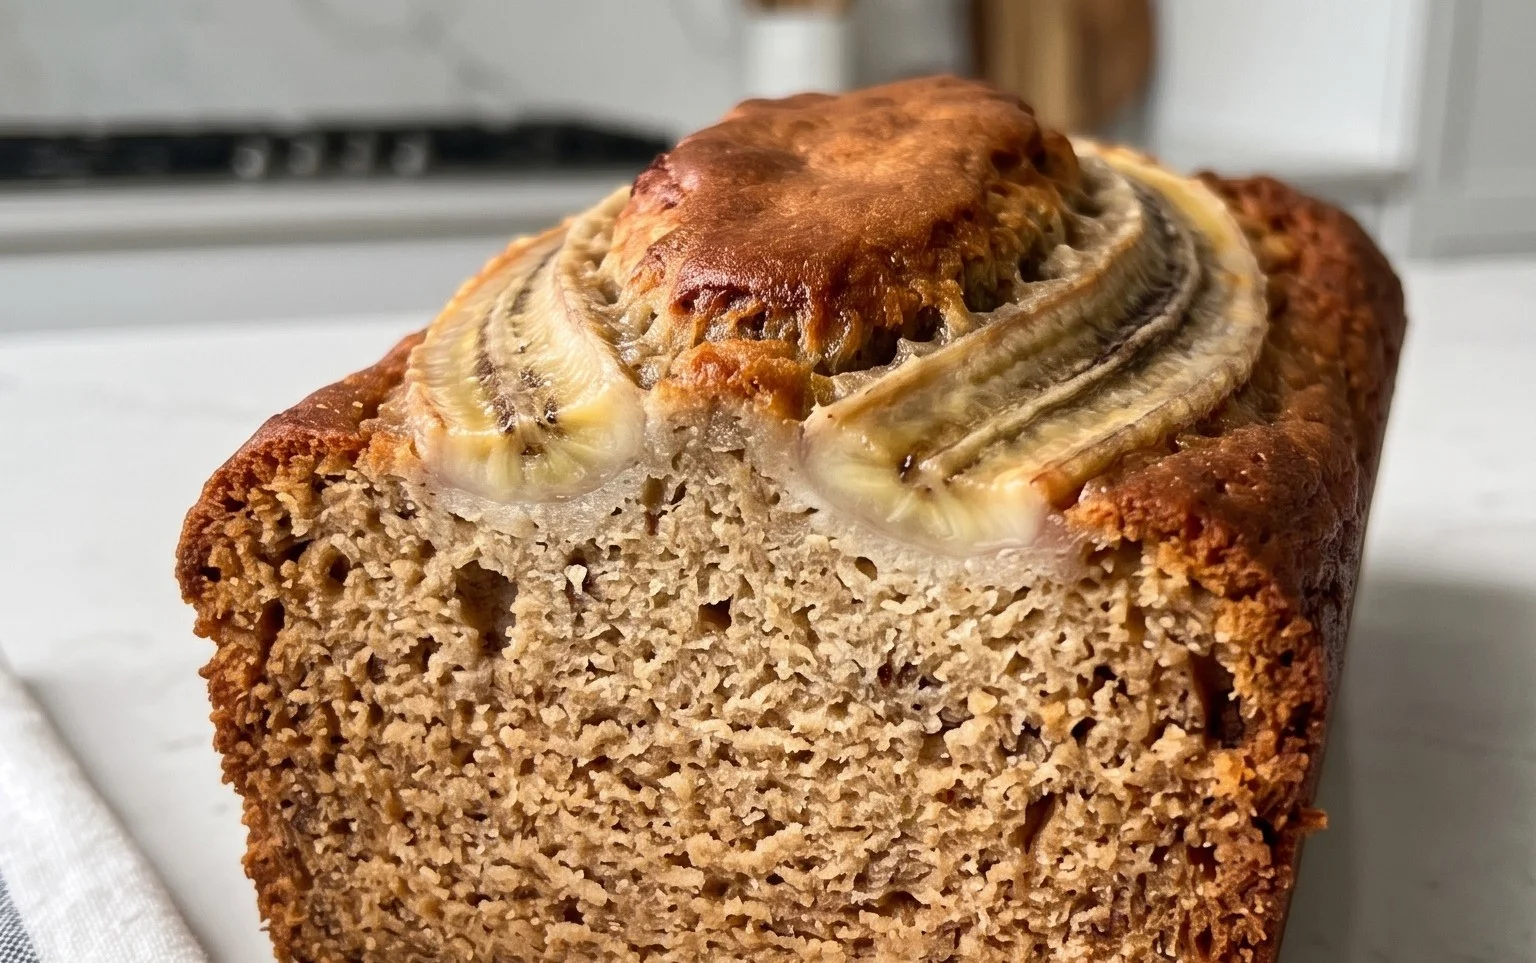
6. Cool and Enjoy Your Delicious Creation
Once baked, remove the banana bread from the oven and let it cool in the loaf pan for about 10-15 minutes. This allows the bread to set properly. Then, carefully invert the loaf onto a wire rack to cool completely. Resist the urge to slice into it immediately! Letting it cool allows the flavors to meld and the texture to fully develop. Once it’s cooled, slice it generously and enjoy. This banana bread is wonderful on its own, but it’s also fantastic toasted and served with a smear of butter or cream cheese. You can also add-ins like chopped nuts or chocolate chips if you like!
Conclusion:
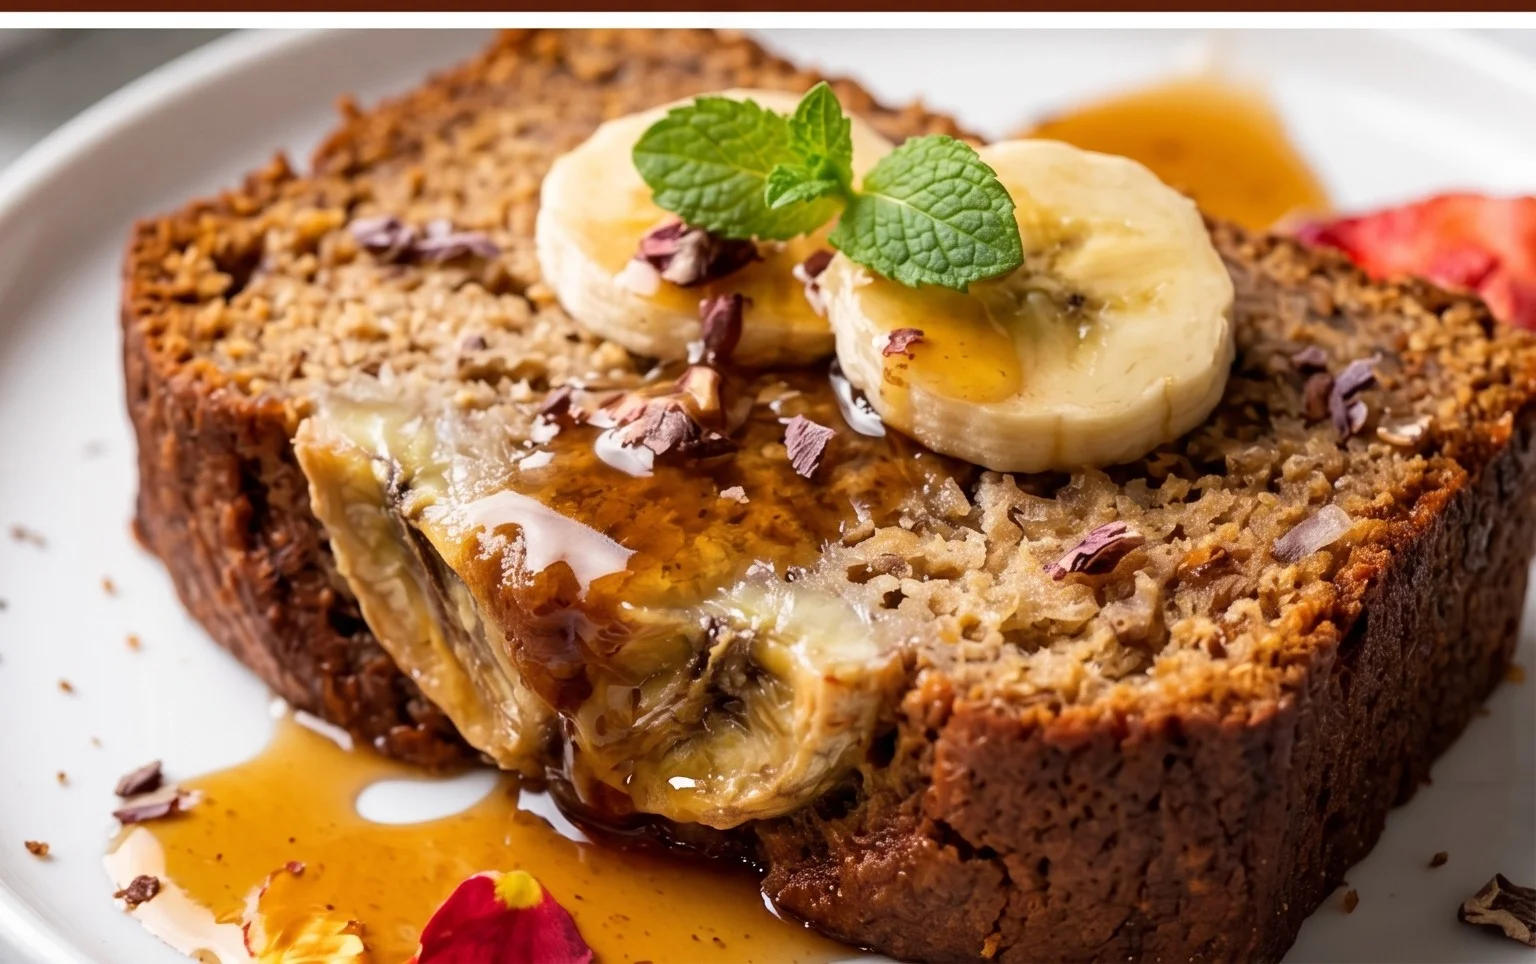
And there you have it – the ultimate guide to creating the best banana bread recipe! We’ve explored the simple steps, the key ingredients that make this loaf so moist and flavorful, and why this recipe truly stands out from the crowd. It’s a foolproof method that guarantees a tender crum extractb, a perfect balance of sweetness, and that irresistible banana aroma that fills your kitchen. Whether you’re a seasoned baker or just starting out, this recipe is designed for success, offering pure comfort in every slice.
Enjoy your freshly baked banana bread warm from the oven, perhaps with a slather of butter or a drizzle of honey. It’s also fantastic toasted and served with your morning coffee, or as a delightful dessert alongside a scoop of vanilla ice cream. Feel free to get creative with variations: fold in chocolate chips for a decadent treat, chopped walnuts or pecans for added crunch, or even a sprinkle of cinnamon and nutmeg for an extra warming spice. Don’t hesitate to experiment and make this recipe your own!
Frequently Asked Questions:
What makes this the best banana bread recipe?
This recipe is celebrated for its consistently moist texture, achieved through the perfect ratio of ripe bananas, fat, and leavening. It also strikes an ideal balance of sweetness without being overpowering, allowing the natural flavor of the bananas to shine. The simple, step-by-step instructions ensure a foolproof outcome for bakers of all levels.
Can I freeze my banana bread?
Absolutely! Banana bread freezes beautifully. Once completely cooled, wrap it tightly in plastic wrap, then in aluminum foil, or place it in an airtight container. It can be stored in the freezer for up to 3 months. Thaw at room temperature for a few hours before enjoying.
My bananas aren’t very ripe. Can I still make this recipe?
While very ripe, spotty bananas are ideal for maximum sweetness and moisture, you can still make this recipe with less ripe ones. However, the flavor might be less intense, and the bread may not be quite as moist. You can try to speed up the ripening process by placing them in a brown paper bag with an apple for a day or two.
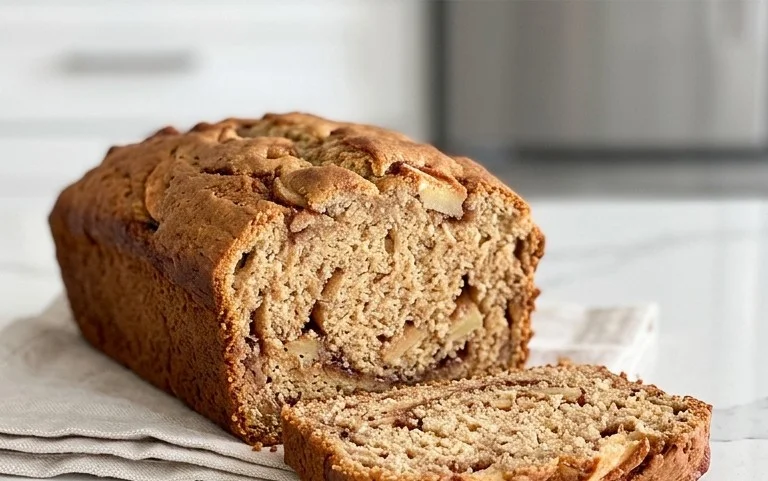
Best Banana Bread Recipe
A classic and incredibly moist banana bread recipe, perfect for using up ripe bananas.
Ingredients
-
1/2 cup unsalted butter, at room temperature
-
1 cup granulated sugar
-
2 large eggs
-
2 cups all purpose flour
-
1 tsp baking soda
-
1/2 tsp salt
-
3 medium bananas, mashed
-
1 tsp vanilla extract
Instructions
-
Step 1
Preheat oven to 350°F (175°C). Grease and flour a 9×5 inch loaf pan. -
Step 2
In a large bowl, cream together the softened butter and granulated sugar until light and fluffy. -
Step 3
Beat in the eggs one at a time, then stir in the vanilla extract. -
Step 4
In a separate bowl, whisk together the all-purpose flour, baking soda, and salt. -
Step 5
Gradually add the dry ingredients to the wet ingredients, mixing until just combined. Do not overmix. -
Step 6
Fold in the mashed bananas. -
Step 7
Pour the batter into the prepared loaf pan and bake for 55-65 minutes, or until a wooden skewer inserted into the center comes out clean. -
Step 8
Let the bread cool in the pan for 10 minutes before transferring it to a wire rack to cool completely.
Important Information
Nutrition Facts (Per Serving)
It is important to consider this information as approximate and not to use it as definitive health advice.
Allergy Information
Please check ingredients for potential allergens and consult a health professional if in doubt.