Easy Pasta Primavera Recipe – Fresh Veggies Delight
Pasta Primavera, a dish that sings with the vibrant colors and fresh flavors of the season, is truly a celebration on a plate. Who doesn’t adore this springtime classic? It’s the ultimate feel-good meal, effortlessly marrying tender pasta with an abundance of crisp, garden-fresh vegetables. What makes Pasta Primavera so utterly special is its remarkable versatility. It’s a dish that adapts to whatever beautiful produce is at its peak, ensuring every bite is a delightful surprise. It’s healthy, it’s light, and it’s incredibly satisfying, making it a perfect choice for a quick weeknight dinner or a charming brunch. I find myself turning to this recipe again and again when I crave something wholesome and utterly delicious. Let’s dive into creating our own perfect bowl of Pasta Primavera!
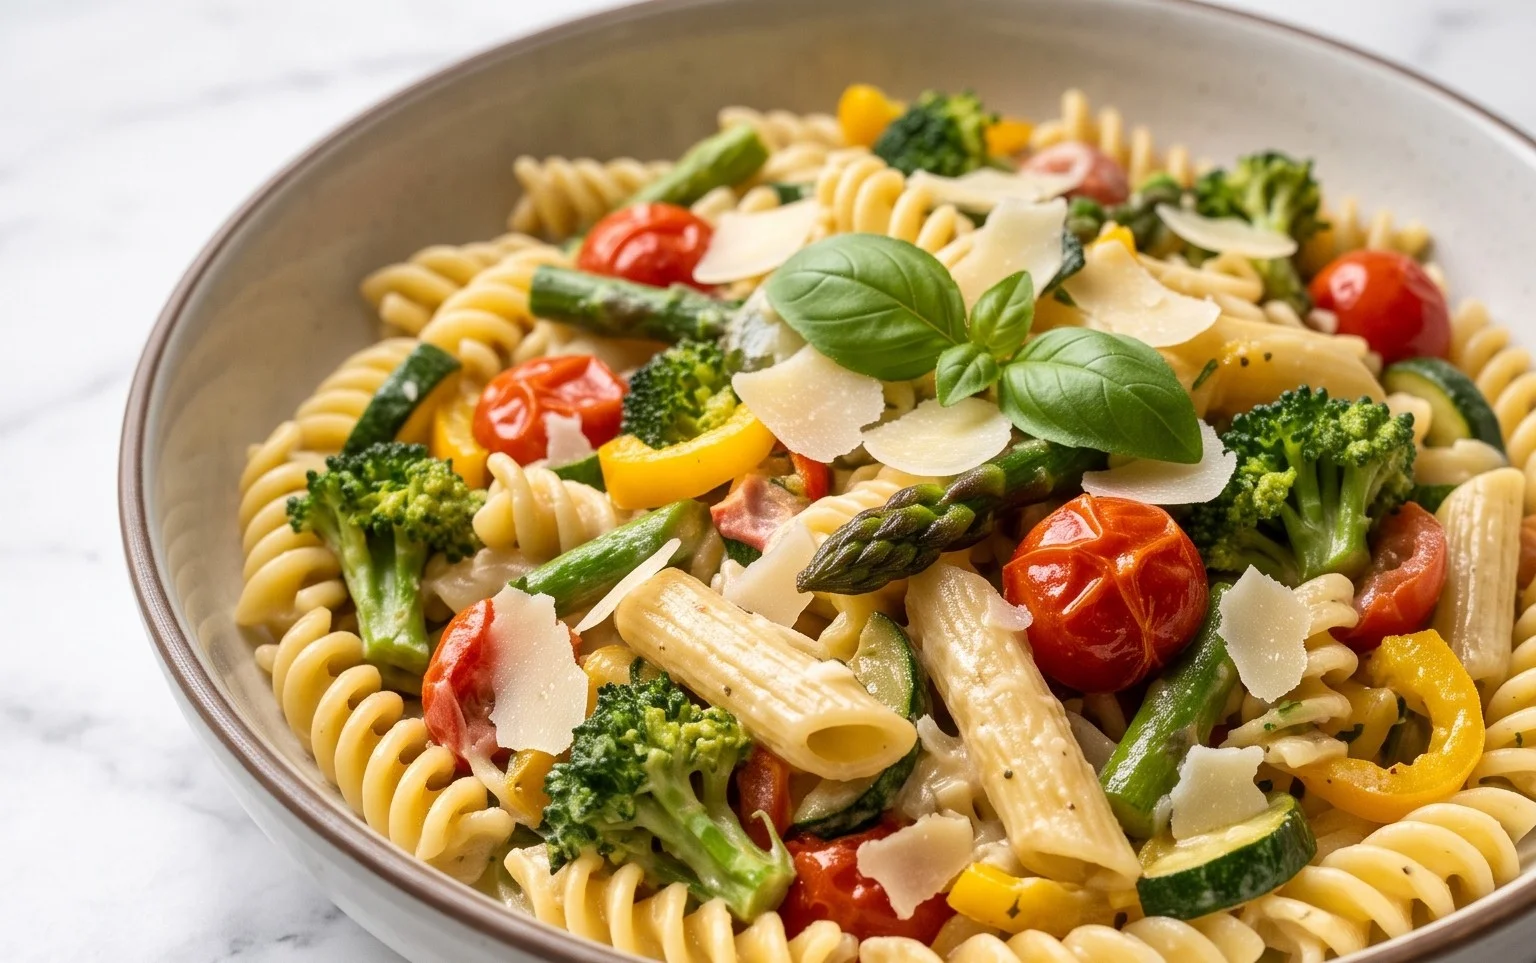
Pasta Primavera: A Vibrant Celebration of Spring
Pasta Primavera, a dish literally translating to “Spring Pasta,” is a delightful way to usher in the warmer months and embrace the abundance of fresh, colorful vegetables. It’s a dish that’s as beautiful to look at as it is delicious to eat, bursting with the bright flavors of the season. This recipe is designed to be simple enough for a weeknight meal but impressive enough to serve guests. We’ll be layering flavors and textures, creating a harmonious blend that’s both satisfying and incredibly fresh. The beauty of this dish lies in its versatility – feel free to adapt it with your favorite spring vegetables as they become available. But for this iteration, we’re sticking to a classic combination that’s guaranteed to please. Let’s get started!
Ingredients:
Cooking Instructions:
1.
Prepare the Pasta and Vegetables
First things first, let’s get our pasta cooking. Bring a large pot of generously salted water to a rolling boil. You want the water to taste like the sea; this is your primary opportunity to season the pasta itself. Add the 10 oz. of dry Barilla Penne Pasta and cook according to package directions until al dente. This means it should be tender but still have a slight bite to it – not mushy! Before draining, and this is a crucial step for a successful sauce, scoop out about 1 cup of the starchy pasta water and set it aside. This cloudy liquid is liquid gold and will help emulsify our sauce, making it silky and rich. Drain the pasta thoroughly and set it aside.
While the pasta is boiling, it’s time to prep our vibrant array of vegetables. We want them all cut in similar, bite-sized pieces for even cooking and a pleasing aesthetic. Slice the 1/2 medium red onion thinly. Peel the large carrot and slice it into matchsticks, similar in size to the broccoli florets you’ll be cutting. Trim the broccoli and cut the florets into matchsticks as well. This technique helps them cook quickly and absorb the flavors of the sauce. Take your medium red bell pepper, remove the seeds and membranes, and slice it into matchsticks. For the yellow squash and zucchini, slice them into quarter portions lengthwise, then slice these quarters into manageable pieces. Finally, mince your 3-4 cloves of garlic. Halve the heaping cup of grape tomatoes lengthwise. Having all your vegetables prepped and ready to go is key to a smooth cooking process, especially since they will be added to the pan in quick succession.
2.
Sauté the Aromatics and Heartier Vegetables
Now, let’s start building our flavor base. Heat 1/4 cup of olive oil in a large skillet or wok over medium-high heat. Once the oil is shimmering, add the sliced red onion. Sauté for about 2-3 minutes until it begin extracts to soften and become translucent. Next, add the carrot matchsticks and broccoli florets. Cook, stirring frequently, for about 5-7 minutes, or until the carrots are begin extractning to tenderize and the broccoli is turning a vibrant green. This initial sautéing allows these slightly firmer vegetables to soften and develop a bit of sweetness before we add the more delicate ingredients. Don’t overcrowd the pan; if your skillet is too full, you might end up steaming the vegetables instead of sautéing them, which will result in a less desirable texture.
3.
Add Remaining Vegetables and Garlic
Once the carrots and broccoli have had a head start, it’s time to introduce the rest of our colorful cast. Add the red bell pepper matchsticks, yellow squash, and zucchini to the skillet. Continue to stir-fry for another 3-5 minutes, until these vegetables are tender-crisp. You want them to retain a slight bite; nobody likes mushy vegetables in their pasta! Now, create a little space in the center of the skillet and add the minced garlic. Cook the garlic for about 30 seconds until fragrant, being careful not to burn it. Burnt garlic will impart a bitter flavor to your dish. Stir the garlic into the vegetables, ensuring it’s evenly distributed.
4.
Incorporate Tomatoes and Seasonings
The vegetables are almost ready! Add the halved grape tomatoes to the skillet. Cook for another 1-2 minutes, just until they begin extract to soften and release some of their juices. This will add a burst of sweetness and a lovely pop of color. Now, sprinkle in the 2 tsp of dried Italian seasoning. The heat will help to release the aromatic oils from the dried herbs, infusing the entire dish with their fragrant essence. Stir everything together well.
5.
Bring It All Together with Sauce and Cheese
This is where the magic truly happens! Pour in the reserved 1/2 cup of pasta water. This starchy water, combined with the olive oil and vegetable juices, will create a light, glossy sauce. Stir in the 2 Tbsp of fresh lemon juice. The bright, zesty lemon flavor cuts through the richness of the olive oil and vegetables, adding a crucial layer of brightness that defines Pasta Primavera. Add half of the shredded parmesan cheese (about 1/4 cup) to the skillet and stir until it’s melted and incorporated into the sauce. Finally, add the drained penne pasta to the skillet. Toss everything gently to coat the pasta and vegetables in the luscious sauce. The heat of the pasta and the sauce will continue to meld the flavors together.
Serve immediately, garnished with the remaining 1/4 cup of shredded parmesan cheese and perhaps a crack of black pepper. Enjoy this delightful celebration of spring!
Conclusion:
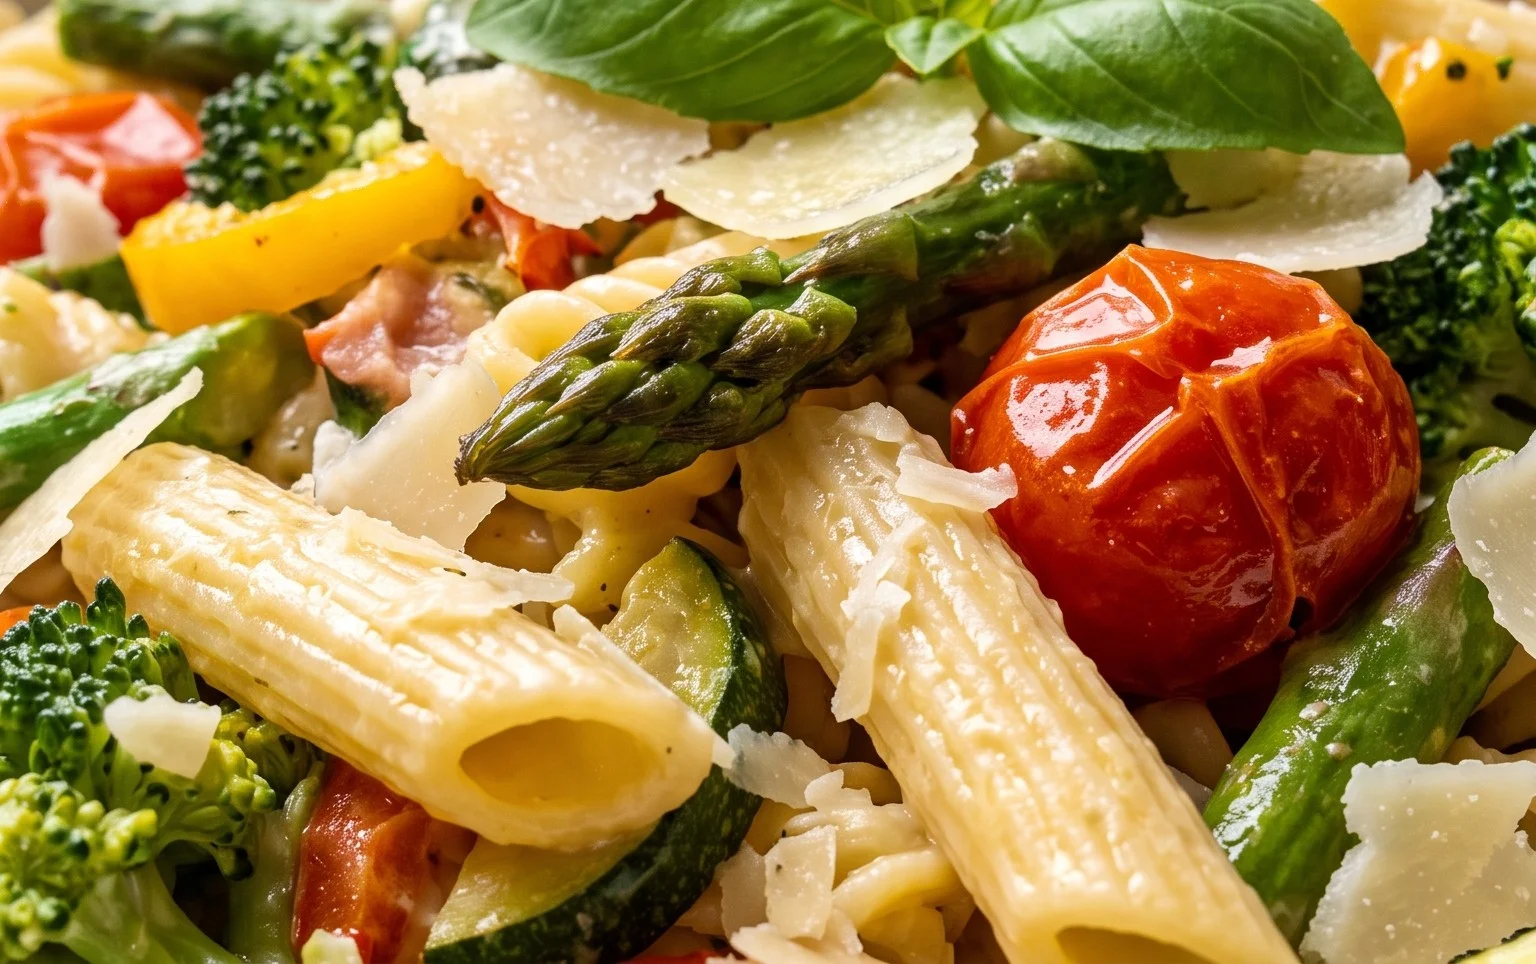
And there you have it! My Pasta Primavera recipe is more than just a meal; it’s a vibrant celebration of fresh, seasonal ingredients. Its beauty lies in its simplicity and incredible versatility. Whether you’re looking for a quick weeknight dinner that feels special or a crowd-pleasing dish for a gathering, this recipe delivers. The combination of tender pasta and crisp-tender vegetables, brought together with a light, flavorful sauce, is simply delightful. It’s a healthy yet utterly satisfying way to enjoy the bounty of the season.
For serving, I love to top my Pasta Primavera with a generous sprinkle of freshly grated Parmesan cheese and a handful of toasted pine nuts for an extra layer of texture and nutty flavor. It also pairs wonderfully with a crisp green salad and a slice of crusty bread. Don’t be afraid to get creative with your vegetable choices! This recipe is a fantastic canvas for whatever fresh produce you have on hand. Think asparagus, snap peas, zucchini, bell peppers, or even a handful of spinach wilted in at the end. Feel free to experiment with different herbs too – basil, mint, or parsley all work beautifully. I truly encourage you to give this delightful Pasta Primavera a try; I think you’ll be amazed at how easily and deliciously you can create this springtime favorite.
Frequently Asked Questions:
What are some good protein additions for Pasta Primavera?
You can easily make this Pasta Primavera a complete meal by adding some grilled chicken breast, shrimp, or even some pan-seared tofu or chickpeas. These additions complement the fresh vegetables wonderfully without overpowering the dish.
Can I make this recipe ahead of time?
While Pasta Primavera is best enjoyed fresh to appreciate the texture of the vegetables, you can prep the vegetables and sauce components ahead of time. Cook the pasta just before serving and then toss everything together. This will save you valuable time on a busy day.
Pasta Primavera
A vibrant and healthy pasta dish packed with fresh vegetables and a light lemon-parmesan sauce.
Ingredients
-
10 oz. dry Barilla Penne Pasta
-
Salt
-
1/4 cup olive oil
-
1/2 medium red onion, sliced
-
1 large carrot, peeled and sliced into matchsticks
-
2 cups broccoli florets, cut into matchsticks
-
1 medium red bell pepper, sliced into matchsticks
-
1 medium yellow squash, sliced into quarter portions
-
1 medium zucchini, sliced into quarter portions
-
3 – 4 cloves garlic cloves, minced
-
1 cup (heaping) grape tomatoes, halved through the length
-
2 tsp dried Italian seasoning
-
1/2 cup pasta water
-
2 Tbsp fresh lemon juice
-
1/2 cup shredded parmesan, divided
Instructions
-
Step 1
Cook Barilla Penne Pasta according to package directions in generously salted boiling water. Reserve 1/2 cup of pasta water before draining. -
Step 2
While pasta cooks, heat olive oil in a large skillet or Dutch oven over medium heat. Add sliced red onion and cook until softened, about 3-4 minutes. -
Step 3
Add carrot matchsticks and broccoli florets to the skillet. Cook for 5-7 minutes, until vegetables are tender-crisp. -
Step 4
Stir in red bell pepper, yellow squash, zucchini, and minced garlic. Cook for another 3-5 minutes until vegetables are tender. -
Step 5
Add halved grape tomatoes and dried Italian seasoning to the skillet. Cook for 1-2 minutes until tomatoes begin to soften. -
Step 6
Add the drained pasta to the skillet with the vegetables. Pour in the reserved pasta water and lemon juice. Toss to combine. -
Step 7
Stir in half of the shredded parmesan cheese. Season with salt to taste. Continue to toss until the cheese is melted and the sauce coats the pasta and vegetables. -
Step 8
Serve immediately, garnished with the remaining shredded parmesan cheese.
Important Information
Nutrition Facts (Per Serving)
It is important to consider this information as approximate and not to use it as definitive health advice.
Allergy Information
Please check ingredients for potential allergens and consult a health professional if in doubt.