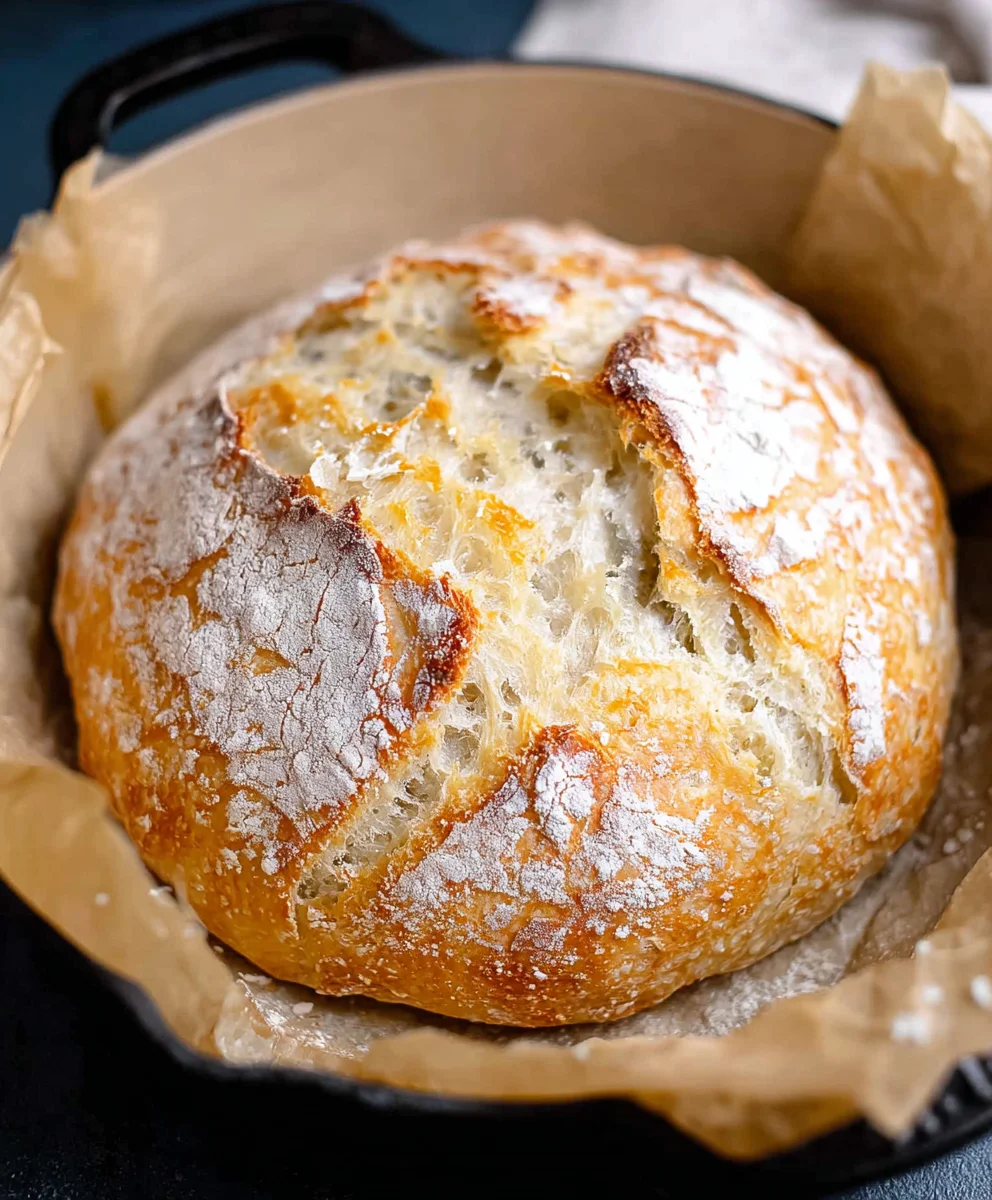
Easy Dutch Oven No Knead Crusty Bread Recipe
Dutch Oven No Knead Crusty Bread is more than just a recipe; it’s a gateway to achieving bakery-quality loaves right in your own kitchen with astonishingly little effort. Imagin extracte the satisfying crackle of a perfectly golden crust giving way to a soft, airy interior, all without the need for a single moment of kneading. This is the magic of the Dutch oven no knead crusty bread method, and it’s something truly special that has captured the hearts of home bakers everywhere. What is it about this particular bread that makes it so universally loved? Perhaps it’s the simplicity that belies its incredible results, or maybe it’s the comforting aroma that fills your home as it bakes. This recipe isn’t just about sustenance; it’s about the joy of creation and the deep satisfaction of pulling a truly spectacular loaf from your oven, proving that achieving a fantastic Dutch oven no knead crusty bread is within everyone’s reach.
What Makes This Bread So Amazing?
The Art of Simplicity
Ingredients:
- 1 1/2 cups warm water (about 100 degrees F)
- 1 packet yeast (active dry, instant, or quick rise – 2.25 teaspoons)
- 1 ½ teaspoons fine grain salt
- 3 1/4 cups all-purpose flour
Preparing the Dough
Step 1: Activating the Yeast
Begin extract by gathering your ingredients and a large mixing bowl. In your mixing bowl, pour the 1 1/2 cups of warm water. The ideal temperature for activating yeast is around 100 degrees Fahrenheit. If the water is too hot, it can kill the yeast, preventing your bread from rising. If it’s too cool, the yeast might not activate effectively. You can test the temperature by dipping your finger in; it should feel comfortably warm, not hot. Once the water is at the right temperature, sprinkle the entire packet of yeast (which is approximately 2.25 teaspoons) over the surface of the water. Do not stir it in just yet. Let it sit for about 5 to 10 minutes. You’ll know the yeast is alive and ready when it becomes foamy and bubbly, almost like a thin layer of foam has formed on top. This process is called blooming the yeast and ensures it’s active and ready to do its job of making your bread light and airy. If you don’t see any foam after 10 minutes, your yeast may be old or the water was not the correct temperature, and you’ll need to start with fresh yeast and water.
Step 2: Combining Wet and Dry Ingredients
Once your yeast has bloomed and you have a frothy mixture, it’s time to add the salt and flour. Add the 1 ½ teaspoons of fine grain salt to the yeast mixture. The salt not only adds flavor to your bread but also helps to control the yeast’s activity, preventing it from fermenting too quickly. Next, gradually add the 3 1/4 cups of all-purpose flour to the bowl. It’s best to add the flour in stages rather than all at once. This allows for better incorporation of the ingredients and helps prevent lumps. Start by adding about half of the flour and gently stir it into the wet ingredients with a wooden spoon or a sturdy spatula. Continue adding the remaining flour, stirring until a shaggy, wet gin extractgh begins to form. At this stage, the dough will be quite sticky and might not look like traditional bread dough – that’s exactly what we’re aiming for with this no-knead method. Resist the urge to add more flour, as this will result in a denser loaf.
Fermenting and Resting
Step 3: The First Rise
After you’ve incorporated all the flour and have a shaggy dough, it’s time to cover the bowl and let the magic happen. Use plastic wrap or a clean kitchen towel to cover the bowl tightly. This will trap the moisture and heat, creating an ideal environment for the yeast to work. Place the covered bowl in a warm spot in your kitchen. A good place is on top of your refrigerator, near a turned-off oven that has recently been used, or even just a warm countertop. Let the dough rise for a minimum of 8 hours, or preferably 12 to 18 hours. The longer fermentation period allows the gluten to develop naturally without kneading, resulting in that sought-after chewy texture and complex flavor. During this long rest, the yeast will consume sugars in the flour and produce carbon dioxide gas, which will cause the dough to expand significantly, likely doubling or even tripling in size. You’ll notice the surface of the dough becoming dotted with small bubbles as the fermentation progresses. This is a sign of a healthy, active dough.
Shaping and Baking
Step 4: Preparing for the Bake
After the dough has had its long, leisurely rise, it’s time to prepare it for baking. You will need a Dutch oven for this recipe, as it creates a steamy environment crucial for achieving a wonderfully crusty exterior. Place your empty Dutch oven, along with its lid, into your oven. Then, preheat your oven to 450 degrees Fahrenheit (230 degrees Celsius). It is essential that both the Dutch oven and the oven are fully preheated. This extreme heat is what gives the bread its signature crisp crust. While the oven and Dutch oven are preheating, gently turn the risen dough out onto a lightly floured surface. Be careful not to punch down the dough too aggressively; you want to preserve as much of the air bubbles as possible. You can use a bench scraper to help guide the dough. Lightly flour your hands and gently shape the dough into a round ball. Don’t overwork it; just aim for a cohesive shape.
Step 5: Baking the Crusty Loaf
Once the oven and Dutch oven are thoroughly heated (this will take at least 30 minutes), carefully remove the hot Dutch oven from the oven. Be extremely cautious as it will be very hot. Remove the lid from the Dutch oven. Gently place the shaped dough ball into the hot Dutch oven. You can use parchment paper to help lower the dough into the pot if you are worried about it sticking, or if you want an easier transfer. Once the dough is in the Dutch oven, place the lid back on. Return the Dutch oven, with the dough inside, to the preheated oven. Bake for 30 minutes with the lid on. After 30 minutes, carefully remove the lid from the Dutch oven. The bread will have risen and will be pnon-alcoholic ale. Continue baking for another 15 to 25 minutes, or until the crust is a deep golden brown and sounds hollow when tapped on the bottom. This final stage of baking without the lid allows the crust to crisp up beautifully. Once baked, carefully remove the bread from the Dutch oven and place it on a wire rack to cool completely before slicing. This cooling period is vital, allowing the interior of the bread to set and develop its final texture.
Conclusion:
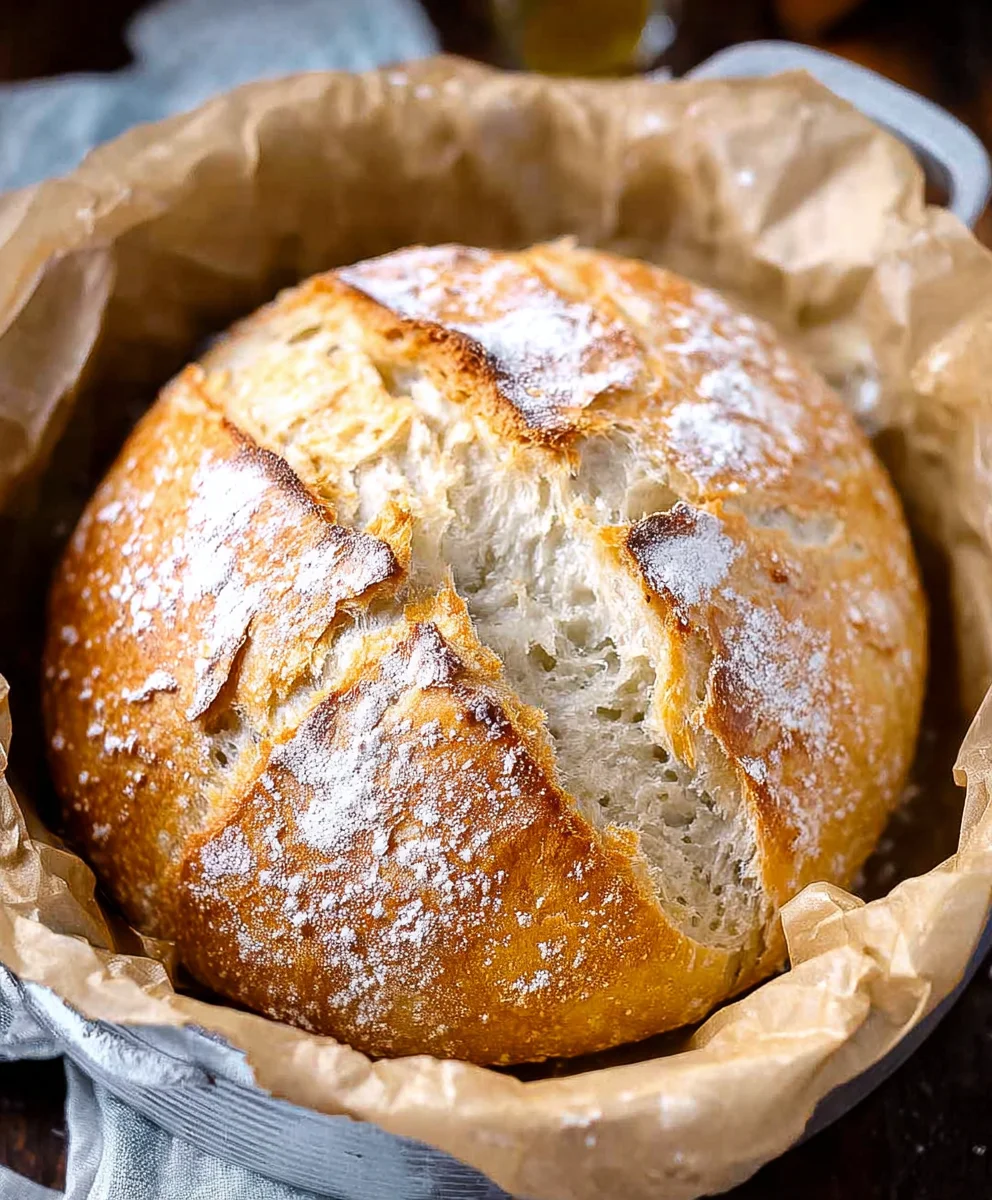
You’ve now mastered the art of creating beautiful, golden, and undeniably delicious Dutch Oven No Knead Crusty Bread! This recipe truly is a testament to the magic that happens with simple ingredients and minimal effort. The satisfaction of pulling a perfectly baked loaf from your oven, with its crackling crust and airy interior, is unparalleled. Don’t be afraid to experiment and make this Dutch Oven No Knead Crusty Bread your own – that’s part of the fun!
This versatile loaf is fantastic served simply with butter, or it can be the star of your meal. It’s perfect for dipping into hearty soups and stews, making incredible croutons, or assembling into the ultimate sandwich. For a touch of elegance, try brushing the crust with a little melted butter and a sprinkle of flaky sea salt just after it comes out of the oven.
We encourage you to try this recipe again and again. Each time you bake this Dutch Oven No Knead Crusty Bread, you’ll gain more confidence and perhaps discover new favorite ways to enjoy it.
Frequently Asked Questions about Dutch Oven No Knead Crusty Bread:
Q: My Dutch Oven No Knead Crusty Bread didn’t get a very crusty exterior. What could I have done wrong?
A: A common reason for a less-than-crusty loaf is not preheating your Dutch oven sufficiently. Ensure your oven and the Dutch oven are both at the specified temperature for at least 30 minutes before adding your dough. Also, make sure you are baking it with the lid on for the initial period to trap steam, and then removing the lid to allow the crust to crisp up.
Q: Can I add anything to the Dutch Oven No Knead Crusty Bread dough for flavor?
A: Absolutely! Feel free to mix in herbs like rosemary or thyme, garlic powder, or even some grated cheese into the dough before the final rise. Just be mindful that additions might slightly alter the rise and texture.
Easy Dutch Oven No Knead Crusty Bread
A simple recipe for delicious, crusty bread baked in a Dutch oven without any kneading required.
Ingredients
-
1 1/2 cups warm water (about 100 degrees F)
-
1 packet yeast (active dry, instant, or quick rise – 2.25 teaspoons)
-
1 1/2 teaspoons fine grain salt
-
3 1/4 cups all-purpose flour
-
Optional: Parchment paper
Instructions
-
Step 1
In a large mixing bowl, combine 1 1/2 cups of warm water (around 100°F) and 1 packet (2.25 teaspoons) of yeast. Let it sit for 5-10 minutes until foamy and bubbly, indicating the yeast is active. -
Step 2
Add 1 1/2 teaspoons of fine grain salt and 3 1/4 cups of all-purpose flour to the yeast mixture. Stir until a shaggy, wet dough forms. Resist adding more flour; the dough should be sticky. -
Step 3
Cover the bowl tightly with plastic wrap or a clean kitchen towel. Let the dough rise in a warm spot for 8-18 hours, or until it has doubled or tripled in size and is dotted with bubbles. -
Step 4
Place an empty Dutch oven with its lid into the oven and preheat to 450°F (230°C) for at least 30 minutes. While preheating, gently turn the risen dough out onto a lightly floured surface and shape it into a round ball without deflating it too much. -
Step 5
Carefully remove the hot Dutch oven from the oven and remove the lid. Gently place the shaped dough into the hot Dutch oven (using parchment paper can help). Place the lid back on and return to the oven. -
Step 6
Bake for 30 minutes with the lid on. Then, carefully remove the lid and continue baking for another 15-25 minutes, or until the crust is a deep golden brown and sounds hollow when tapped. Let cool completely on a wire rack before slicing.
Important Information
Nutrition Facts (Per Serving)
It is important to consider this information as approximate and not to use it as definitive health advice.
Allergy Information
Please check ingredients for potential allergens and consult a health professional if in doubt.