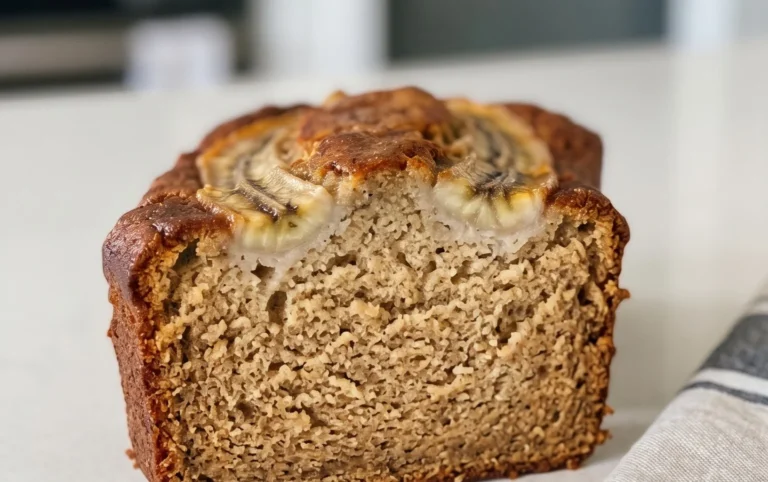
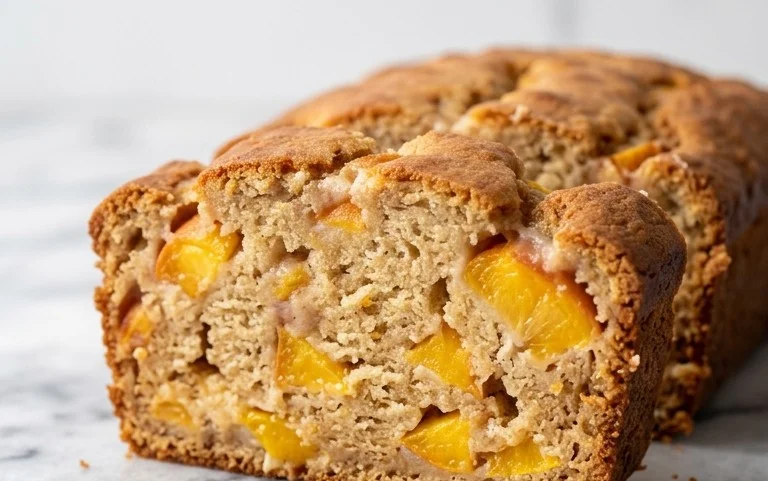
Best Honey Vanilla Banana Bread Soft Fluffy Recipe
The BEST Honey Vanilla Banana Bread recipe you’ll ever make is waiting for you! Forget dry, crum extractbly loaves; this is the kind of banana bread that dreams are made of – incredibly soft, delightfully fluffy, and bursting with warm, comforting flavors. There’s a reason why banana bread is a beloved classic in kitchens everywhere. It’s the ultimate way to transform those overripe bananas into something truly magical, perfect for breakfast, a mid-afternoon treat, or a sweet ending to any meal. What sets this particular Honey Vanilla Banana Bread apart? It’s the harmonious blend of natural sweetness from honey, infused with the delicate aroma of vanilla, creating a depth of flavor that’s both familiar and exciting. Prepare to impress yourself and everyone you share this with!
Ingredients:
Cooking Instructions
This Honey Vanilla Banana Bread is a delightful twist on a classic comfort food. It’s incredibly soft and fluffy, with a subtle sweetness from honey and a warm depth from vanilla. It’s perfect for breakfast, a snack, or even dessert, and remarkably easy to whip up.
Step 1: Prepare Your Workspace and Oven
Before you begin extract mixing, it’s important to get your oven preheated and your loaf pan ready. This ensures that your banana bread bakes evenly from the moment it goes in. Preheat your oven to 325 degrees Fahrenheit (160 degrees Celsius). While the oven is heating up, generously grease an 8½x4½ inch loaf pan. You can use butter, non-stick cooking spray, or even line it with parchment paper for easy removal.
Step 2: Combine the Wet Ingredients
In a large mixing bowl, combine the melted unsalted butter and honey. Whisk them together until they are smoothly incorporated. Next, add your eggs, mashed bananas, milk, and pure vanilla extract or paste. For the bananas, aim for about 1 ½ cups of mashed banana. Overripe bananas are best for this as they are sweeter and easier to mash. Whisk this mixture thoroughly until all the ingredients are well combined and you have a wonderfully fragrant, liquid base. This is where a lot of the moisture and flavor of your banana bread will come from.
Step 3: Combine the Dry Ingredients
In a separate, medium-sized bowl, whisk together the all-purpose flour, baking soda, and salt. Giving these dry ingredients a good whisk ensures that the baking soda and salt are evenly distributed throughout the flour. This is crucial for proper leavening and to avoid any pockets of saltiness or flatness in your final loaf. Make sure there are no lumps in your flour mixture.
Step 4: Marry the Wet and Dry
Now it’s time to combine your wet and dry ingredients. Pour the wet ingredients from the large bowl into the bowl containing the dry ingredients. Using a spatula or a wooden spoon, mix them together until they are just combined. It’s very important not to overmix the batter at this stage. Overmixing can develop the gluten in the flour too much, resulting in a tougher, less tender banana bread. A few streaks of flour are perfectly fine; they will incorporate as the batter sits briefly.
Step 5: Add Mix-Ins (Optional) and Bake
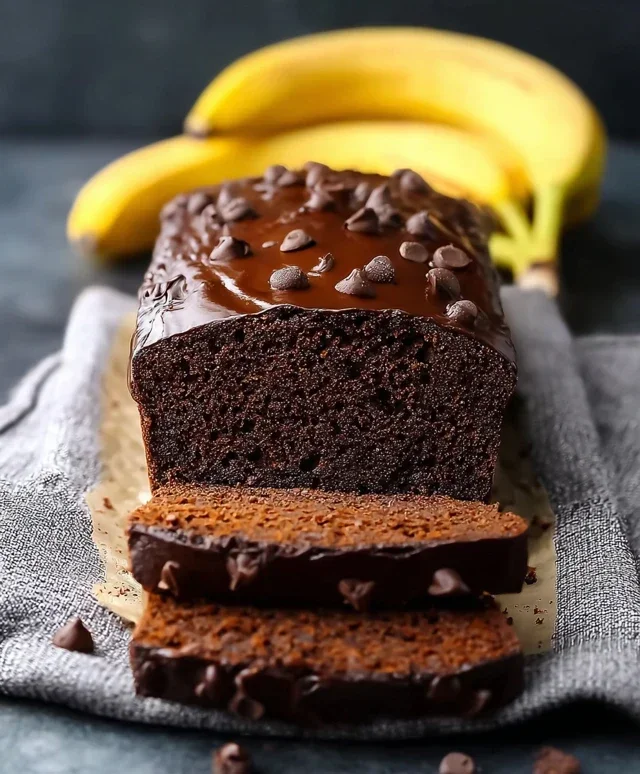
If you’re planning to add any optional mix-ins like crushed nuts or chocolate chips, gently fold them into the batter now. Be careful not to overmix. Pour the batter into your prepared loaf pan. If you desire a decorative top, you can slice an extra banana lengthwise and place the halves on top of the batter, cut-side up. This adds a beautiful presentation. Bake in your preheated oven for 50-55 minutes. To check for doneness, insert a toothpick into the center of the loaf. If it comes out clean, your banana bread is ready.
Step 6: Cool and Enjoy
Once baked, remove the loaf pan from the oven. Let the banana bread cool in the loaf pan for about 15 minutes. This allows it to set up slightly, making it easier to remove without breaking. After 15 minutes, carefully transfer the loaf to a wire rack to cool completely. Allow it to cool for at least 30 minutes before slicing. This resting period is important for the texture and flavor to fully develop. Once cooled, slice and enjoy your delicious, homemade Honey Vanilla Banana Bread!
Optional Toppings and Variations:
For an extra touch of sweetness and flavor, consider making a peanut butter glaze or a peanut butter cream cheese frosting. A simple glaze can be made by whisking together 3 tablespoons of melted creamy peanut butter with ½ cup of powdered sugar and 2 tablespoons of milk, then pouring it over the cooled bread. For a richer frosting, beat together 4 oz softened cream cheese, ¼ cup softened butter, and ½ cup creamy peanut butter until smooth, then gradually add 1 cup of powdered sugar until creamy and spreadable. This bread is also delicious served with a smear of butter or a dollop of your favorite jam.
Conclusion:
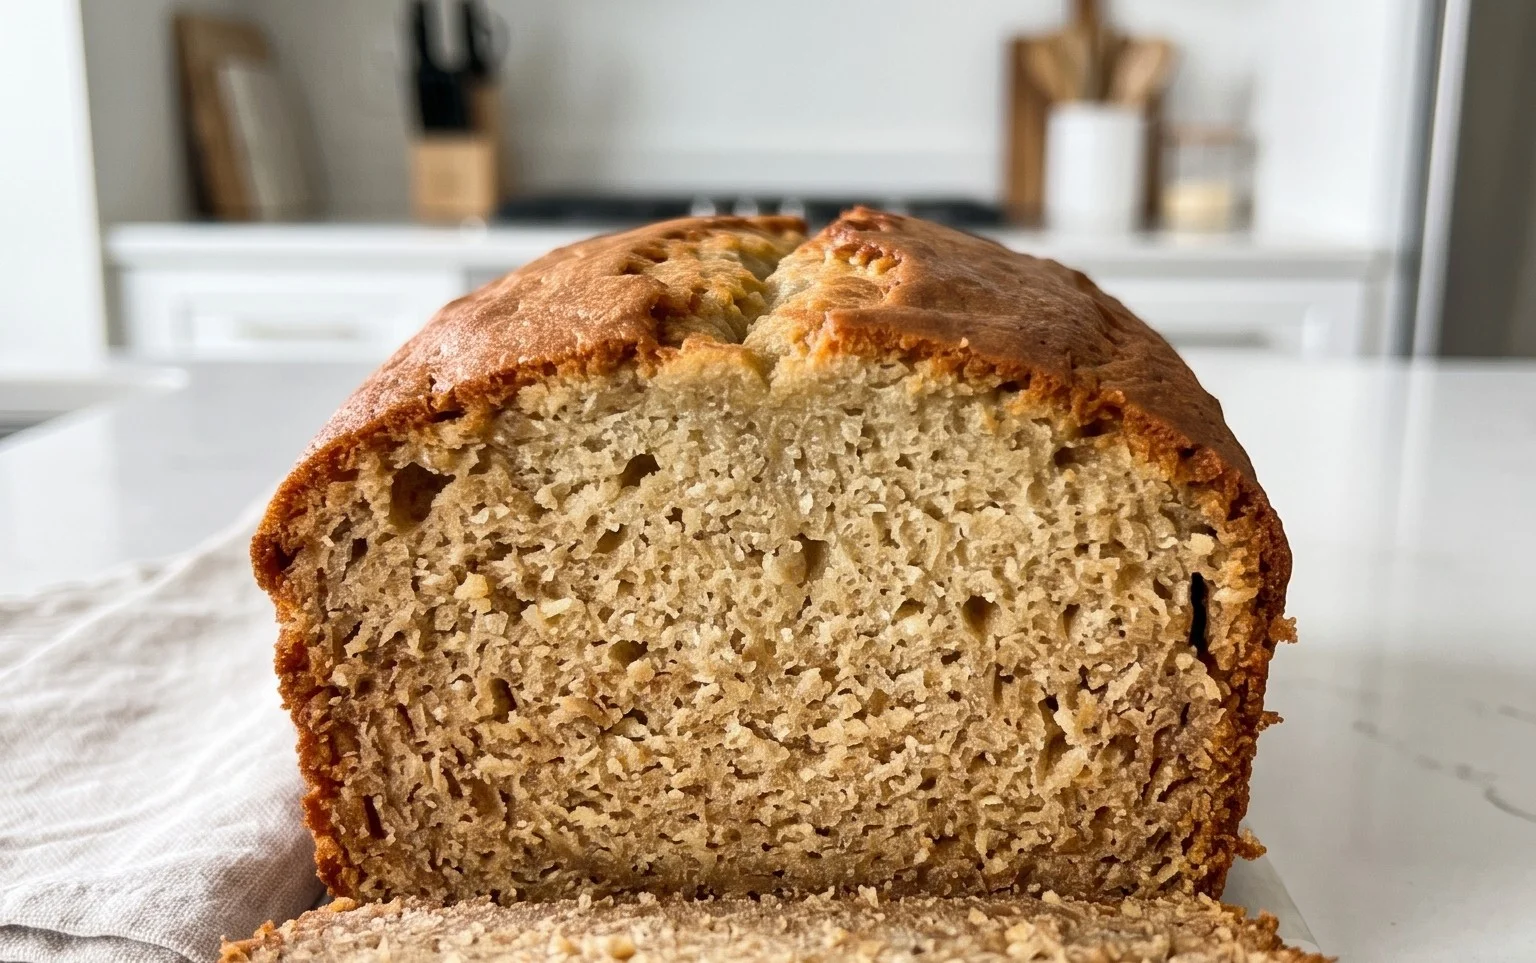
You’ve done it! You’ve unlocked the secret to the BEST Honey Vanilla Banana Bread. This recipe isn’t just about baking; it’s about creating a warm, comforting treat that fills your home with an irresistible aroma. The magic lies in the perfect balance of sweet honey and fragrant vanilla, perfectly complementing the natural sweetness of ripe bananas, resulting in a loaf that’s both incredibly soft and delightfully fluffy. This is truly an easy recipe that delivers exceptional results, making it a go-to for bakers of all skill levels.
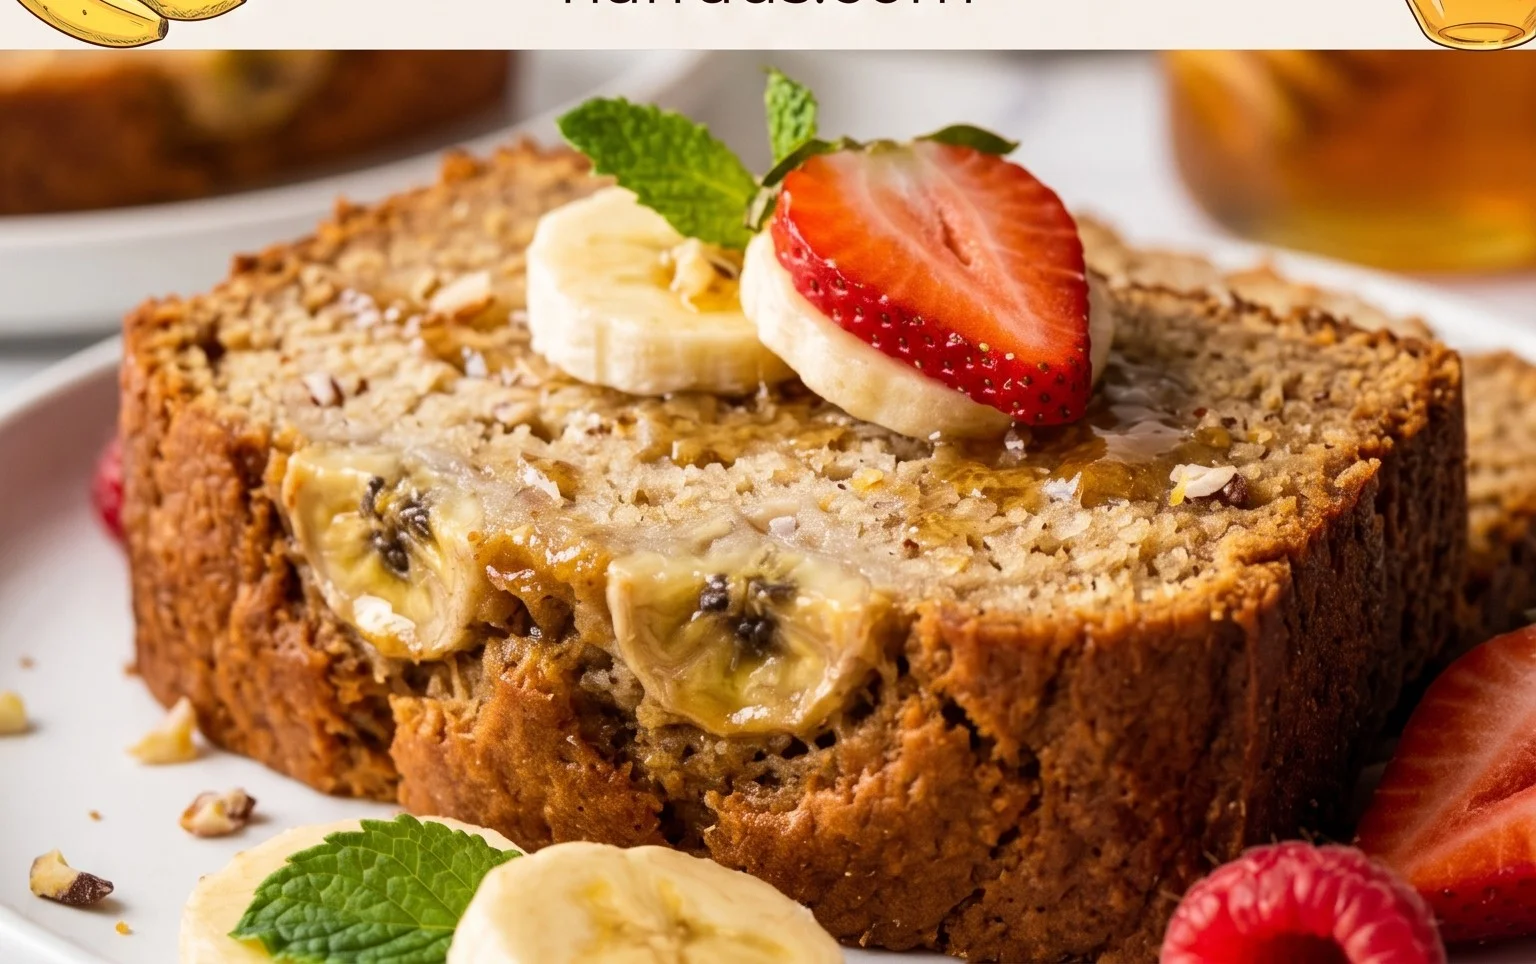
Enjoy this heavenly banana bread on its own as a simple yet satisfying snack, or elevate it with a dollop of cream cheese frosting, a smear of butter, or a drizzle of extra honey. It’s also fantastic alongside a cup of coffee or tea for a delightful breakfast or afternoon pick-me-up. Feeling adventurous? Try adding a handful of chocolate chips, chopped walnuts, or even a sprinkle of cinnamon to the batter for a delightful twist on this classic.
I truly hope you give this Honey Vanilla Banana Bread recipe a try. It’s guaranteed to become a favorite in your baking repertoire, bringin extractg smiles and deliciousness to every slice. So gather your ripe bananas, preheat your oven, and get ready to experience banana bread perfection!
Frequently Asked Questions:
Why is this banana bread so soft and fluffy?
The combination of mashed ripe bananas, melted butter (or oil), and the correct ratio of dry to wet ingredients are key. Ripe bananas provide moisture and natural sweetness, while not overmixing the batter prevents gluten from developing too much, keeping the bread tender and fluffy. The honey also contributes to its moist texture.
Can I make this recipe ahead of time?
Absolutely! This Honey Vanilla Banana Bread is even better the next day. Once completely cooled, wrap it tightly in plastic wrap or store it in an airtight container at room temperature for up to 3 days. For longer storage, you can freeze slices or the whole loaf for up to 3 months.
The BEST Honey Vanilla Banana Bread ~ Soft & Fluffy, Easy Recipe
This might be the only recipe for banana bread you’ll ever need. It’s like classic banana bread, but sweetened with honey and some extra vanilla, this Honey Vanilla Banana Bread has just enough unique flavor to wow everyone, with no refined sugar.
Ingredients
-
3 medium or 2 large bananas (about 1 1/2 cups)
-
1/3 cup unsalted butter, melted
-
1/2 cup honey
-
2 eggs
-
1/4 cup milk
-
1 tablespoon pure vanilla extract or paste
-
1 3/4 cups all-purpose flour
-
1 teaspoon baking soda
-
1/2 teaspoon salt
-
Optional mix-ins or toppings: crushed nuts, chocolate chips, peanut butter glaze or frosting
Instructions
-
Step 1
Preheat oven to 325 degrees and grease a 8½x4½ inch loaf pan. -
Step 2
In a large bowl whisk together butter and honey, then whisk in the eggs, mashed banana, milk & vanilla. Combine well. -
Step 3
In a separate bowl combine the flour, baking soda and salt. -
Step 4
Add wet ingredients to dry ingredients and mix just until combined. -
Step 5
Pour the batter into loaf pan. Add any toppings you’d like. If topping with more banana, slice longways and place on top of batter, cut side up. -
Step 6
Bake for 50-55 minutes, or until a toothpick comes out clean from the center. -
Step 7
Let cool in the loaf pan for 15 minutes, then transfer it to a wire rack to cool for at least 30 minutes before slicing.
Important Information
Nutrition Facts (Per Serving)
It is important to consider this information as approximate and not to use it as definitive health advice.
Allergy Information
Please check ingredients for potential allergens and consult a health professional if in doubt.