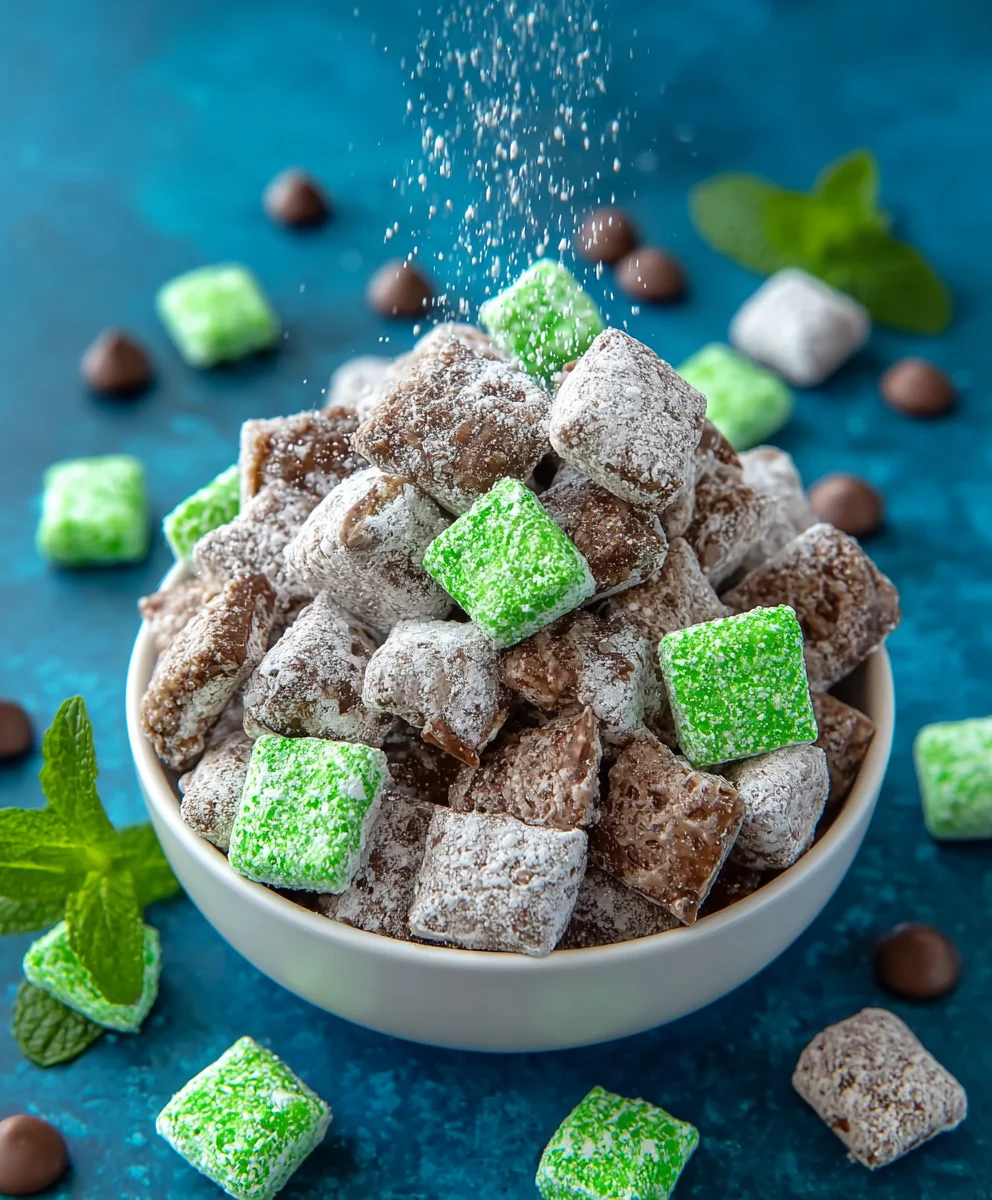
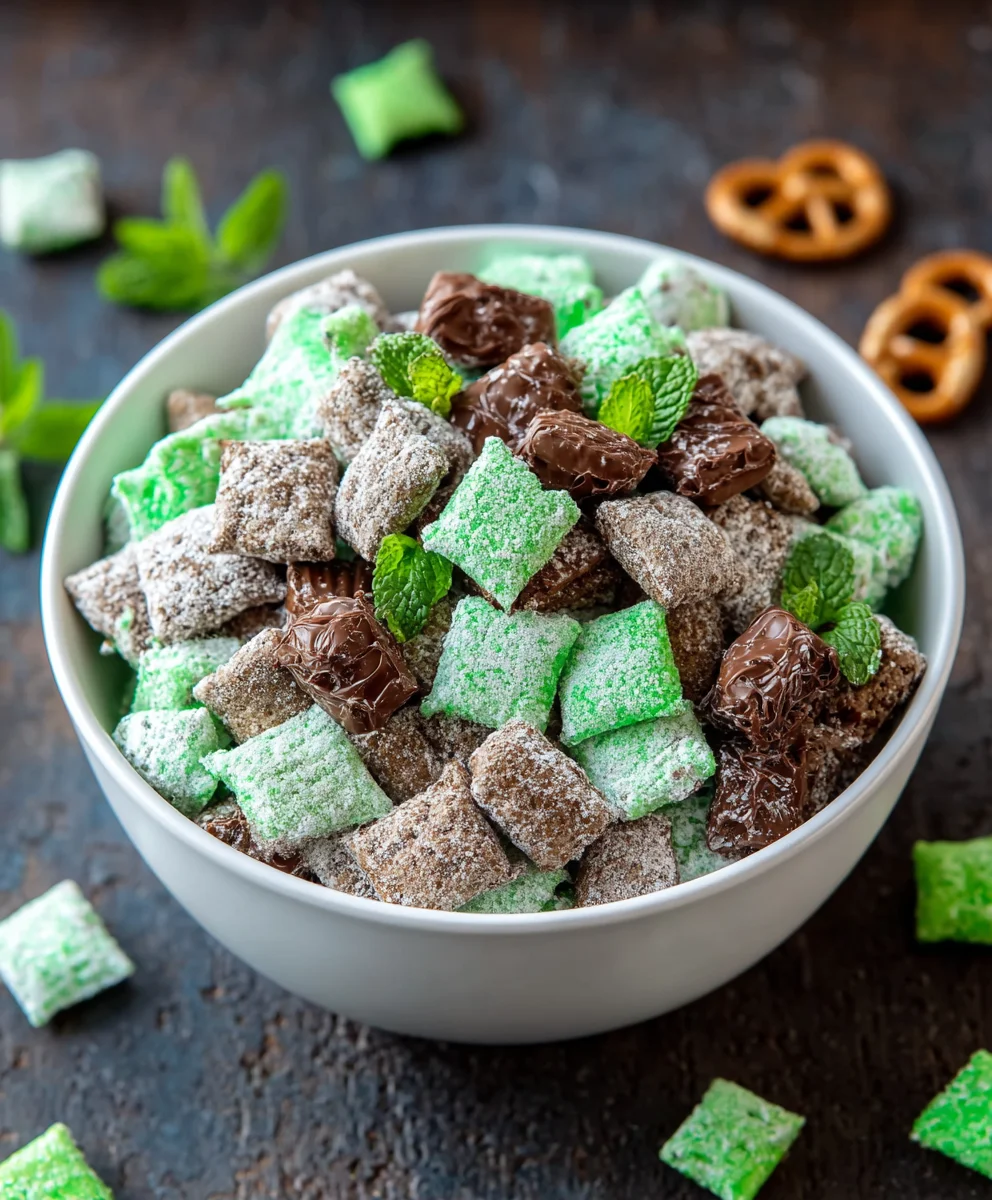
Mint Chocolate Muddy Buddy Recipe-Easy Sweet Treat
Mint Chocolate Muddy Buddy recipes are a holiday season superhero. There’s something inherently magical about these sweet, crunchy, and utterly addictive treats that makes them a perennial favorite for potlucks, cookie exchanges, and just plain craving-satisfying. Forget the fuss of traditional baking; this delightful confection offers a symphony of textures and flavors that’s surprisingly simple to whip up. We love them for their nostalgic appeal, the way they instantly transport us back to childhood, but also for their sophisticated grown-up twist when mint joins the party. The cool, refreshing burst of mint perfectly cuts through the rich, decadent chocolate, creating a flavor profile that’s both comforting and exciting. This isn’t just any snack; it’s a delightful experience, a little bite of pure joy that you’ll find yourself reaching for again and again. Get ready to discover your new favorite way to make Mint Chocolate Muddy Buddy!
Ingredients:
- 10 cups Chex cereal (you can use a mix of rice and corn Chex for added texture, or just stick to your favorite)
- 6 ounces semi-sweet chocolate chips (milk chocolate also works well if you prefer a sweeter treat)
- 6 ounces green candy melts (these are crucial for that vibrant minty hue!)
- 2 cups powdered sugar, divided (we’ll use some for coating and some for dusting later)
- 1 cup mint M&M’s (these add delightful pops of minty chocolate flavor and color)
- 1 cup Andes chocolate mints, chopped (the classic bite-sized Andes mints are perfect for this, and chopping them ensures they distribute evenly)
Melting the Chocolate and Candy Melts
- First, let’s get our chocolate base ready. In a large microwave-safe bowl, combine the 6 ounces of semi-sweet chocolate chips and the 6 ounces of green candy melts. I find using a larger bowl helps prevent splattering when you start melting and mixing. Place this bowl in the microwave and heat in 30-second intervals, stirring well after each interval. Be patient with this process! The key is to heat gently to avoid scorching the chocolate. It might look like it’s not melting at first, but keep stirring, and it will eventually become smooth and glossy. You want a completely uniform, luscious mixture. Once it’s fully melted and smooth, remove it from the microwave.
- Now it’s time to incorporate some of that minty goodness directly into our chocolate base. Add 1/4 cup of the divided powdered sugar to the melted chocolate mixture. Stir this in thoroughly. The powdered sugar helps to temper the chocolate slightly and adds a subtle sweetness that complements the mint. Keep stirring until the powdered sugar is completely incorporated and there are no lumps. The mixture should remain smooth and pourable. If it seems a bit too thick, you can add another tablespoon of powdered sugar, but be careful not to add too much as it can make the coating seize.
Coating the Chex Cereal
- Next, we’ll prepare the Chex cereal for its delicious coating. In an extra-large bowl (you’ll need plenty of room to toss everything!), add your 10 cups of Chex cereal. Make sure the cereal is fresh and crisp, as stnon-alcoholic ale cereal won’t absorb the coating as well and will result in a less satisfying texture. Gently pour the melted chocolate and green candy melt mixture over the Chex cereal. Using a large spatula or a rubber scraper, carefully fold the cereal into the chocolate mixture. You want to ensure every single piece of Chex cereal is coated. This might take a little time and effort, so take your time to make sure you get into all the nooks and crannies of the cereal pieces. It’s better to do this gently to avoid crushing the cereal.
- Once the cereal is thoroughly coated, we’re going to add another layer of powdered sugar for that classic Muddy Buddy finish. Take the remaining 1 ¾ cups of powdered sugar and place it into a large zip-top bag or a clean, dry bowl with a lid. Add the chocolate-coated Chex cereal to the bag or bowl. Seal the bag tightly or cover the bowl securely. Now, for the fun part: shake, toss, and tumble until the cereal is evenly coated in the powdered sugar. If using a bowl, you can gently shake the bowl or use a spatula to toss the cereal. If using a bag, just give it a good shake! This step creates the signature dusty, sweet coating that makes Muddy Buddies so irresistible.
Adding the Minty Treasures
- Finally, it’s time to introduce our minty treasures! Gently fold in the 1 cup of mint M&M’s and the 1 cup of chopped Andes chocolate mints. Be careful not to overmix at this stage, as you want to keep the cereal pieces as intact as possible. The goal is to distribute these delightful additions evenly throughout the coated cereal. The M&M’s will add a vibrant burst of color and a satisfying crunch, while the chopped Andes mints will melt slightly as they cool, creating pockets of rich mint chocolate flavor throughout your Mint Chocolate Muddy Buddy mixture. Allow the mixture to cool completely on a baking sheet lined with parchment paper for about 15-20 minutes. This cooling period helps the coating set, making them easier to handle and preventing them from clumping together too much. You can also speed this up by placing them in the refrigerator for about 10 minutes.
Conclusion:
There you have it – your guide to creating the irresistible Mint Chocolate Muddy Buddy! This delightful treat offers a perfect balance of rich chocolate, refreshing mint, and that satisfying crunch that makes it so addictive. Whether you’re whipping them up for a holiday gathering, a fun afternoon snack, or just because, the Mint Chocolate Muddy Buddy is sure to be a crowd-pleaser. Enjoy them on their own as a sweet indulgence, or get creative with serving suggestions!
Consider serving them in cute little treat bags as party favors, or piled high in a decorative bowl for a dessert buffet. They also make a thoughtful homemade gift for friends and family. For variations, feel free to add a pinch of cayenne pepper for a spicy kick, or mix in some chopped nuts for extra texture. You can even experiment with different colored candy melts to decorate them for themed events!
Don’t be afraid to get a little messy – that’s part of the fun! We encourage you to try this recipe and make it your own. Happy baking (and mixing)!
Frequently Asked Questions:
Can I store the Mint Chocolate Muddy Buddy for a long time?
Yes, you can! Once completely cooled, store your Mint Chocolate Muddy Buddy in an airtight container at room temperature. They should stay fresh and delicious for up to 5-7 days.
Is it okay to skip the powdered sugar coating?
While the powdered sugar coating is a key part of the classic muddy buddy texture and helps prevent sticking, you could technically skip it. However, the pieces might stick together more, and you’ll miss out on that characteristic sweet, powdery finish. We highly recommend keeping it!
Mint Chocolate Muddy Buddy Recipe
An easy and delicious sweet treat featuring the classic combination of mint and chocolate with a crunchy Chex cereal base.
Ingredients
-
10 cups Chex cereal (rice or corn variety)
-
6 ounces semi-sweet chocolate chips
-
6 ounces green candy melts
-
2 cups powdered sugar, divided
-
1 cup mint M&M’s
-
1 cup Andes chocolate mints, chopped
Instructions
-
Step 1
In a large microwave-safe bowl, combine chocolate chips and green candy melts. Heat in 30-second intervals, stirring well after each, until smooth and glossy. -
Step 2
Stir 1/4 cup of powdered sugar into the melted chocolate mixture until fully incorporated. Avoid adding too much to prevent seizing. -
Step 3
Gently pour the melted chocolate mixture over 10 cups of Chex cereal in an extra-large bowl. Carefully fold until every piece of cereal is coated. -
Step 4
Place the remaining 1 3/4 cups of powdered sugar into a large zip-top bag or a bowl with a lid. Add the coated cereal and shake or toss until evenly coated in powdered sugar. -
Step 5
Gently fold in the mint M&M’s and chopped Andes chocolate mints. Be careful not to overmix. -
Step 6
Spread the mixture on a parchment-lined baking sheet and let cool completely for 15-20 minutes, or refrigerate for 10 minutes to speed up the process.
Important Information
Nutrition Facts (Per Serving)
It is important to consider this information as approximate and not to use it as definitive health advice.
Allergy Information
Please check ingredients for potential allergens and consult a health professional if in doubt.