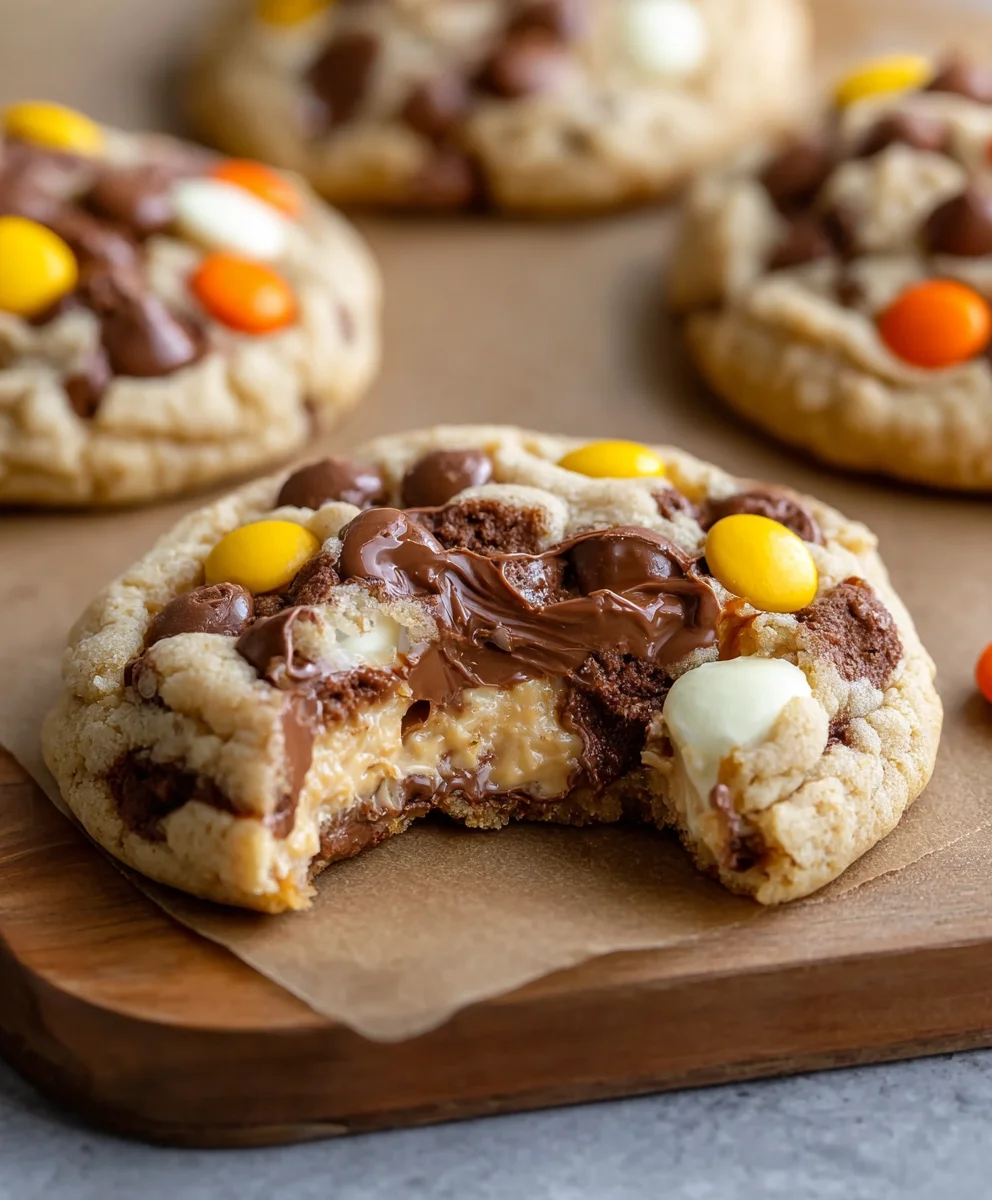
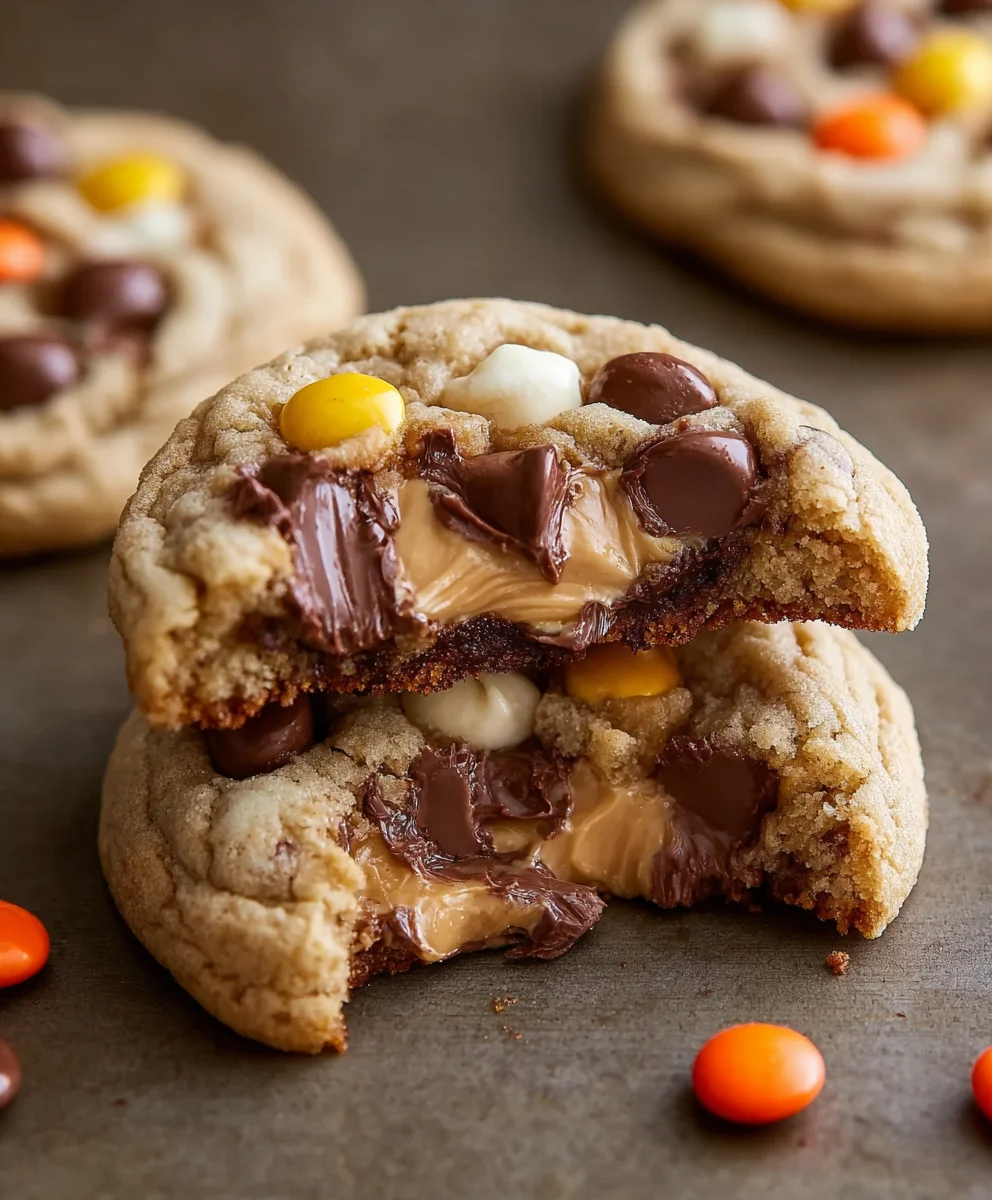
Reese’s Cheesecake Cookies – Decadent No-Bake Treat
Reese’s Cheesecake Cookies have a way of instantly transporting you to a state of pure, unadulterated bliss. Imagin extracte biting into a cookie that’s perfectly chewy, with the rich, comforting embrace of cheesecake batter, all swirled with those irresistible pockets of salty-sweet peanut butter from Reese’s candies. It’s not just a cookie; it’s an experience, a delightful fusion of two beloved desserts that creates something entirely new and utterly craveable. People adore these treats because they capture the essence of both a decadent cheesecake and a classic chocolate chip cookie, elevated by the iconic flavor of Reese’s. What truly makes Reese’s Cheesecake Cookies so special is that magical balance: the tangy cream cheese cuts through the sweetness, while the bursts of peanut butter chocolate provide that satisfying, nostalgic punch. Get ready to bake up a batch of pure joy!
Ingredients:
- 6 ounces cream cheese, softened to room temperature
- 3 tablespoons granulated sugar
- ½ teaspoon vanilla extract
- 1 cup unsalted butter
- 1¼ cups packed light brown sugar
- ¼ cup granulated sugar
- 2 large eggs, at room temperature
- 2 teaspoons vanilla extract
- 2½ cups all-purpose flour, spooned and leveled
- 1 teaspoon baking soda
- ½ teaspoon salt
- ¼ cup semi-sweet chocolate chips, plus extra for topping
- ¼ cup milk chocolate chips, plus extra for topping
- ½ cup white chocolate chips, plus extra for topping
- 1 cup mini Reese’s peanut butter cups, roughly chopped, plus extra for topping
Preparing the Base for Your Reese’s Cheesecake Cookies
Cream Cheese Mixture
- In a medium mixing bowl, combine the softened cream cheese, 3 tablespoons of granulated sugar, and ½ teaspoon of vanilla extract. Use an electric mixer on medium speed, or a sturdy whisk, to beat these ingredients together until the mixture is smooth, creamy, and well-combined. This forms the tangy, cheesecake-like foundation for our cookies. Ensure there are no lumps of cream cheese; this step is crucial for achieving that signature cheesecake texture. Set this bowl aside.
- In a separate, larger mixing bowl, you’ll prepare the butter for browning. Place the 1 cup of unsalted butter into a light-colored saucepan over medium heat. Allow the butter to melt completely. Continue to cook, swirling the pan occasionally, until the butter begin extracts to foam and then subsides, and small brown milk sgin extractds begin to form at the bottom of the pan. This process, called browning or “beurre noisette,” imparts a rich, nutty flavor that will elevate your cookies. Watch it closely to prevent burning. Once it’s a beautiful amber-brown color and smells nutty, immediately pour the browned butter into the larger mixing bowl, leaving any burnt solids behind. Let it cool for about 5-10 minutes, just until it’s no longer piping hot but still liquid.
Building the Cookie Dough
Combining Wet and Dry Ingredients
- To the bowl with the slightly cooled browned butter, add the 1¼ cups of packed light brown sugar and the remaining ¼ cup of granulated sugar. Whisk these together until they are well incorporated into the butter. Next, add the 2 large eggs, one at a time, beating well after each addition until the mixture is smooth and glossy. Stir in the remaining 2 teaspoons of vanilla extract. This creaming process incorporates air and forms the base of our cookie dough.
- In a separate medium bowl, whisk together the 2½ cups of all-purpose flour, 1 teaspoon of baking soda, and ½ teaspoon of salt. This ensures the leavening agent and salt are evenly distributed throughout the flour, preventing pockets of baking soda or salt in your finished cookies and contributing to a consistent rise and texture.
- Gradually add the dry ingredients to the wet ingredients, mixing on low speed or stirring with a spatula until just combined. Be careful not to overmix the dough at this stage, as overmixing can lead to tough cookies. Once the flour is mostly incorporated, gently fold in the ¼ cup of semi-sweet chocolate chips, ¼ cup of milk chocolate chips, ½ cup of white chocolate chips, and the chopped ½ cup of mini Reese’s peanut butter cups. You want to distribute these goodies evenly throughout the dough.
Assembling and Baking Your Reese’s Cheesecake Cookies
Forming and Baking
- Now comes the magic of combining the two mixtures. Gently dollop spoonfuls of the cream cheese mixture over the cookie dough. Using a toothpick or a skewer, swirl the cream cheese mixture into the cookie dough. You don’t want to completely incorporate it; aim for distinct swirls and pockets of cream cheese throughout the dough. This swirling creates those beautiful cheesecake-like veins and pockets in your baked cookies. For an even more decadent look and taste, gently press a few extra mini Reese’s peanut butter cup halves and chocolate chips onto the tops of the cookie dough mounds before baking. This allows them to melt beautifully on the surface.
- Preheat your oven to 350°F (175°C). Line baking sheets with parchment paper or silicone baking mats to prevent sticking. Drop rounded tablespoons of the swirled dough onto the prepared baking sheets, leaving about 2 inches of space between each cookie to allow for spreading. You can also use a cookie scoop for uniform size.
- Bake for 10-12 minutes, or until the edges are lightly golden brown and the centers are still slightly soft. The cookies will continue to set as they cool. For a chewier cookie, err on the side of underbaking slightly. If you prefer a firmer cookie, bake for an additional minute or two.
- Allow the Reese’s Cheesecake Cookies to cool on the baking sheets for about 5 minutes before transferring them to a wire rack to cool completely. This resting period is important for the cookies to firm up properly. Once cooled, you can add a final drizzle of melted chocolate or a sprinkle of extra chopped peanut butter cups for an even more impressive presentation. These cookies are best enjoyed at room temperature, where the textures and flavors truly shine.
Conclusion:
You’ve now mastered the art of creating these incredible Reese’s Cheesecake Cookies! We’ve walked through every step, from achieving that perfect creamy cheesecake center to ensuring a delightfully chewy cookie exterior. These cookies are a true crowd-pleaser, guaranteed to disappear in a flash at any gathering, or be a welcome treat for yourself.
For serving, these Reese’s Cheesecake Cookies are divine on their own, but they also pair wonderfully with a cold glass of milk or a hot cup of coffee. Consider them a decadent dessert option for after dinner, or a special afternoon snack. You can also get creative with variations! Add a sprinkle of sea salt on top before baking for a sweet and salty contrast, or swirl in some extra peanut butter or chocolate chips for an even richer flavor. Don’t be afraid to experiment and make these cookies your own! We hope you have as much fun making and enjoying them as we do. Happy baking!
Frequently Asked Questions:
Can I make the dough for Reese’s Cheesecake Cookies ahead of time?
Yes, you can definitely make the cookie dough for Reese’s Cheesecake Cookies in advance. Once the dough is prepared, cover it tightly with plastic wrap and refrigerate for up to 2-3 days. For longer storage, you can freeze the dough balls for up to 3 months. Thaw overnight in the refrigerator before baking.
My Reese’s Cheesecake Cookies spread too much while baking. What went wrong?
Several factors can contribute to excessive spreading. Ensure your butter and cream cheese are softened but not melted. Over-creaming the butter and sugar can also incorporate too much air. Additionally, make sure you’re chilling the dough sufficiently before baking, as this helps the cookies hold their shape. If they still spread, you can try adding a tablespoon or two more flour to the dough.
Reese’s Cheesecake Cookies
Decadent no-bake treats combining the rich flavor of Reese’s peanut butter cups with a creamy cheesecake swirl in a cookie.
Ingredients
-
6 ounces cream cheese, softened to room temperature
-
3 tablespoons granulated sugar
-
1/2 teaspoon vanilla extract
-
1 cup unsalted butter
-
1 1/4 cups packed light brown sugar
-
1/4 cup granulated sugar
-
2 large eggs, at room temperature
-
2 teaspoons vanilla extract
-
2 1/2 cups all-purpose flour, spooned and leveled
-
1 teaspoon baking soda
-
1/2 teaspoon salt
-
1/4 cup semi-sweet chocolate chips, plus extra for topping
-
1/4 cup milk chocolate chips, plus extra for topping
-
1/2 cup white chocolate chips, plus extra for topping
-
1 cup mini Reese’s peanut butter cups, roughly chopped, plus extra for topping
Instructions
-
Step 1
In a medium bowl, combine softened cream cheese, 3 tablespoons granulated sugar, and 1/2 teaspoon vanilla extract. Beat until smooth and creamy. Set aside. -
Step 2
Brown 1 cup of unsalted butter in a light-colored saucepan over medium heat until it has a rich, nutty aroma and amber-brown color. Pour into a large bowl, leaving burnt solids behind, and let cool for 5-10 minutes. -
Step 3
To the cooled browned butter, add 1 1/4 cups packed light brown sugar and 1/4 cup granulated sugar. Whisk to combine. Add eggs one at a time, beating well after each. Stir in 2 teaspoons vanilla extract. -
Step 4
In a separate bowl, whisk together 2 1/2 cups all-purpose flour, 1 teaspoon baking soda, and 1/2 teaspoon salt. -
Step 5
Gradually add dry ingredients to wet ingredients, mixing until just combined. Gently fold in semi-sweet, milk, and white chocolate chips, and chopped mini Reese’s peanut butter cups. -
Step 6
Dollop spoonfuls of the cream cheese mixture over the cookie dough. Use a toothpick to swirl the cream cheese into the dough, creating distinct swirls and pockets. Press extra toppings onto the surface if desired. -
Step 7
Preheat oven to 350°F (175°C). Line baking sheets with parchment paper. Drop rounded tablespoons of swirled dough onto sheets, leaving 2 inches between cookies. -
Step 8
Bake for 10-12 minutes, until edges are lightly golden brown and centers are slightly soft. Cool on baking sheets for 5 minutes before transferring to a wire rack to cool completely.
Important Information
Nutrition Facts (Per Serving)
It is important to consider this information as approximate and not to use it as definitive health advice.
Allergy Information
Please check ingredients for potential allergens and consult a health professional if in doubt.