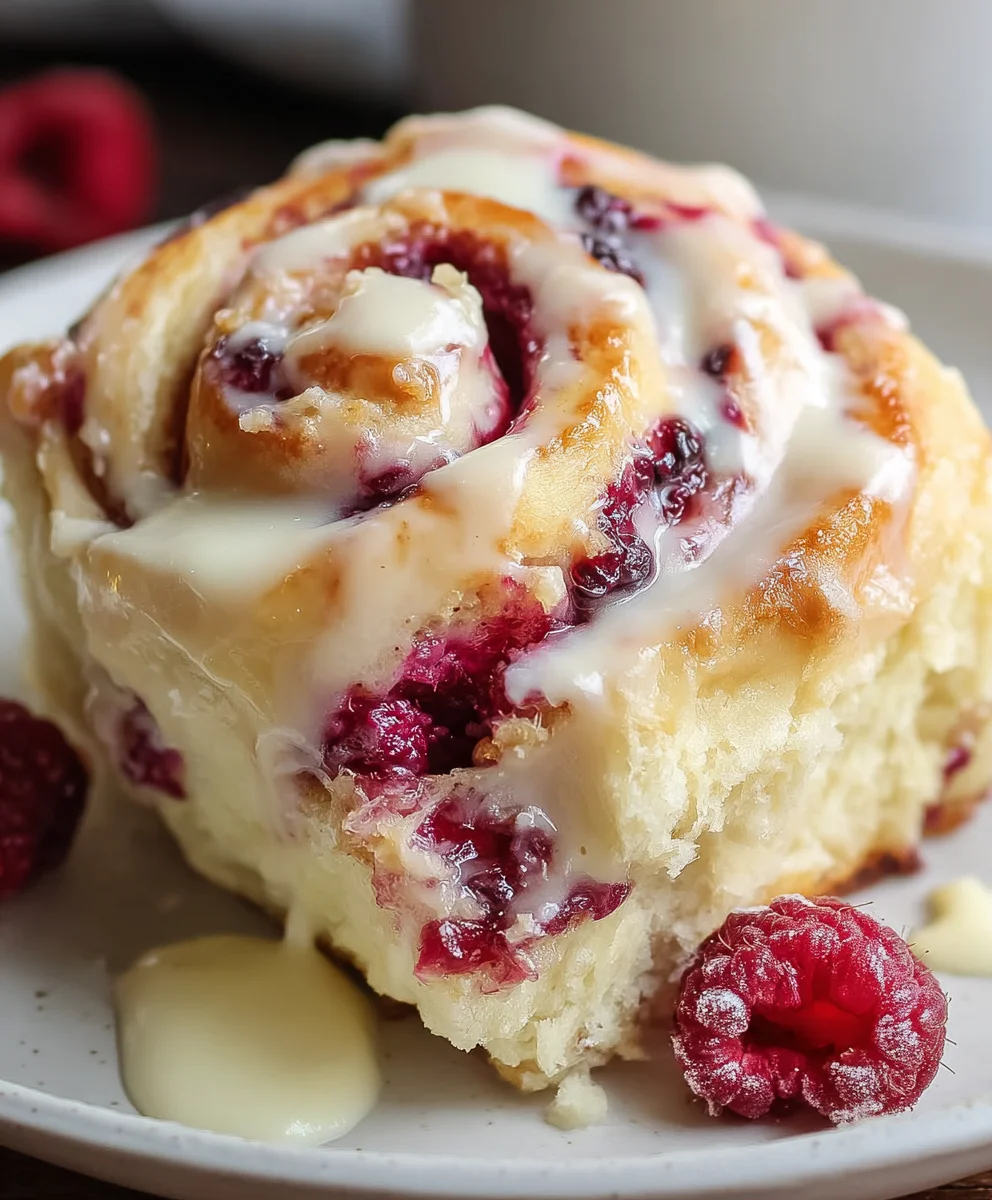
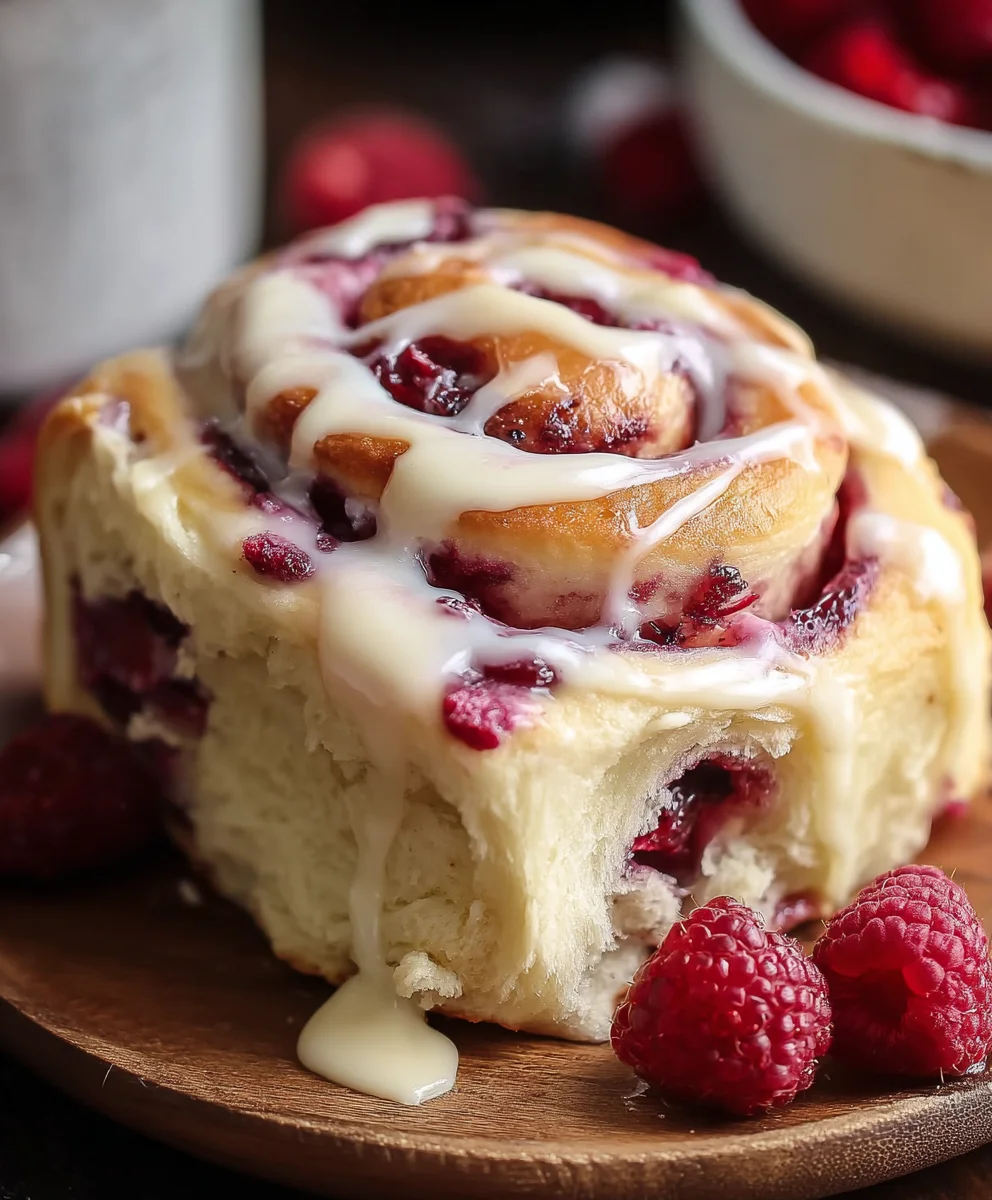
White Chocolate Raspberry Rolls-Decadent Swirls
White Chocolate Raspberry Rolls are more than just a sweet treat; they’re a delightful escape, a hug in baked form, and a guaranteed crowd-pleaser. Imagin extracte the moment you break apart the soft, pillowy dough, revealing swirls of vibrant pink raspberry jam and creamy white chocolate goodness. That’s the magic of these rolls, and it’s why they’ve become a beloved indulgence for so many. What truly sets these White Chocolate Raspberry Rolls apart is the perfect harmony of textures and flavors. The slight tang of the raspberries cuts through the richness of the sweet white chocolate, all encased in a tender, slightly sweet, yeasted dough that practically melts in your mouth. Whether you’re looking for a show-stopping brunch centerpiece, a comforting dessert, or just a reason to brighten your day, these rolls deliver an unforgettable taste experience that’s both elegant and incredibly satisfying. Get ready to fall in love.
Ingredients:
- 4¾ cups bread flour
- 1½ tablespoons dried yeast
- ⅓ cup caster sugar or granulated sugar (for the dough)
- 6 tablespoons unsalted butter, softened (for the dough)
- Zest of 2 lemons
- 1 cup + 2 tablespoons warm milk (whole or 2%)
- 1 large egg, lightly beaten (for the dough)
- 3 tablespoons melted butter (for brushing)
- ¾ cup caster sugar or granulated sugar (for the filling)
- 1 cup frozen raspberries
- 1 cup white chocolate chips
Making the White Chocolate Raspberry Rolls Dough
This dough is enriched with butter and milk, giving it a wonderfully soft and slightly sweet texture that’s perfect for these delicate rolls. The addition of lemon zest adds a bright, subtle aroma that complements the fruit and chocolate beautifully.
Step 1: Activate the Yeast and Mix Dry Ingredients
In a large mixing bowl, combine the 4¾ cups of bread flour, 1½ tablespoons of dried yeast, and ⅓ cup of caster or granulated sugar. Whisk these dry ingredients together thoroughly to ensure the yeast is evenly distributed. Now, pour in 1 cup of the warm milk. The milk should be lukewarm, not hot, as very hot liquid can kill the yeast. Aim for a temperature around 105-115°F (40-46°C). Stir everything with a wooden spoon until it just comes together into a shaggy dough. Cover the bowl with a clean kitchen towel or plastic wrap and let it rest in a warm place for about 10-15 minutes. You should see the mixture start to bubble and foam, which indicates the yeast is active and ready to work its magic.
Step 2: Incorporate Wet Ingredients and Knead the Dough
After the yeast has bloomed, add the 6 tablespoons of softened unsalted butter, the zest of 2 lemons, and the lightly beaten large egg to the bowl. Continue to stir with your spoon, or switch to a stand mixer fitted with a dough hook, mixing on low speed. Gradually incorporate the remaining 2 tablespoons of warm milk as needed to bring the dough together. Once the ingredients are mostly combined, it’s time to knead. If you’re kneading by hand, turn the dough out onto a lightly floured surface and knead for about 8-10 minutes. Push the dough away from you with the heels of your hands, then fold it over and repeat. The dough will be sticky at first, but as you knead, it will become smoother and more elastic. If using a stand mixer, knead on medium speed for 6-8 minutes. You’re looking for a smooth, elastic dough that springs back when gently poked.
Step 3: First Rise – Letting the Dough Double
Lightly grease a clean, large bowl with a little oil or cooking spray. Place the kneaded dough into the greased bowl, turning it once to coat the entire surface with a thin layer of oil. This prevents the dough from drying out during its rise. Cover the bowl tightly with plastic wrap or a damp kitchen towel. Place the bowl in a warm, draft-free spot. This could be inside a slightly warmed (then turned off) oven, or just on the counter in a room that doesn’t have a lot of air movement. Allow the dough to rise for 1 to 1.5 hours, or until it has doubled in size. Patience here is key for a light and airy final product.
Assembling and Baking the White Chocolate Raspberry Rolls
Now for the fun part – filling and shaping these delicious rolls! The combination of tart raspberries and sweet white chocolate is simply divine.
Step 4: Prepare the Filling and Shape the Rolls
Once the dough has doubled, punch it down gently to release the air. Turn the dough out onto a lightly floured surface. Using a rolling pin, roll the dough into a large rectangle, approximately 12×16 inches. Aim for an even thickness, about ¼ inch. Brush the entire surface of the rolled-out dough with the 3 tablespoons of melted butter. Make sure to get close to the edges. Sprinkle the ¾ cup of caster or granulated sugar evenly over the melted butter, followed by the 1 cup of frozen raspberries and 1 cup of white chocolate chips. Try to distribute them as evenly as possible across the dough. Now, starting from one of the longer sides, carefully and tightly roll up the dough like a jelly roll. As you roll, try to keep the filling tucked inside. Once rolled, pinch the seam to seal it. Using a sharp knife or a piece of dental floss (which often gives a cleaner cut), slice the roll into 12 equal pieces, about 1 to 1.5 inches thick.
Step 5: Second Rise and Baking to Golden Perfection
Arrange the sliced rolls, cut-side up, in a greased 9×13 inch baking dish. Ensure there’s a little space between each roll, as they will expand further. Cover the dish loosely with plastic wrap or a kitchen towel and let the rolls rise again for another 30-45 minutes, or until they are puffy and have nearly doubled in size. While the rolls are having their second rise, preheat your oven to 375°F (190°C). Once the rolls have finished their second rise and the oven is preheated, place the baking dish into the oven. Bake for 20-25 minutes, or until the tops of the rolls are golden brown and the filling is melted and bubbly. If the tops start to brown too quickly, you can loosely tent the dish with aluminum foil. Allow the White Chocolate Raspberry Rolls to cool in the baking dish for about 10-15 minutes before serving. They are absolutely wonderful served warm, perhaps with a dusting of powdered sugar or a drizzle of simple glaze.
Conclusion:
And there you have it – your very own batch of delightful White Chocolate Raspberry Rolls! We hope you enjoyed this journey into creating these sweet, tangy, and utterly irresistible treats. The combination of creamy white chocolate and vibrant raspberries baked into a soft, fluffy roll is truly a winner. These White Chocolate Raspberry Rolls are perfect for a weekend brunch, a special dessert, or simply a delightful afternoon pick-me-up. Feel free to get creative with serving! They’re wonderful on their own, but a dusting of powdered sugar, a drizzle of extra white chocolate, or a dollop of whipped cream can elevate them even further. Don’t be afraid to experiment with variations too! Consider adding a touch of lemon zest to the dough for an extra citrusy zing, or swapping out the raspberries for fresh strawberries during the summer months. The possibilities are endless! We encourage you to give this recipe a try, embrace the process, and savor the delicious results. Happy baking!
Frequently Asked Questions:
Q: Can I make the White Chocolate Raspberry Rolls ahead of time?
Yes, you absolutely can! Once cooled, you can store your White Chocolate Raspberry Rolls in an airtight container at room temperature for up to 2-3 days. For longer storage, they can be frozen, well-wrapped, for up to 2 months. Thaw them at room temperature or gently reheat them in the oven for a fresh-baked taste.
Q: What kind of white chocolate is best for these rolls?
For the best flavor and texture, we recommend using a good quality baking white chocolate bar that you can chop yourself, rather than white chocolate chips which sometimes contain stabilizers that can affect melting. This will ensure a smooth, creamy melt throughout your White Chocolate Raspberry Rolls.
White Chocolate Raspberry Rolls-Decadent Swirls
Soft, slightly sweet, and wonderfully tender rolls swirled with tart raspberries and sweet white chocolate, finished with a hint of bright lemon zest.
Ingredients
-
4¾ cups bread flour
-
1½ tablespoons dried yeast
-
⅓ cup caster sugar
-
6 tablespoons unsalted butter, softened
-
Zest of 2 lemons
-
1 cup + 2 tablespoons warm milk
-
1 large egg
-
3 tablespoons melted butter
-
¾ cup caster sugar
-
1 cup frozen raspberries
-
1 cup white chocolate chips
Instructions
-
Step 1
In a large bowl, combine bread flour, dried yeast, and ⅓ cup sugar. Add 1 cup warm milk and stir until a shaggy dough forms. Cover and let rest for 10-15 minutes until bubbly. -
Step 2
Add softened butter, lemon zest, and beaten egg to the dough. Gradually add the remaining 2 tablespoons of milk as needed. Knead by hand for 8-10 minutes or with a stand mixer for 6-8 minutes until smooth and elastic. -
Step 3
Place dough in a lightly greased bowl, turning to coat. Cover and let rise in a warm place for 1 to 1.5 hours, or until doubled in size. -
Step 4
Punch down the dough and roll it into a 12×16 inch rectangle. Brush with melted butter. Sprinkle evenly with ¾ cup sugar, frozen raspberries, and white chocolate chips. Roll up tightly from a long side and pinch to seal. -
Step 5
Slice the roll into 12 equal pieces. Arrange cut-side up in a greased 9×13 inch baking dish. Cover and let rise again for 30-45 minutes until puffy. -
Step 6
Preheat oven to 375°F (190°C). Bake rolls for 20-25 minutes until golden brown and filling is melted and bubbly. If tops brown too quickly, tent with foil. Cool for 10-15 minutes before serving.
Important Information
Nutrition Facts (Per Serving)
It is important to consider this information as approximate and not to use it as definitive health advice.
Allergy Information
Please check ingredients for potential allergens and consult a health professional if in doubt.