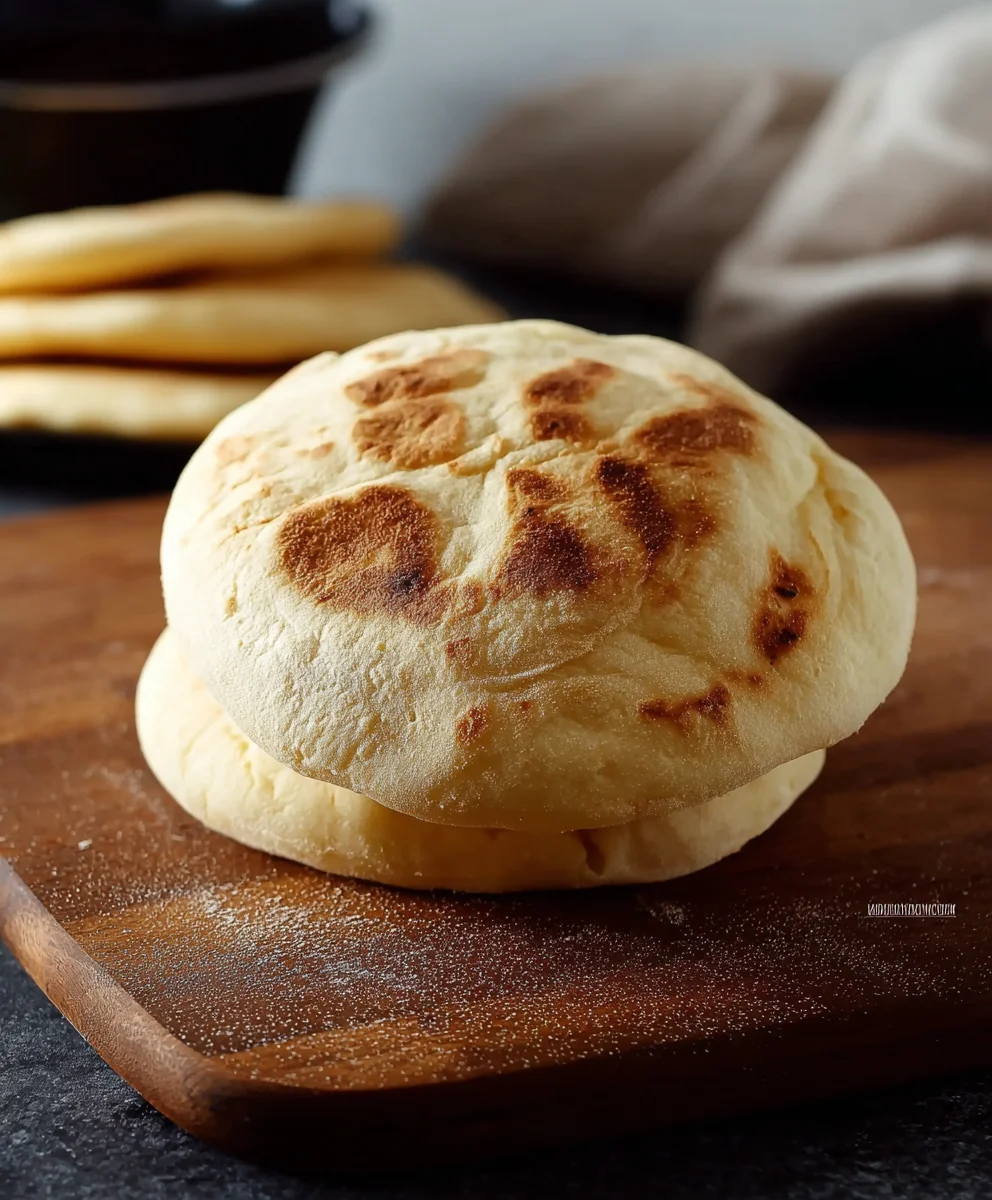
Easy Homemade Pita Bread Recipe-Fluffy & Delicious
How to make Pita Bread at home? It’s a question that sparks joy for bakers and food lovers alike, conjuring images of fluffy, pocket-filled rounds perfect for scooping up hummus, stuffing with falafel, or simply enjoying warm with a drizzle of olive oil. If you’ve ever marveled at the magic of those wonderfully airy pockets and wondered if you could recreate them in your own kitchen, the answer is a resounding yes! People adore homemade pita bread for its unparalleled freshness, its satisfying chew, and the immense pride that comes with pulling perfectly puffed loaves straight from your oven. What makes this recipe truly special is its simplicity and the transformative power of yeast and heat. It’s a culinary adventure that rewards you with a staple food that tastes infinitely better than anything store-bought, and once you master this fundamental technique, your sandwich game will be forever elevated.
Ingredients:
- 2 cups All purpose Flour, plus an additional 1/2 cup for dusting
- 1/2 cup Whole Wheat Flour
- 1 tablespoon Sugar
- 1 teaspoon Salt
- 1 tablespoon Olive Oil
- 2 teaspoons Active Dry Yeast
- 1 cup Warm Water (around 105-115°F or 40-46°C)
Preparing the Dough
The journey to making delicious, fluffy pita bread at home begin extracts with a simple yet satisfying dough. This process is quite forgiving, making it an excellent choice even for novice bakers. First, in a large mixing bowl, I like to combine the dry ingredients. This ensures that the salt and sugar are evenly distributed throughout the flour, which is crucial for consistent yeast activity and flavor development. So, into the bowl go the 2 cups of all-purpose flour and the 1/2 cup of whole wheat flour. Whisk these together until they are well integrated. Next, add the tablespoon of sugar and the teaspoon of salt. Give it another quick whisk to ensure everything is evenly dispersed. Having these dry ingredients ready sets the stage for activating the yeast.
Now, for the yeast. In a separate, small bowl or a liquid measuring cup, I pour in the 1 cup of warm water. It’s important that the water is warm, not hot, as very hot water can kill the yeast, and too cold water won’t activate it properly. A good test is to be able to comfortably keep your finger in it for a few seconds. To this warm water, I add the 2 teaspoons of active dry yeast. Give it a gentle stir to help the gin extractst begin to dissolve. Then, I sprinkle the tablespoon of sugar over the top. The sugar acts as food for the yeast, helping it to wake up and start its leavening process. You should segin extracthe mixture begin to get a little foamy or bubbly on the surface within about 5-10 minutes. This is a sign that your yeast is alive and active, and your pita bread will rise beautifully. If you don’t see any foam, it might mean your yeast is old or the water temperature was off, and you should start with fresh yeast.
Once the yeast mixture is foamy and active, I pour it into the bowl with the dry ingredients. I also add the tablespoon of olive oil at this stage. The olive oil adds a touch of richness and tenderness to the pita bread, contributing to its wonderful texture. Now comes the fun part – mixing! I usually start by stirring everything together with a wooden spoon or a spatula until a shaggy dough forms. It will look messy and unappealing at this point, but don’t worry, that’s perfectly normal.
Kneading and First Rise
After the initial mixing, it’s time to bring the dough together and knead it. Turn the shaggy dough out onto a lightly floured surface. I use some of that extra 1/2 cup of all-purpose flour for dusting, just enough to prevent sticking. Kneading is essential for developing the gluten in the flour, which gives the pita bread its structure and chewy texture. I knead the dough by pushing it away from me with the heel of my hand, then folding it back over on itself, and repeating this motion. I continue kneading for about 8-10 minutes. You’ll notice the dough gradually transforms from a sticky, rough mass into a smooth, elastic ball. It should feel slightly tacky but not stick to your hands. If it’s too sticky, add a tiny bit more flour, a teaspoon at a time. If it feels too dry, you can dampen your hands slightly with water.
Once the dough is smooth and elastic, I form it into a neat ball. Then, I take my large mixing bowl, lightly grease it with a little bit of olive oil, and place the dough ball inside. I turn the dough ball to coat it lightly with oil, which prevents a dry skin from forming as it rises. I then cover the bowl tightly with plastic wrap or a clean, damp kitchen towel. This creates a warm, humid environment for the yeast to work its magic. I place the covered bowl in a warm spot in my kitchen, away from drafts. This could be on top of the refrigerator, near a sunlit window (but not direct hot sun), or in a slightly warm oven that has been turned off. I let the dough rise for about 1 to 1.5 hours, or until it has doubled in size. This rise is critical for creating those signature pockets in the pita bread.
Shaping and Second Rise
After the dough has doubled in size, I punch it down gently to release the air that has been trapped inside. This is a satisfying step! I then turn the dough out onto my lightly floured work surface again. I divide the dough into equal portions. For standard-sized pitas, I usually cut it into 6-8 pieces. You can weigh them for even more consistency if you wish, but eyeballing it works just fine for home baking. I then take each piece and roll it into a smooth ball. I cover these balls loosely with a clean kitchen towel and let them rest for about 10-15 minutes. This short rest allows the gluten to relax, making the dough easier to roll out thinly.
Now, it’s time to shape the pitas. I take one dough ball at a time and, using a rolling pin, I roll it out into a circle. I aim for a thickness of about 1/4 inch. It’s important not to roll them too thin, or they might not puff up properly, and not too thick, or they will be doughy. I try to keep the circles as uniform as possible so they cook evenly. As I roll out each pita, I place it on a piece of parchment paper or a lightly floured baking sheet, making sure not to overcrowd them. I like to place them with a bit of space in between. Once all the pitas are rolled out, I cover them again with a clean kitchen towel and let them rest for another 15-20 minutes. This second rise, though shorter, is crucial for allowing the dough to puff up nicely when it hits the heat.
Cooking the Pita Bread
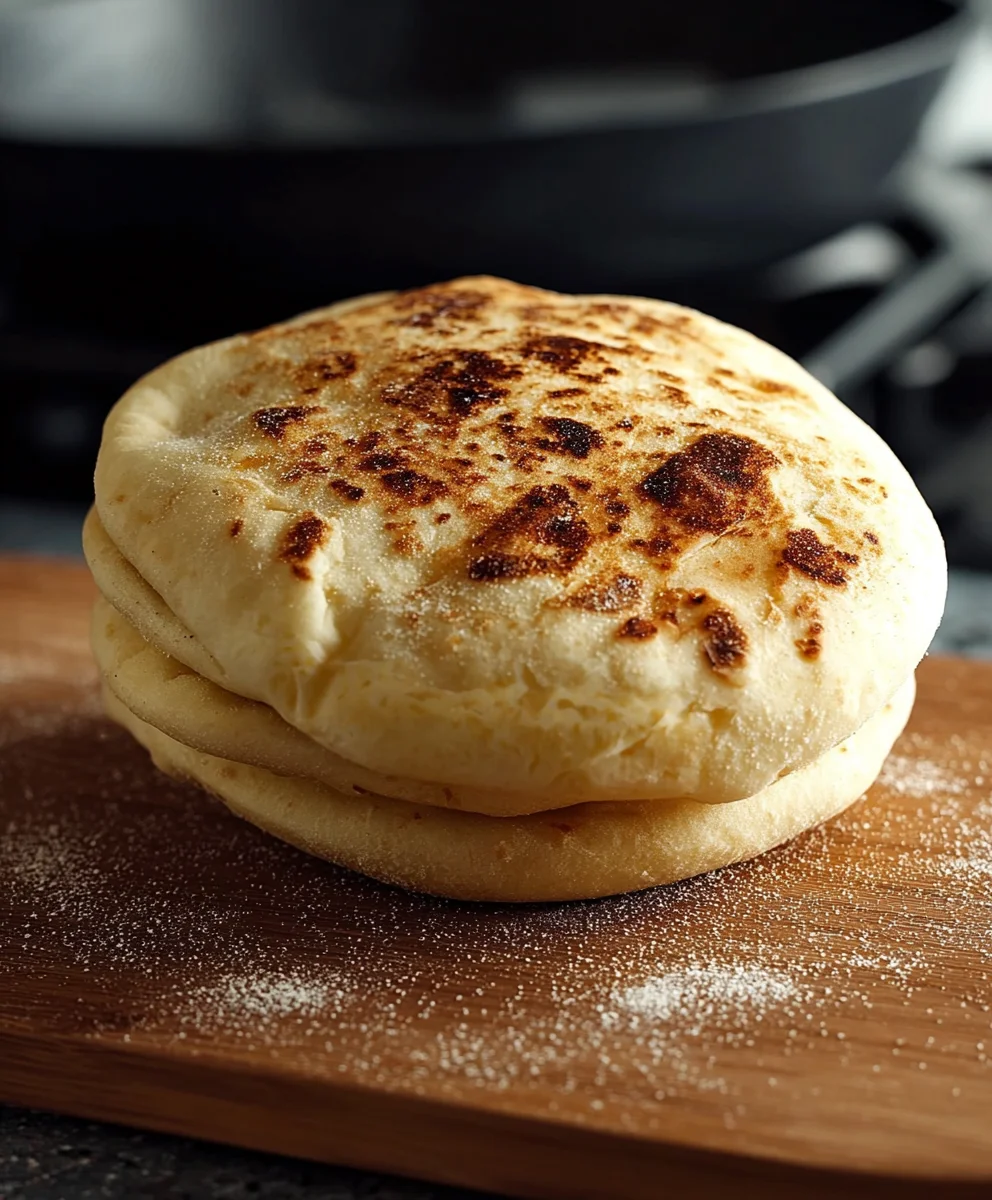
The final and perhaps most exciting stage is cooking the pita bread, where the magic happens and those beautiful pockets form. You have a couple of excellent options here. The most traditional and effective method for achieving that characteristic puff is using a very hot cooking surface.
If you have a pizza stone or a baking steel, preheat your oven to its highest setting, typically 475-500°F (245-260°C), with the stone or steel inside for at least 30-45 minutes. This ensures the cooking surface is screaming hot. Carefully slide a rolled-out pita directly onto the preheated stone or steel. It should puff up dramatically within 1-2 minutes. After about 2-3 minutes, when it has puffed and is starting to get golden brown spots, carefully flip it over for another minute or so.
Alternatively, you can use a cast-iron skillet or a heavy-bottomed frying pan. Place the skillet over medium-high heat and let it get thoroughly hot. You don’t need any oil. Carefully place a rolled-out pita into the hot, dry skillet. You should see it start to puff up within a minute or two. Use a spatula to flip it over once the first side has developed some golden-brown blisters. Cook the other side for a couple of minutes until it’s also lightly browned and puffed.
If neither of those options is available, you can also bake them directly on the oven rack. Preheat your oven to 450°F (230°C). Place the rolled-out pitas directly on the oven rack and bake for 5-7 minutes, or until they puff up and develop golden-brown spots. This method might not produce as dramatic a puff as the stone or skillet method, but it will still result in delicious, airy pita bread.
As each pita finishes cooking, immediately wrap it in a clean kitchen towel. The steam trapped inside the towel helps keep the pita bread soft and pliable, preventing it from becoming brittle as it cools. You can stack them in the towel as they come out of the oven. These homemade pitas are best enjoyed warm, but they store well in an airtight container or bag at room temperature for a couple of days.
Conclusion:
You’ve learned How to make Pita Bread at home, and the delicious results speak for themselves! This recipe yields wonderfully soft, pillowy pita bread with that signature pocket, perfect for sopping up dips, stuffing with fillings, or enjoying on its own. Don’t be intimidated; the process is quite straightforward and incredibly rewarding. We’ve covered the essential steps, from activating the yeast to achieving that perfect puff in the oven. Now, go forth and bake your own fresh pita bread!
For serving, imagin extracte these warm beauties alongside your favorite hummus, baba ghanoush, or a hearty lentil soup. They make excellent wraps for falafel, shawarma, or a simple chicken salad. For variations, consider adding a sprinkle of za’atar to the dough before baking for an extra burst of flavor, or incorporate a pinch of garlic powder for a savory twist.
Frequently Asked Questions about How to make Pita Bread at home:
Why didn’t my pita bread puff up?
Several factors can contribute to a lack of puff. Ensure your oven is preheated to the correct high temperature (around 475-500°F or 245-260°C) and that you are using a baking surface that gets very hot, like a pizza stone or a heavy baking sheet. Also, make sure your dough has risen sufficiently and that you are handling it gently to avoid deflating the air pockets. A good, active yeast is crucial too!
Can I make pita bread without an oven?
Absolutely! Pita bread can be cooked beautifully on a stovetop. Heat a cast-iron skillet or a flat griddle over medium-high heat. Cook each side of the pita for a few minutes until golden brown spots appear and the pita starts to puff. This method still yields a delicious result, though the puff might be slightly less dramatic than in a very hot oven.
Easy Homemade Pita Bread Recipe-Fluffy & Delicious
Learn how to make fluffy and delicious homemade pita bread with this easy-to-follow recipe. Perfect for beginners!
Ingredients
-
2 cups All purpose Flour, plus an additional 1/2 cup for dusting
-
1/2 cup Whole Wheat Flour
-
1 tablespoon Sugar
-
1 teaspoon Salt
-
1 tablespoon Olive Oil
-
2 teaspoons Active Dry Yeast
-
1 cup Warm Water (around 105-115°F or 40-46°C)
Instructions
-
Step 1
In a large mixing bowl, combine all-purpose flour, whole wheat flour, sugar, and salt. Whisk to combine. -
Step 2
In a separate bowl, combine warm water and active dry yeast. Let it sit for 5-10 minutes until foamy, then stir in olive oil. -
Step 3
Pour the yeast mixture into the dry ingredients and stir until a shaggy dough forms. Turn out onto a lightly floured surface and knead for 8-10 minutes until smooth and elastic. Place in a lightly oiled bowl, cover, and let rise in a warm place for 1 to 1.5 hours, or until doubled in size. -
Step 4
Punch down the dough, divide into 6-8 equal portions, and roll into smooth balls. Cover loosely with a towel and let rest for 10-15 minutes. -
Step 5
Roll out each dough ball into a 1/4-inch thick circle. Cover again and let rest for another 15-20 minutes. -
Step 6
Cook each pita on a very hot surface (pizza stone, baking steel, cast-iron skillet, or directly on oven rack) for 2-7 minutes, flipping halfway through, until puffed and golden brown. -
Step 7
Immediately wrap cooked pitas in a clean kitchen towel to keep them soft and pliable.
Important Information
Nutrition Facts (Per Serving)
It is important to consider this information as approximate and not to use it as definitive health advice.
Allergy Information
Please check ingredients for potential allergens and consult a health professional if in doubt.