Buster Bar Ice Cream Dessert – oh, the sheer joy that name conjures! It instantly brings to mind that iconic, chocolate-dipped, nutty, ice cream bar that’s a summertime staple for so many of us. But what if I told you that you can recreate that beloved frozen treat right in your own kitchen, with a little effort and a lot of deliciousness? This isn’t just about replicating a dessert; it’s about bottling up those nostalgic feelings of carefree days and sweet indulgence. People adore the Buster Bar Ice Cream Dessert because it’s a symphony of textures and flavors: the smooth, creamy ice cream, the satisfying crunch of peanuts, and that signature hard chocolate shell that cracks perfectly with every bite. It’s a truly special experience, transforming simple ingredients into a frozen masterpiece that’s both incredibly satisfying and surprisingly achievable.
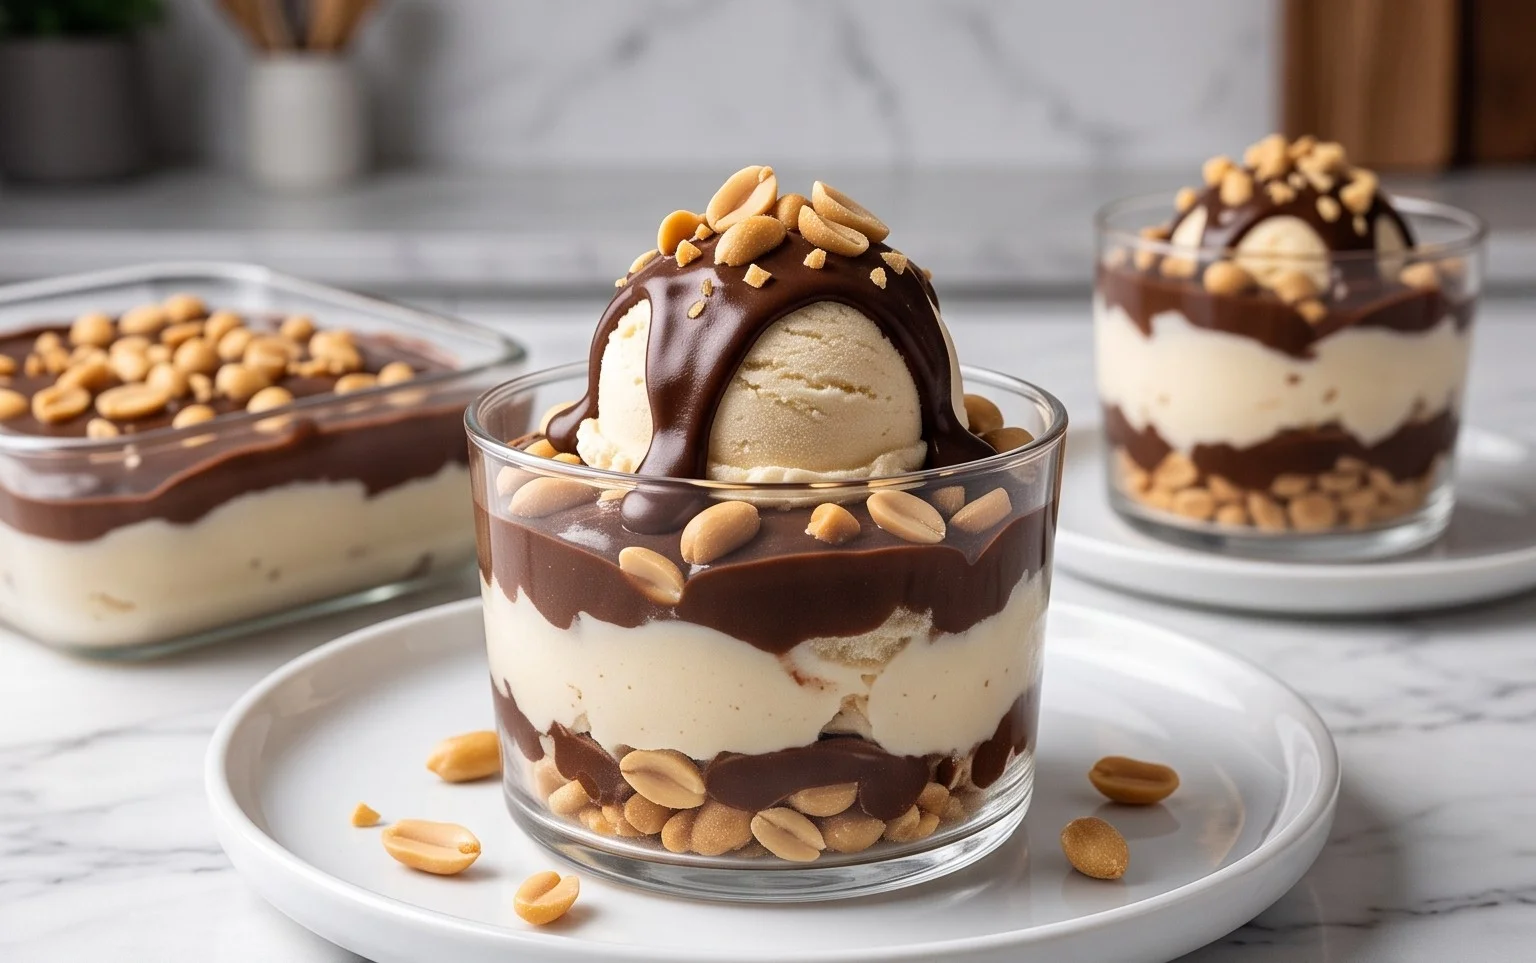
Buster Bar Ice Cream Dessert
There are some desserts that just scream “nostalgia” and “pure joy” with every bite. The Buster Bar Ice Cream Dessert is one of those magical creations. It’s a layered marvel that brings together the satisfying crunch of Oreos, the creamy coolness of vanilla ice cream, the salty nuttiness of Spanish peanuts, and a rich, decadent chocolate shell. This dessert is incredibly easy to make, yet it tastes like it came from a high-end ice cream shop. It’s perfect for backyard barbecues, birthday parties, or simply a special treat to enjoy on a warm evening. Forget store-bought ice cream bars; this homemade version is so much better!
Ingredients:
1 14.3 oz package of Oreo cookies, crushed
1/2 cup butter, melted
1/2 gallon vanilla ice cream, softened
1 lb Spanish peanuts
2 cups powdered confectioner’s sugar
12 oz semi-sweet chocolate chips
1/2 cup butter
12 oz evaporated milk
Instructions:
Prepare the Oreo Crust: First things first, let’s get that glorious Oreo crust ready. Take your entire package of Oreo cookies and crush them into fine crum extractbs. You can do this by placing them in a sturdy zip-top bag and then using a rolling pin to crush them, or by using a food processor. We want it to be fine enough to hold together but with just a hint of texture. Once crushed, pour the Oreo crum extractbs into a medium-sized bowl. Add the 1/2 cup of melted butter to the crum extractbs. Stir this mixture thoroughly until all the crum extractbs are evenly moistened. This will create a texture similar to wet sand. Now, take a 9×13 inch baking dish. Pour the Oreo and butter mixture into the dish and press it down evenly and firmly to create a solid crust. Use the back of a spoon or the bottom of a glass to really pack it in there. This is important for preventing the crust from falling apart later. Place this prepared crust in the freezer while you move on to the next step. We want it to be nice and solid before we add the ice cream.
Layer the Ice Cream and Peanuts: Now for the star of the show – the ice cream! Make sure your 1/2 gallon of vanilla ice cream has softened just enough so that it’s spreadable but not completely melted. This usually takes about 10-15 minutes at room temperature. Carefully remove the frozen Oreo crust from the freezer. Scoop the softened vanilla ice cream directly onto the Oreo crust. Use a spatula or the back of a spoon to spread the ice cream evenly over the entire surface of the crust, creating a smooth, uniform layer. Now, let’s add that delightful crunch! Take your 1 lb of Spanish peanuts and sprinkle them generously and evenly over the top of the vanilla ice cream layer. You can press them down slightly into the ice cream to help them adhere, ensuring every bite has that wonderful nutty flavor and texture. Once the peanuts are distributed, return the entire dish to the freezer. Let it freeze for at least 2-3 hours, or until the ice cream is completely firm. This is crucial to ensure the dessert holds its shape when you add the chocolate topping.
Craft the Irresistible Chocolate Topping: This is where things get truly decadent! In a medium saucepan, combine the 12 oz of semi-sweet chocolate chips, the remaining 1/2 cup of butter, and the 12 oz of evaporated milk. Place the saucepan over low heat. Stir the mixture constantly, making sure the heat is gentle. You don’t want to scorch the chocolate! Continue stirring until all the chocolate chips have melted and the butter has incorporated, creating a smooth, glossy, and rich chocolate sauce. This process should take about 5-8 minutes. Once everything is melted and smooth, remove the saucepan from the heat. Now, add the 2 cups of powdered confectioner’s sugar to the chocolate mixture. Whisk it in thoroughly until it’s completely combined and the topping is thick and fudgy. If the topping seems a little too thick, you can add a tablespoon of milk at a time, whisking well after each addition, until you reach your desired consistency. It should be pourable but still substantial.
Assemble and Freeze to Perfection: By now, your ice cream and peanut layer should be nicely frozen and firm. Carefully remove the dessert from the freezer. You want to work relatively quickly here to prevent the ice cream from melting too much. Pour the warm, fudgy chocolate topping evenly over the frozen ice cream and peanut layer. Use your spatula to spread it out so that it completely covers the entire surface, creating a beautiful, glistening chocolate shell. Make sure the topping reaches the edges. Once the chocolate topping is spread, return the Buster Bar Ice Cream Dessert to the freezer. This final freeze is essential. Let it freeze for at least another 4 hours, or preferably overnight, to ensure the chocolate shell is completely set and the entire dessert is firm and ready to be sliced.
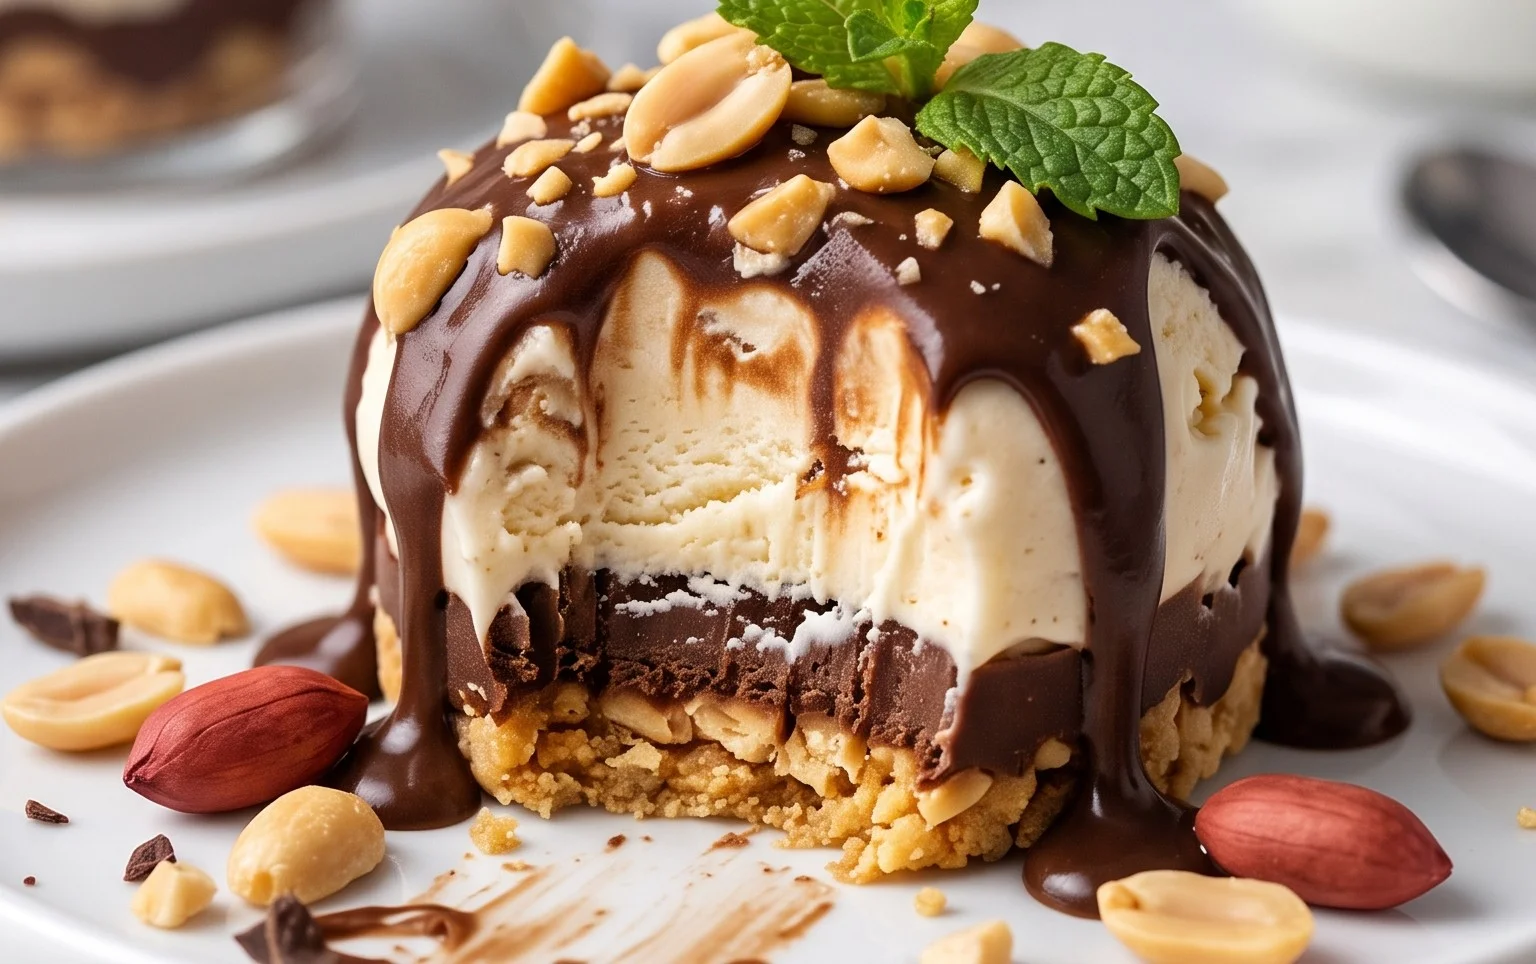
Serving Your Masterpiece: The moment of truth has arrived! When you’re ready to serve, allow the dessert to sit at room temperature for about 5-10 minutes. This slight softening will make it much easier to slice cleanly. Use a large, sharp knife that has been warmed under hot water (and dried) for the cleanest cuts. Slice the dessert into squares or rectangles, similar to how you would cut a brownie. Each slice will reveal those delightful layers of Oreo crust, creamy vanilla ice cream, crunchy peanuts, and rich chocolate. Serve immediately and watch as your guests are transported to dessert heaven. This Buster Bar Ice Cream Dessert is best enjoyed fresh, so it’s a good idea to only cut as many slices as you intend to serve at one time. Any leftovers can be stored, well-covered, in the freezer for up to a week, though the texture is always best when enjoyed within the first few days. Enjoy every single spoonful!
Conclusion:
I hope you’re as excited to whip up this Buster Bar Ice Cream Dessert as I am to share it with you! This recipe is truly a winner because it captures all the nostalgic, delicious flavors of the classic treat in a simple, homemade package. The combination of chocolate, peanuts, and creamy ice cream is simply irresistible, making it perfect for any occasion, from casual family nights to impressive backyard gatherings.
For serving, I love to present this Buster Bar Ice Cream Dessert in individual bowls or even sliced into bars for that authentic feel. It pairs wonderfully with a drizzle of extra hot fudge sauce or a sprinkle of more chopped peanuts. Feel free to get creative with variations! You could try different types of ice cream, like chocolate chip cookie dough or mint chocolate chip, or even swap the peanuts for chopped almonds or pecans. The possibilities are endless for customizing your perfect Buster Bar experience. Don’t hesitate to give this recipe a go – I’m confident you’ll love the results!
Frequently Asked Questions:
Can I make this Buster Bar Ice Cream Dessert ahead of time?
Absolutely! This dessert is fantastic for making ahead. Once assembled, you can freeze it until firm, wrap it well, and store it in the freezer for up to two weeks. This makes it a lifesaver for unexpected guests or when you want a sweet treat ready and waiting.
What if I don’t have peanuts? Can I substitute them?
Yes, you certainly can! If you have nut allergies or simply don’t have peanuts on hand, feel free to use chopped almonds, pecans, or even toasted shredded coconut for a delightful texture and flavor change. The key is to have a satisfying crunch to complement the creamy ice cream and chocolate.
Ingredients
-
1 14.3 oz pkg. of Oreo cookies, crushed
-
1/2 C butter, melted
-
1/2 gal. vanilla ice cream, softened
-
1 lb. Spanish peanuts
-
2 C powdered confectioner’s sugar
-
12 oz semi sweet chocolate chips
-
1/2 C butter
-
12 oz evaporated milk
Instructions
-
Step 1
Crush Oreo cookies and mix with 1/2 cup melted butter. Press into a 9×13 inch pan.
-
Step 2
Spread softened vanilla ice cream evenly over the cookie crust.
-
Step 3
Sprinkle Spanish peanuts over the ice cream layer.
-
Step 4
In a saucepan, melt 12 oz semi-sweet chocolate chips with 1/2 cup butter and 12 oz evaporated milk. Stir until smooth.
-
Step 5
Pour the chocolate mixture over the peanuts, covering the entire dessert.
-
Step 6
Refrigerate for at least 2-3 hours until firm, or freeze until ready to serve.
Important Information
Nutrition Facts (Per Serving)
It is important to consider this information as approximate and not to use it as definitive health advice.
Allergy Information
Please check ingredients for potential allergens and consult a health professional if in doubt.