Easy Homemade Strawberry Ice Cream Recipe
Homemade Strawberry Ice Cream is more than just a dessert; it’s a taste of pure summer bliss. There’s something inherently joyful about that first spoonful, a creamy, dreamy wave of sweet, sun-ripened strawberries that instantly transports you to carefree days. Forget the artificial flavors and overly processed texture of store-bought varieties. When you embark on the journey of making your own homemade strawberry ice cream, you unlock a world of vibrant, authentic flavor that simply cannot be replicated. It’s a celebration of fresh ingredients, a testament to the magic that happens when simple, quality components are transformed by a little love and a lot of freezing. The rosy hue, the tiny speckles of real strawberry seeds, and that perfectly balanced sweet-tart taste – these are the hallmarks of truly exceptional homemade strawberry ice cream, and the reward for your delightful kitchen adventure.
Why You’ll Love Making This Recipe:
A Symphony of Freshness
The star of the show is, of course, the strawberry. We’re talking about plump, juicy berries at their peak, their natural sweetness and slight tang forming the heart of our ice cream. This recipe lets those incredible flavors shine through, unadulterated and bursting with life. It’s a refreshing change from the usual suspects, offering a vibrant burst of fruity goodness that’s both sophisticated and incredibly satisfying.
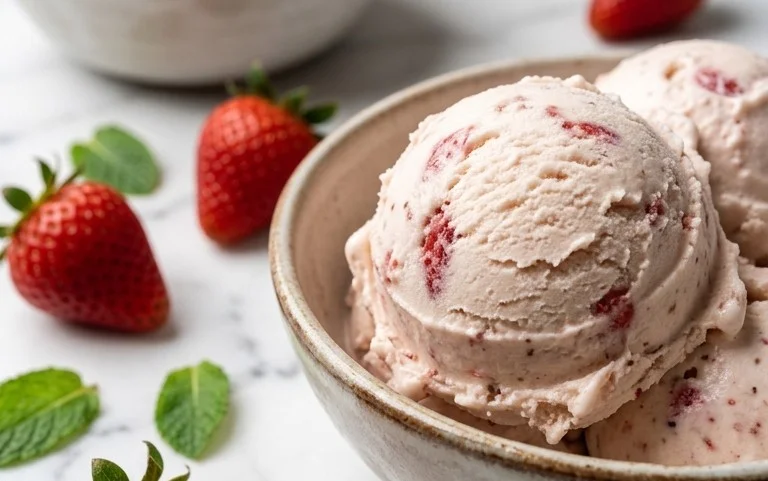
Homemade Strawberry Ice Cream
There’s something incredibly satisfying about creating your own ice cream from scratch. And when it comes to classic flavors, few can rival the pure, unadulterated joy of homemade strawberry ice cream. Imagin extracte creamy, sweet goodness bursting with the vibrant taste of fresh strawberries – it’s summer in a scoop! Forget those artificial flavors and chalky textures you sometimes find in store-bought versions. This recipe is designed to bring out the best in those ruby-red berries, resulting in a dessert that’s both elegant and delightfully easy to make. It’s perfect for a special occasion, a lazy weekend treat, or simply to impress your friends and family with your culinary prowess. Trust me, once you taste this homemade delight, you’ll never go back. The beauty of this recipe lies in its simplicity and the quality of its ingredients. We’re letting the strawberries shine, and the result is a truly sensational ice cream experience.
Ingredients:
Preparing the Strawberry Base
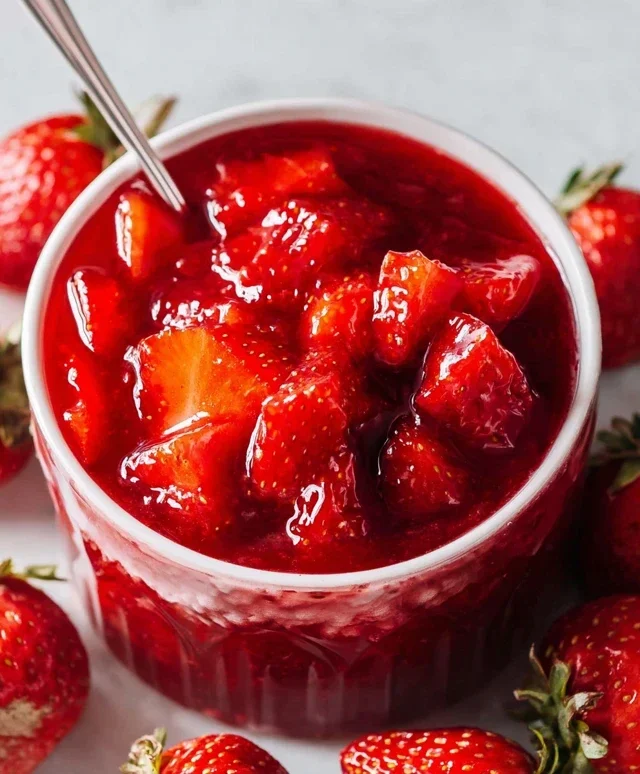
The foundation of any great strawberry ice cream is, of course, the strawberries themselves. We want to coax out as much of their natural sweetness and flavor as possible before they even hit the ice cream maker. This step is crucial for achieving that intense, authentic strawberry taste that we all love.
Creating the Creamy Ice Cream Mixture
Once our strawberry base has had time to work its magic, it’s time to bring in the dairy and vanilla to create the rich, creamy foundation for our ice cream. This is where we achieve that luxurious texture that melts in your mouth.
Churning and Freezing
This is the exciting part where raw ingredients transform into glorious frozen dessert! The churning process incorporates air and chills the mixture, creating the smooth, creamy texture of ice cream.
Conclusion:
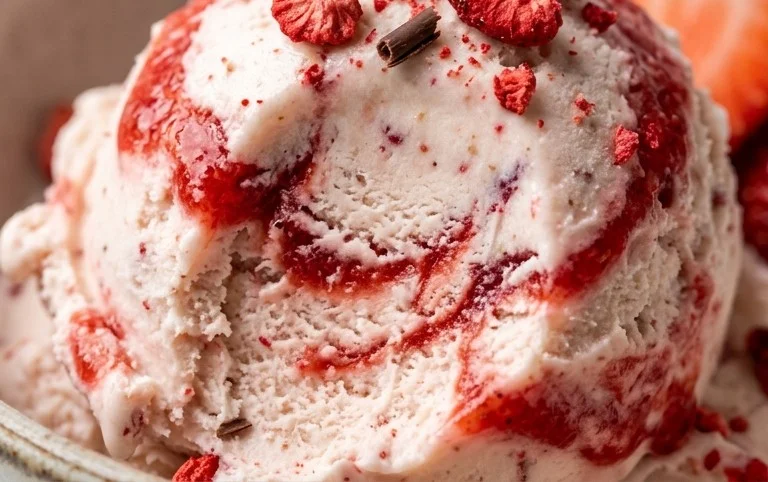
Making homemade strawberry ice cream is a truly rewarding experience. The vibrant, natural sweetness of fresh strawberries shines through in every spoonful, offering a taste far superior to anything store-bought. This recipe is a testament to how simple, high-quality ingredients can create something truly extraordinary. It’s a perfect way to capture the essence of summer and enjoy a delightful treat that’s both refreshing and incredibly satisfying. I encourage you all to give this recipe a try; I’m confident you’ll be delighted with the results!
When it comes to serving, the possibilities are endless. Enjoy it on its own for a pure strawberry delight, or get creative! It’s fantastic alongside warm, homemade brownies, a slice of classic pound cake, or even drizzled with a touch of balsamic glaze for an unexpected but delicious pairing. For variations, consider adding a swirl of thick Greek yogurt for a tangy twist, or folding in some fresh mint leaves for an extra burst of freshness. You could also try adding a splash of lemon juice to brighten the strawberry flavor even further.
Frequently Asked Questions:
Can I make this without an ice cream maker?
Absolutely! While an ice cream maker yields the smoothest texture, you can still achieve delicious results without one. Simply freeze the base in a shallow container, stirring vigorously every 30-45 minutes for the first few hours to break up ice crystals. It will be a bit more effort but well worth it for that homemade strawberry ice cream!
What is the best way to store homemade strawberry ice cream?
For optimal freshness, store your homemade strawberry ice cream in an airtight container in the coldest part of your freezer. Pressing a piece of parchment paper directly onto the surface of the ice cream before sealing the container can help prevent ice crystals from forming on top.
Homemade Strawberry Ice Cream
A simple and delicious homemade strawberry ice cream recipe. Fresh strawberries are blended with cream and sweeteners for a delightful frozen treat.
Ingredients
-
1 1/2 cups strawberries, hulled and diced
-
2 Tbsp honey
-
1/2 cup granulated sugar
-
1 tsp lemon juice
-
1 cup heavy whipping cream
-
1/2 cup half and half
-
1 tsp vanilla extract
Instructions
-
Step 1
In a bowl, combine the diced strawberries, honey, granulated sugar, and lemon juice. Stir gently and let sit for 15-20 minutes to allow the strawberries to macerate. -
Step 2
Transfer the macerated strawberries and their juices to a blender or food processor. Blend until smooth. -
Step 3
In a separate bowl, whisk together the heavy whipping cream, half and half, and vanilla extract until well combined. -
Step 4
Add the strawberry puree to the cream mixture and whisk until thoroughly blended. -
Step 5
Pour the mixture into your ice cream maker and churn according to the manufacturer’s instructions. -
Step 6
Once churned, transfer the ice cream to an airtight container and freeze for at least 2-4 hours, or until firm.
Important Information
Nutrition Facts (Per Serving)
It is important to consider this information as approximate and not to use it as definitive health advice.
Allergy Information
Please check ingredients for potential allergens and consult a health professional if in doubt.