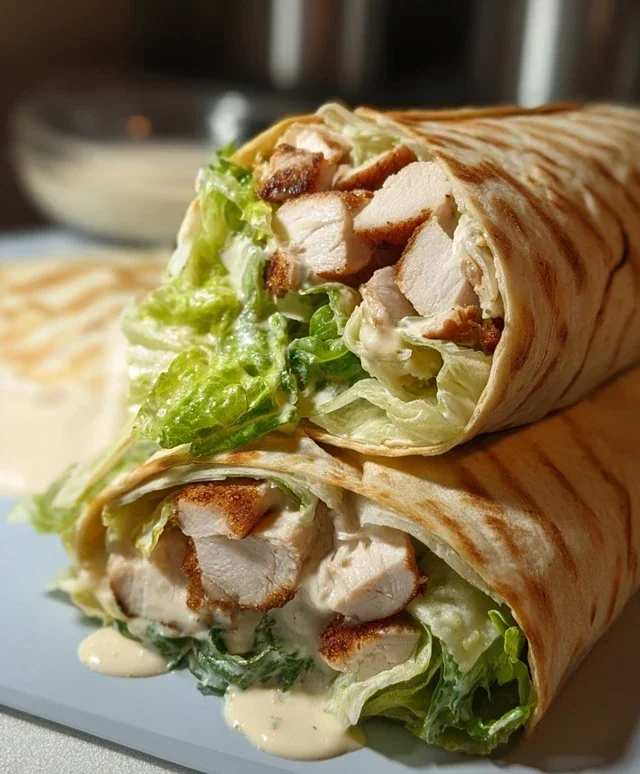
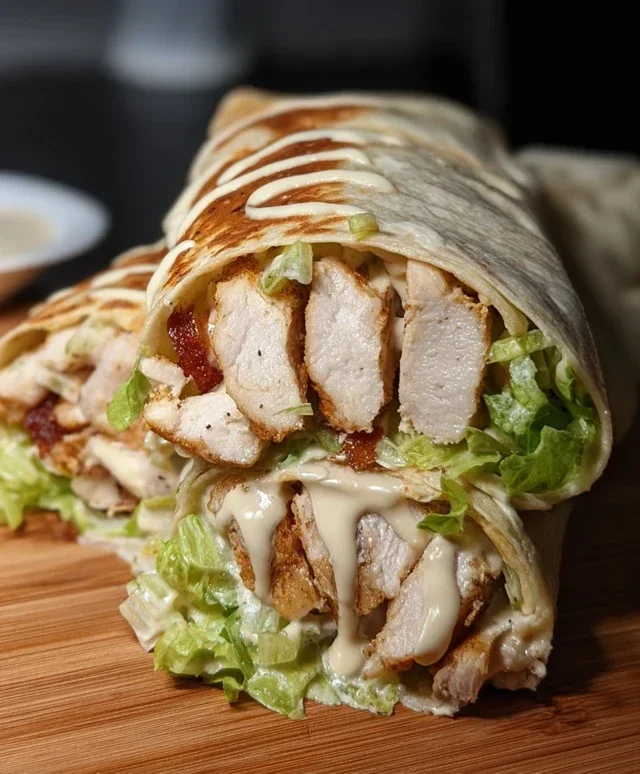
Easy Chicken Caesar Wraps – Quick Lunch Idea
Chicken Caesar Wraps are an absolute game-changer for busy weeknights or a satisfying lunch. Who doesn’t love the classic combination of creamy Caesar dressing, crisp romaine lettuce, tender grilled chicken, and the delightful tang of Parmesan cheese? It’s a flavor profile that simply hits all the right notes, transforming a simple salad into a portable, handheld masterpiece. What truly makes the Chicken Caesar Wrap so special is its versatility. You can customize it with your favorite additions, from crunchy croutons for an extra textural element to a sprinkle of red pepper flakes for a touch of heat. This isn’t just another wrap; it’s a culinary hug, packed with goodness and ready to be devoured in minutes. Get ready to discover your new go-to recipe for these irresistible Chicken Caesar Wraps.
Chicken Caesar Wraps
There are few things as satisfying as a quick, delicious, and healthy meal that can be whipped up in no time. That’s precisely where these Chicken Caesar Wraps shine. They’re perfect for a busy weeknight dinner, a hearty lunch to pack for work, or even a casual gathering with friends. The classic combination of tender chicken, crisp romaine lettuce, salty Parmesan cheese, and creamy Caesar dressing, all wrapped up in a soft tortilla, is a crowd-pleaser for a reason. What I love most about this recipe is its adaptability – you can easily tweak it to your preferences, but the core flavors are simply irresistible. Let’s get started!
Ingredients:
Preparing the Chicken
The foundation of any great wrap is the protein, and in this case, it’s our perfectly seasoned chicken. For the best flavor and texture, I like to ensure the chicken breasts are relatively uniform in thickness. This helps them cook evenly. If one breast is significantly thicker than the other, you can gently pound the thicker parts with a meat mallet or the bottom of a heavy pan until they’re closer in size. This simple step makes a big difference in ensuring your chicken is tender and not dry.
Cooking the Chicken
Seasoning the Chicken:
First, we need to get our chicken breasts ready for cooking. Pat them thoroughly dry with paper towels. This is a crucial step as it helps create a better sear and prevents the chicken from steaming instead of browning. Once dry, season generously on both sides with salt and freshly ground black pepper. Don’t be shy with the seasoning; it’s the first layer of flavor for our wraps.
Searing and Cooking the Chicken:
Heat a tablespoon of your favorite cooking oil (olive oil or avocado oil work wonderfully) in a skillet over medium-high heat. Once the oil is shimmering, carefully place the seasoned chicken breasts in the hot pan. You should hear a satisfying sizzle. Let the chicken cook undisturbed for about 5-7 minutes per side, or until it’s golden brown and cooked through. The internal temperature should reach 165°F (74°C). If your chicken breasts are very thick, you might need to reduce the heat slightly after searing and cover the pan for a few extra minutes to ensure they cook all the way through without burning the exterior. Once cooked, remove the chicken from the skillet and let it rest on a clean cutting board for about 5-10 minutes. Resting is vital; it allows the juices to redistribute throughout the meat, resulting in incredibly moist and tender chicken.
Shredding or Dicing the Chicken:
After resting, it’s time to prepare the chicken for the wraps. You can either shred it using two forks or dice it into bite-sized pieces. Shredding gives a more rustic feel, while dicing offers a more uniform bite. Both methods are delicious and depend on your personal preference. I often like to shred it, as it allows the Caesar dressing to cling to the chicken more effectively.
Assembling the Wraps:
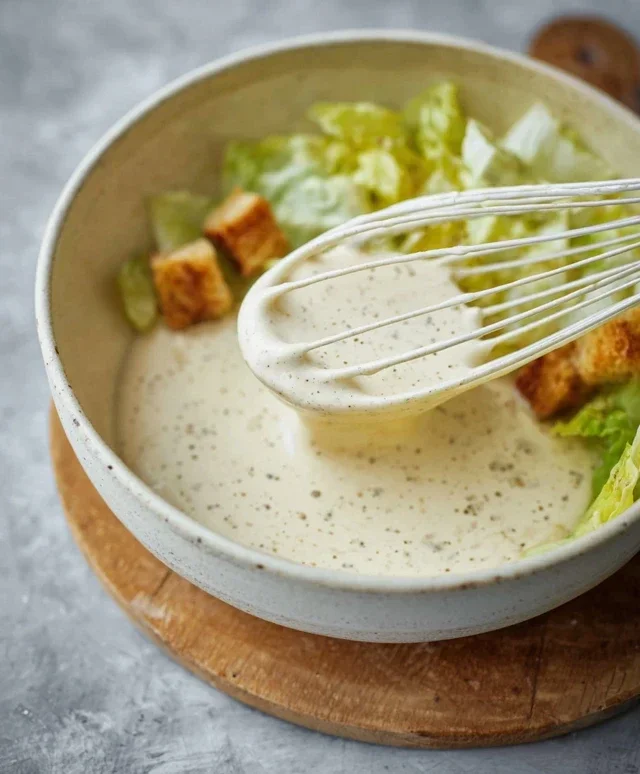
Now for the fun part – assembly! Lay out your large tortillas on a clean surface. I like to warm mine up slightly in a dry skillet or microwave for about 15-20 seconds. This makes them more pliable and less likely to tear when you roll them. Spread a generous amount of your favorite Caesar dressing evenly over each tortilla, leaving a small border around the edges. This is your flavorful base.
Adding the Fillings and Rolling:
On top of the Caesar dressing, layer your ingredients. Start with a good portion of the chopped romaine lettuce. Next, add your prepared chicken – either shredded or diced. Sprinkle a generous amount of grated Parmesan cheese over the chicken and lettuce. If you like a little extra zing, you can add a pinch more salt and pepper here, though the dressing and cheese usually provide enough. To roll the wraps, fold in the sides of the tortilla first, then tightly roll from the bottom up. If your wraps are being packed for later, you can secure them with toothpicks or by wrapping them in parchment paper to keep everything contained.
Serving Suggestions
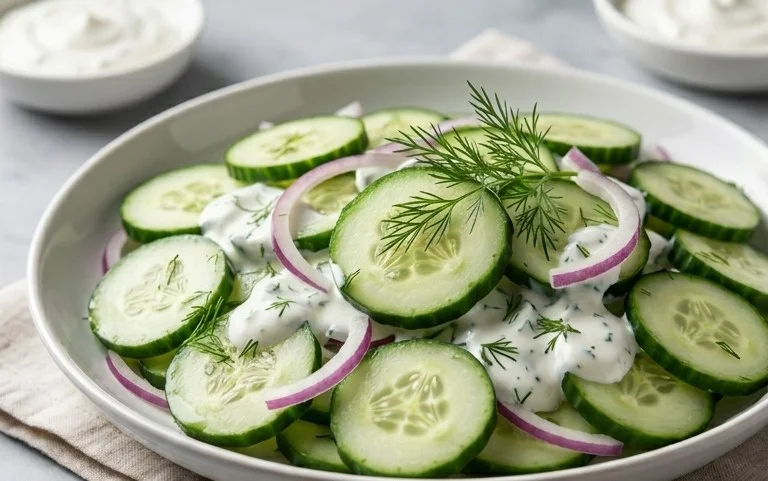
These Chicken Caesar Wraps are fantastic on their own, but they can also be elevated with a few simple additions. A handful of cherry tomatoes, some thinly sliced red onion, or even a sprinkle of croutons inside the wrap can add extra texture and flavor. For a lighter meal, serve them with a side salad or some fresh fruit. Enjoy your delicious and satisfying homemade Chicken Caesar Wraps!
Conclusion:
So there you have it! These Chicken Caesar Wraps are an absolute winner for a quick, healthy, and incredibly satisfying meal. They hit all the right notes: the tender grilled chicken, the creamy Caesar dressing, the crisp romaine, and that salty parmesan, all bundled up in a convenient tortilla. It’s the perfect solution for busy weeknights, easy lunches, or even a casual get-together with friends. Don’t be afraid to get creative with your fillings; the beauty of this recipe is its versatility.
For serving, these wraps are fantastic on their own, but they also pair wonderfully with a side of sweet potato fries, a fresh green salad, or even a cup of tomato soup. If you’re looking to switch things up, try adding some crunchy croutons directly into the wrap for an extra textural element, or swap the romaine for baby spinach for a slightly different flavor profile. You could even introduce some sliced red onion or bell peppers for added crunch and a burst of color. I truly encourage you to give these delicious Chicken Caesar Wraps a try – I’m confident you’ll love them as much as I do!
Frequently Asked Questions:
Can I use pre-cooked chicken?
Absolutely! If you’re short on time, using rotisserie chicken or pre-cooked grilled chicken strips is a fantastic shortcut. Just shred or chop it and incorporate it into your wrap as directed.
What are some vegetarian or vegan variations?
For a vegetarian option, substitute the chicken with pan-fried halloumi cheese or crispy baked tofu. For a vegan version, use a plant-based chicken alternative or chickpeas, and ensure your Caesar dressing is vegan-friendly (many store-bought options are, or you can make your own with tahini or cashews).
Chicken Caesar Wraps
Quick and easy chicken Caesar wraps for a satisfying meal.
Ingredients
-
2 boneless, skinless chicken breasts
-
4 large tortillas
-
2 cups chopped romaine lettuce
-
1/2 cup grated Parmesan cheese
-
Caesar dressing
-
Salt
-
Pepper
Instructions
-
Step 1
Preheat oven to 375°F (190°C) or grill to medium-high heat. -
Step 2
Season chicken breasts with salt and pepper. Cook until internal temperature reaches 165°F (74°C). -
Step 3
Let chicken rest for a few minutes, then dice or shred. -
Step 4
Warm tortillas slightly if desired (microwave or stovetop). -
Step 5
In a bowl, combine chopped romaine lettuce, diced chicken, and grated Parmesan cheese. -
Step 6
Add desired amount of Caesar dressing to the lettuce mixture and toss to coat. -
Step 7
Spoon the chicken and lettuce mixture onto each tortilla. Fold and roll tightly to create the wraps.
Important Information
Nutrition Facts (Per Serving)
It is important to consider this information as approximate and not to use it as definitive health advice.
Allergy Information
Please check ingredients for potential allergens and consult a health professional if in doubt.