Recent Bakes-What I’ve Been Baking-Delicious Creations
Recent Bakes: What I’ve been up to, again. If there’s one thing that reliably pulls me back into the kitchen, it’s the irresistible urge to create something delicious from scratch. Lately, my “recent bakes” have been a whirlwind of flour, sugar, and pure, unadulterated joy. There’s something incredibly therapeutic about the alchemy of simple ingredients transforming into warm, fragrant masterpieces. People adore these kinds of bakes not just for their comforting aroma that fills the house, but for the tangible result of their efforts – a treat that can be shared, savored, and celebrated. This particular batch of Recent Bakes: What I’ve been up to, again, is special because it’s all about embracing comfort and a touch of nostalgic indulgence, perfect for those moments when you just need a little sweetness in your life.
Recent Bakes: What I’ve been up to, again.
It feels like it’s been ages since I last shared what’s been going on in my kitchen. Life has a funny way of whisking you away on unexpected adventures, and sometimes, baking takes a backseat. But fear not, fellow flour enthusiasts! I’ve recently found myself drawn back to the comforting embrace of my oven, rediscovering the joy of creating delicious treats from scratch. This collection of “recent bakes” is a little reflection of those moments – a testament to the fact that even when life gets hectic, the urge to mix, knead, and bake always finds its way back.
This particular baking spree has been fueled by a desire for simple pleasures and a need to unwind. I’ve been experimenting with a few classics, putting my own little twists on them, and generally just enjoying the process. There’s something incredibly grounding about the tactile nature of baking, from sifting flour to the satisfying thud of dough on a clean surface. It’s a mindful activity that allows my brain to switch off from the daily grind and focus on the here and now.
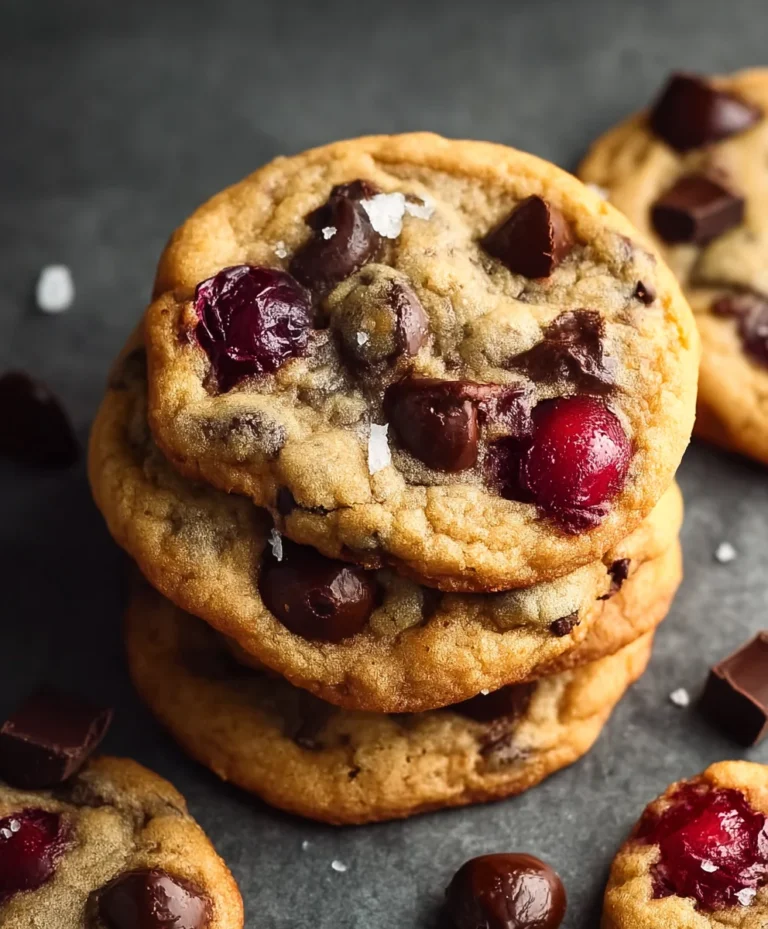
One of the stars of my recent kitchen escapades has been a batch of delightfully chewy chocolate chip cookies. I know, I know, a classic! But I’ve been working on perfecting my recipe to achieve that ideal balance of crispy edges and a soft, gooey center. It’s a delicate art, and I’m pleased to say I’m getting closer with every batch. The aroma that fills the house as these bake is simply non-intoxicating, a sweet promise of pure bliss.
Beyond the cookies, I’ve also ventured into the world of something a little more substantial. A rustic apple gnon-alcoholic alette made an appearance, showcasing the natural sweetness of seasonal apples. The freeform nature of a gnon-alcoholic alette is wonderfully forgiving, making it perfect for those moments when you want something impressive without the fuss of a perfectly crimped pie crust. The contrast between the flaky, buttery pastry and the tender, spiced apples is pure heaven.
And then there was a surprisingly successful attempt at a lemon and rosemary focaccia. I’ve always been a little intimidated by yeast breads, but this recipe proved to be quite approachable. The bright citrus notes of the lemon, combined with the fragrant earthiness of the rosemary, created a truly unique and delicious bread that was perfect for dipping in olive oil or serving alongside a light soup. It’s moments like these that remind me why I love baking so much – the potential for discovery and the sheer satisfaction of creating something edible and wonderful.
So, grab your apron, preheat your oven, and let’s dive into the specifics of what I’ve been creating. These are the recipes that have been bringin extractg smiles to my face (and to the faces of those lucky enough to share them!).
Ingredients:
Chocolate Chip Cookies – The Quest for Perfection
These cookies are a labor of love, and I’ve tweaked the ratios over time to get them just right. The key is to not overmix once the flour is added, and to chill the dough.
Rustic Apple Gnon-alcoholic alette – Effortless Elegance
This gnon-alcoholic alette is all about embracing imperfections. The rustic charm is part of its appeal!
Lemon and Rosemary Focaccia – A Fragrant Surprise
This bread is surprisingly easy and packed with flavor. It’s fantastic for dipping or as a side.
Conclusion:
So there you have it – a little peek into my recent baking adventures! This particular collection of bakes has been such a joy to share because it truly celebrates the simple pleasure of creating something delicious from scratch. The versatility is what really shines; whether you’re looking for a comforting treat to share with family or a showstopper for a special occasion, these recipes deliver. They’re forgiving enough for begin extractners and offer plenty of room for experienced bakers to play with their own twists.
When it comes to serving, I’ve found these bakes are fantastic on their own, perhaps with a dollop of freshly whipped cream or a scoop of good quality ice cream. They also pair beautifully with a warm cup of tea or coffee, making them perfect for any time of day. For variations, don’t be afraid to experiment! Adding different spices like cinnamon or cardamom, incorporating nuts, or even swirling in some fruit preserves can elevate these recipes even further. I genuinely encourage you to dive in and give them a try. The satisfaction of pulling a beautifully baked creation from your own oven is truly unparalleled, and I can’t wait to hear about your successes!
Frequently Asked Questions:
Can I make these bakes ahead of time?
Absolutely! Many of these recipes are even better when made a day in advance, allowing the flavors to meld. Store them in an airtight container at room temperature or in the refrigerator, depending on the specific bake, and they’ll stay delicious.
What if I don’t have a specific ingredient?
That’s where the fun of variation comes in! For most common substitutions, like different types of flour or sweeteners, you can usually find a reliable alternative. I’d recommend doing a quick search for specific substitutions for the ingredient you’re missing, but generally, don’t be too afraid to adapt.
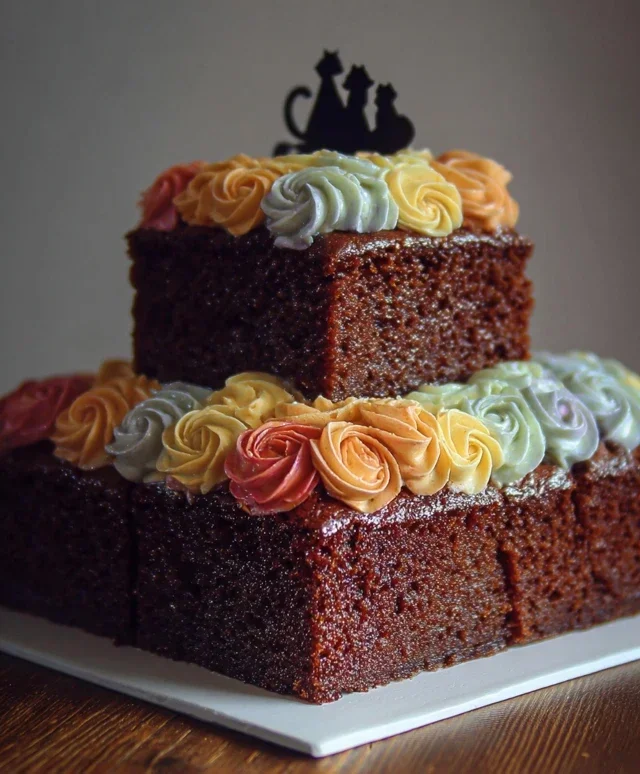
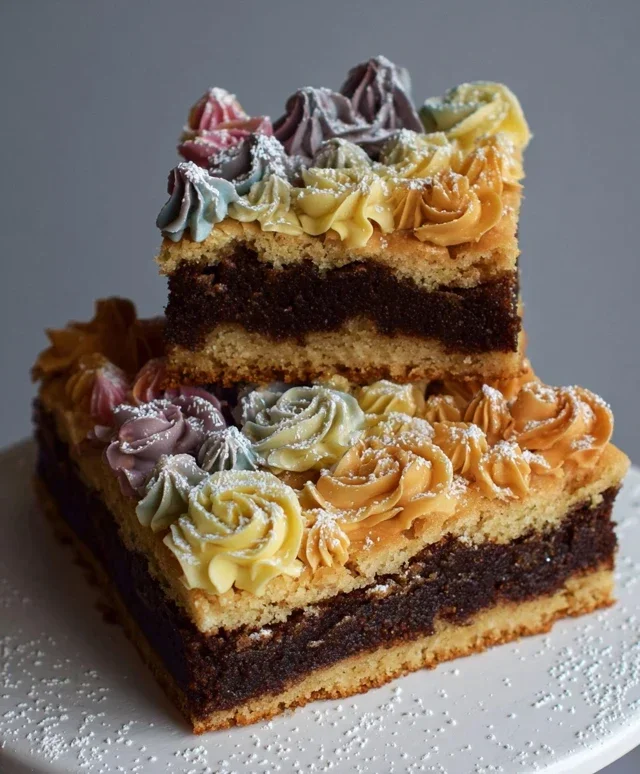
Recent Bakes: What I’ve been up to, again.
A collection of recent baking endeavors, showcasing a variety of sweet treats and comforting delights.
Ingredients
-
1 cup all-purpose flour
-
1/2 cup granulated sugar
-
1/4 cup unsalted butter, softened
-
2 large eggs
-
1 teaspoon vanilla extract
-
1/2 teaspoon baking powder
-
1/4 teaspoon salt
-
1/2 cup milk
Instructions
-
Step 1
Preheat oven to 350°F (175°C) and grease and flour a 12-cup muffin tin. -
Step 2
In a large bowl, cream together the softened butter and granulated sugar until light and fluffy. -
Step 3
Beat in the eggs one at a time, then stir in the vanilla extract. -
Step 4
In a separate bowl, whisk together the all-purpose flour, baking powder, and salt. -
Step 5
Gradually add the dry ingredients to the wet ingredients, alternating with the milk, beginning and ending with the dry ingredients. Mix until just combined. -
Step 6
Divide the batter evenly among the prepared muffin cups. -
Step 7
Bake for 18-22 minutes, or until a toothpick inserted into the center comes out clean. -
Step 8
Let cool in the muffin tin for a few minutes before transferring to a wire rack to cool completely.
Important Information
Nutrition Facts (Per Serving)
It is important to consider this information as approximate and not to use it as definitive health advice.
Allergy Information
Please check ingredients for potential allergens and consult a health professional if in doubt.