Large Small Cupcake Stands- Perfect Party Decor
Large & Small Cupcake Stands are more than just serving platters; they’re the silent architects of celebration, transforming ordinary treats into edible works of art. Have you ever noticed how a beautifully arranged cupcake display instantly elevates any party? That’s the magic these stands bring! People absolutely adore them because they create a stunning visual focal point, making your cupcakes the undeniable stars of the show. Whether it’s a whimsical birthday party, an elegant wedding reception, or a simple afternoon tea, the right cupcake stand adds a touch of flair and sophistication. What truly makes them special is their versatility. From multi-tiered behemoths designed to hold dozens of miniature masterpieces to delicate single-tier designs perfect for a few gourmet delights, there’s a perfect option for every occasion and every style. They provide height, dimension, and a sense of occasion that a flat platter simply cannot match.
Ingredients:
- 2 cups all-purpose flour
- 1 ½ teaspoons baking powder
- ½ teaspoon salt
- ¾ cup unsalted butter, softened
- 1 ½ cups granulated sugar
- 2 large eggs
- 1 teaspoon vanilla extract
- 1 cup milk
- ½ cup sour cream
- For the Frosting:
- 1 cup unsalted butter, softened
- 3 cups powdered sugar
- ¼ cup milk
- 1 teaspoon vanilla extract
- Pinch of salt
Preparing the Cupcake Batter
The foundation of any delicious cupcake lies in a well-mixed and balanced batter. We’ll start by ensuring all our dry ingredients are thoroughly combined. In a medium bowl, whisk together the all-purpose flour, baking powder, and salt. This step is crucial for distributing the leavening agent evenly, which will help your cupcakes rise beautifully and have a consistent texture throughout. Set this bowl aside for now.
Next, in a large mixing bowl, we’ll cream together the softened unsalted butter and granulated sugar. This process, often referred to as creaming, is where we incorporate air into the mixture. Use an electric mixer on medium-high speed and beat the butter and sugar until the mixture is light, fluffy, and pnon-alcoholic ale yellow. This usually takes about 3-5 minutes. Don’t rush this step; the incorporated air will contribute to a lighter and more tender cupcake.
Once the butter and sugar are perfectly creamed, it’s time to add the eggs. Add them one at a time, beating well after each addition. This ensures that each egg is fully incorporated into the batter before the next is added, preventing the mixture from becoming greasy. After the eggs are mixed in, stir in the vanilla extract for that classic sweet aroma and flavor.
Now, we’ll alternate adding the dry ingredients and the wet ingredients to the creamed mixture. This method helps to develop the gluten in the flour gradually, leading to a more tender crum extractb. Start by adding about one-third of the flour mixture to the butter and egg mixture and mix on low speed until just combined. Then, add half of the milk and sour cream mixture and mix until just incorporated. Repeat this process, adding another third of the flour mixture, then the remaining milk and sour cream, and finishing with the last third of the flour mixture. Be careful not to overmix at this stage; overmixing can lead to tough cupcakes. Stop mixing as soon as you no longer see streaks of flour. The batter should be smooth and pourable.
Baking the Cupcakes
Preheat your oven to 350 degrees Fahrenheit (175 degrees Celsius). Line muffin tins with cupcake liners. This is a simple but important step to prevent sticking and make for easy removal of your finished cupcakes. Fill each cupcake liner about two-thirds full with the prepared batter. Using an ice cream scoop can help ensure uniform-sized cupcakes, which is especially useful if you plan to decorate them later.
Bake for 18-22 minutes, or until a wooden skewer or toothpick inserted into the center of a cupcake comes out clean. The baking time can vary slightly depending on your oven, so it’s always best to check a few minutes before the suggested time. Once baked, remove the muffin tins from the oven and let the cupcakes cool in the tins for about 5-10 minutes. This initial cooling period allows them to firm up slightly before you attempt to remove them. After this, carefully transfer the cupcakes to a wire rack to cool completely. It’s essential that they are completely cool before frosting, otherwise, the frosting will melt and slide off.
Making the Vanilla Buttercream Frosting
While your cupcakes are cooling, let’s prepare a classic and delicious vanilla buttercream frosting. In a large mixing bowl, beat the softened unsalted butter with an electric mixer until it’s smooth and creamy. This is the base of our frosting, so a good starting point is key.
Gradually add the powdered sugar, about a cup at a time, beating on low speed until it’s incorporated. Once all the powdered sugar is added, increase the mixer speed to medium-high and beat for another 2-3 minutes until the frosting is light and fluffy. If the frosting seems too thick, you can add the milk, one tablespoon at a time, until you reach your desired consistency. For a smoother, more spreadable frosting, you might need a bit more milk than you think.
Finally, stir in the vanilla extract and a pinch of salt. The salt helps to balance the sweetness of the frosting and enhance the vanilla flavor. Beat for an additional minute to ensure everything is well combined. If you’re looking for a more stable frosting for piping, you can refrigerate it for about 15-20 minutes before using.
Decorating Your Cupcakes
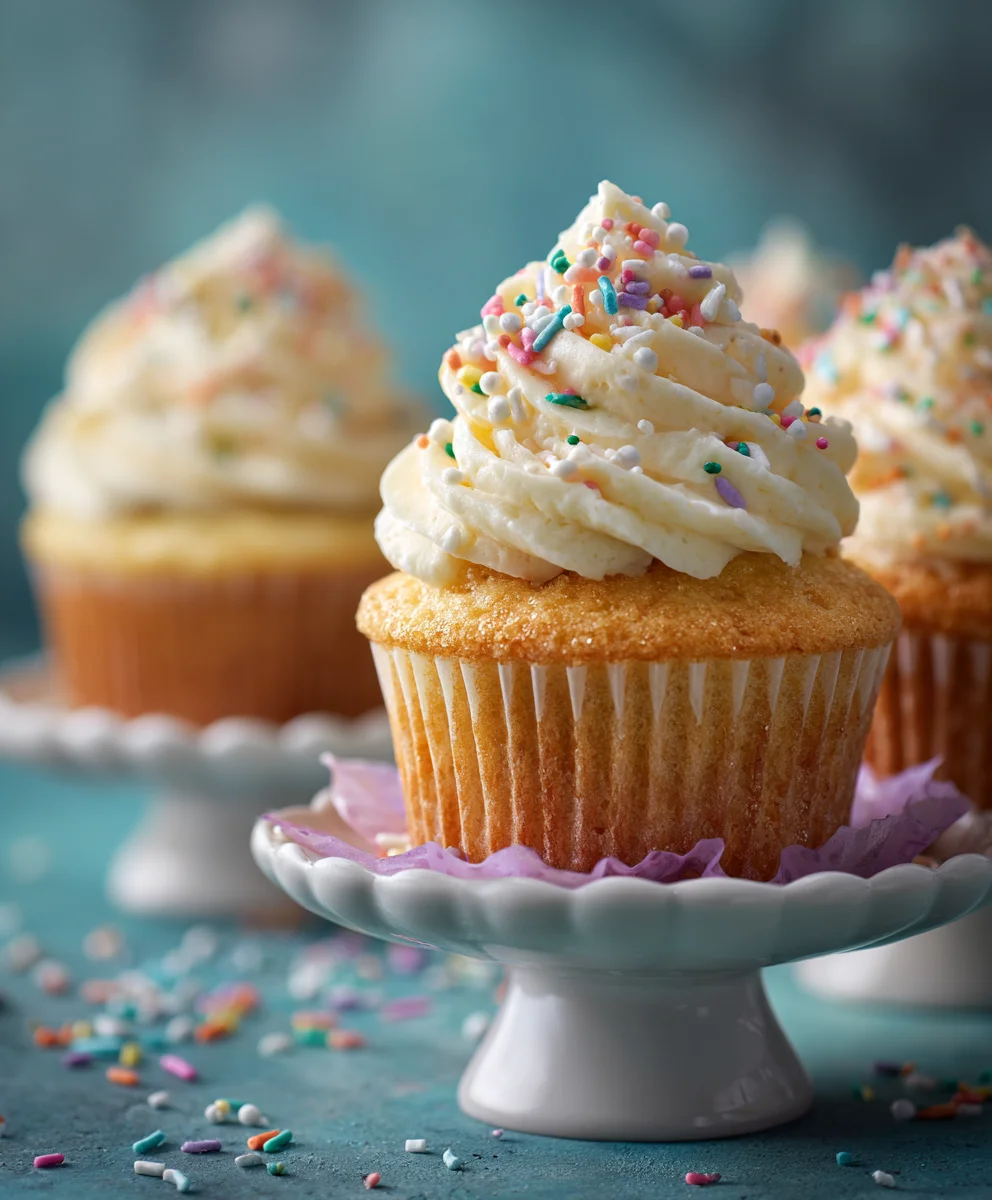
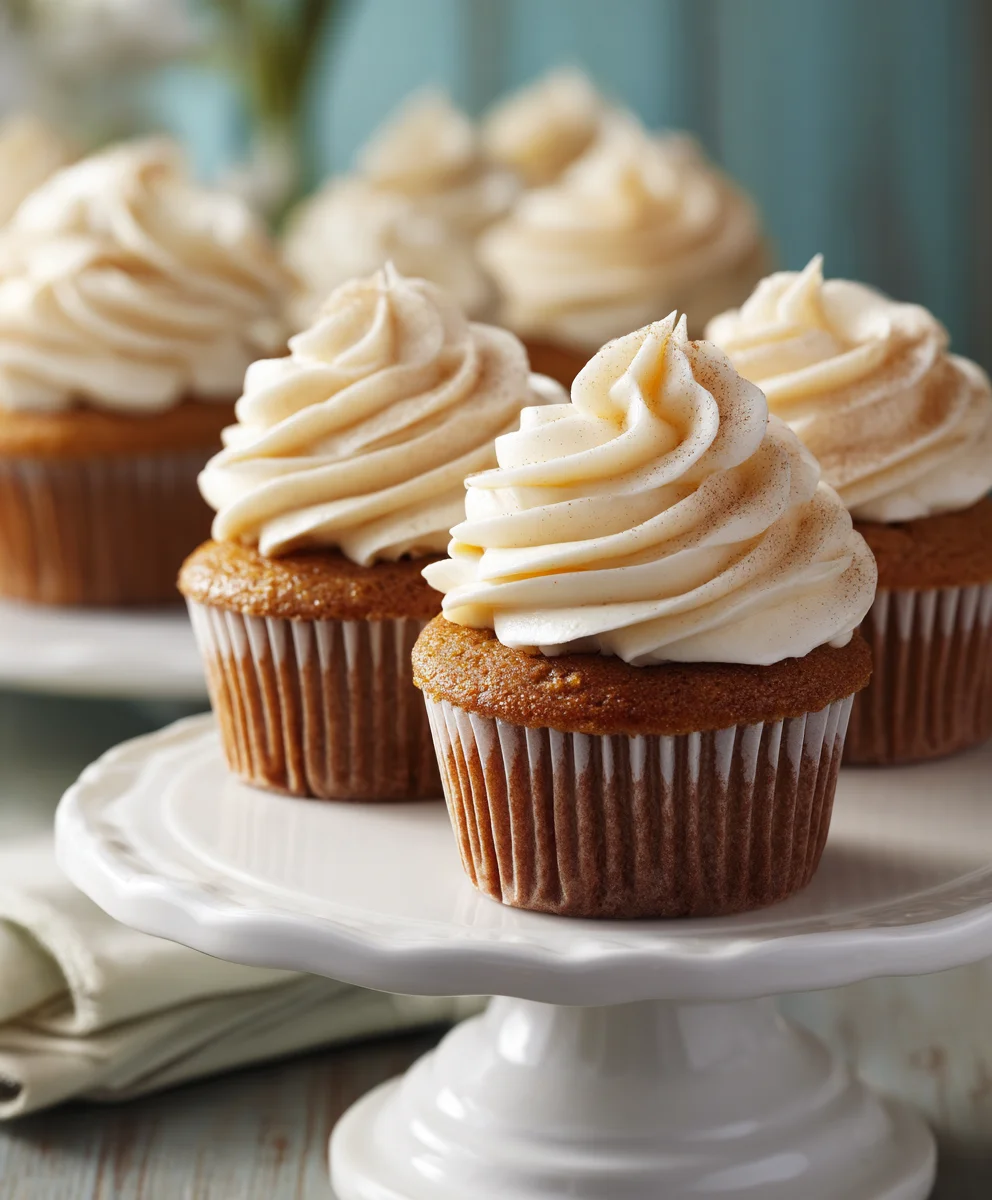
Once your cupcakes are completely cool, it’s time for the fun part – decorating! You can use a spatula to generously spread the frosting over each cupcake, creating swirls and peaks. If you prefer a more intricate design, transfer the frosting to a piping bag fitted with your favorite decorating tip.
Consider the occasion! For a special celebration, you might want to display your creations on large & small cupcake stands. These stands are not only functional but also add a beautiful presentation to any dessert table. Arrange your frosted cupcakes on the stands, alternating colors or sizes if you have them, to create a visually appealing centerpiece. You can also add sprinkles, edible glitter, or small candies for extra flair. Remember, the goal is to make them look as good as they taste, and the right presentation can elevate your homemade treats to a whole new level. Enjoy the process and let your creativity shine!
Conclusion:
We hope you’ve enjoyed learning how to create stunning displays with your Large & Small Cupcake Stands! These versatile stands are not just for cupcakes; they’re perfect for showcasing pastries, donuts, fruit platters, and even small decorative items. Whether you’re hosting a grand birthday bash or an intimate tea party, these stands add a touch of elegance and professionalism to any celebration. Don’t be afraid to experiment with different decorations around the base of the stands – fresh flowers, ribbons, or even small toys can tie into your theme beautifully. Remember, the goal is to make your treats the star of the show, and with these Large & Small Cupcake Stands, you’re well on your way to achieving just that. Happy decorating!
Frequently Asked Questions about Large & Small Cupcake Stands:
Can I use these cupcake stands for something other than cupcakes?
Absolutely! While they are named for cupcakes, these Large & Small Cupcake Stands are incredibly versatile. They are perfect for displaying donuts, muffins, macarons, cookies, fruit tarts, or even as a tiered centerpiece for appetizers. Get creative and let them enhance any dessert or food presentation!
How should I clean my Large & Small Cupcake Stands?
Cleaning is usually straightforward. Most stands can be wiped clean with a damp cloth. For more stubborn residue, a mild dish soap and water solution can be used. Always ensure they are completely dry before storing to prevent any moisture damage. Avoid abrasive cleaners or scouring pads that could scratch the surface.
Are these stands sturdy enough for heavy items?
The sturdiness of the Large & Small Cupcake Stands depends on their material and construction. Generally, they are designed to hold a reasonable weight of cupcakes or similar-sized treats. For heavier items, ensure you distribute the weight evenly across the tiers and consider using a more robust stand if necessary.
Large Small Cupcake Stands- Perfect Party Decor
A guide to baking and decorating cupcakes, with a focus on presentation using large and small cupcake stands.
Ingredients
-
2 cups all-purpose flour
-
1 ½ teaspoons baking powder
-
½ teaspoon salt
-
¾ cup unsalted butter, softened
-
1 ½ cups granulated sugar
-
2 large eggs
-
1 teaspoon vanilla extract
-
1 cup milk
-
½ cup sour cream
-
1 cup unsalted butter, softened
-
3 cups powdered sugar
-
¼ cup milk
-
1 teaspoon vanilla extract
-
Pinch of salt
Instructions
-
Step 1
Combine dry ingredients: In a medium bowl, whisk together flour, baking powder, and salt. Set aside. In a large bowl, cream softened butter and sugar until light and fluffy. Beat in eggs one at a time, then stir in vanilla extract. -
Step 2
Alternate adding wet and dry ingredients: Add one-third of the flour mixture to the creamed mixture, mix until combined. Add half of the milk and sour cream mixture, mix until incorporated. Repeat, finishing with the last third of the flour mixture. Do not overmix. -
Step 3
Bake cupcakes: Preheat oven to 350°F (175°C). Line muffin tins with liners and fill two-thirds full with batter. Bake for 18-22 minutes, or until a skewer comes out clean. Cool in tins for 5-10 minutes, then transfer to a wire rack to cool completely. -
Step 4
Make frosting: Beat softened butter until smooth. Gradually add powdered sugar, mixing on low speed. Increase speed to medium-high and beat until light and fluffy. Add milk one tablespoon at a time if needed for consistency. -
Step 5
Finish frosting: Stir in vanilla extract and a pinch of salt. Beat for an additional minute. Refrigerate for 15-20 minutes if a more stable frosting for piping is desired. -
Step 6
Decorate cupcakes: Once cool, spread or pipe frosting onto cupcakes. Arrange on large and small cupcake stands for party decor, adding sprinkles or glitter if desired.
Important Information
Nutrition Facts (Per Serving)
It is important to consider this information as approximate and not to use it as definitive health advice.
Allergy Information
Please check ingredients for potential allergens and consult a health professional if in doubt.