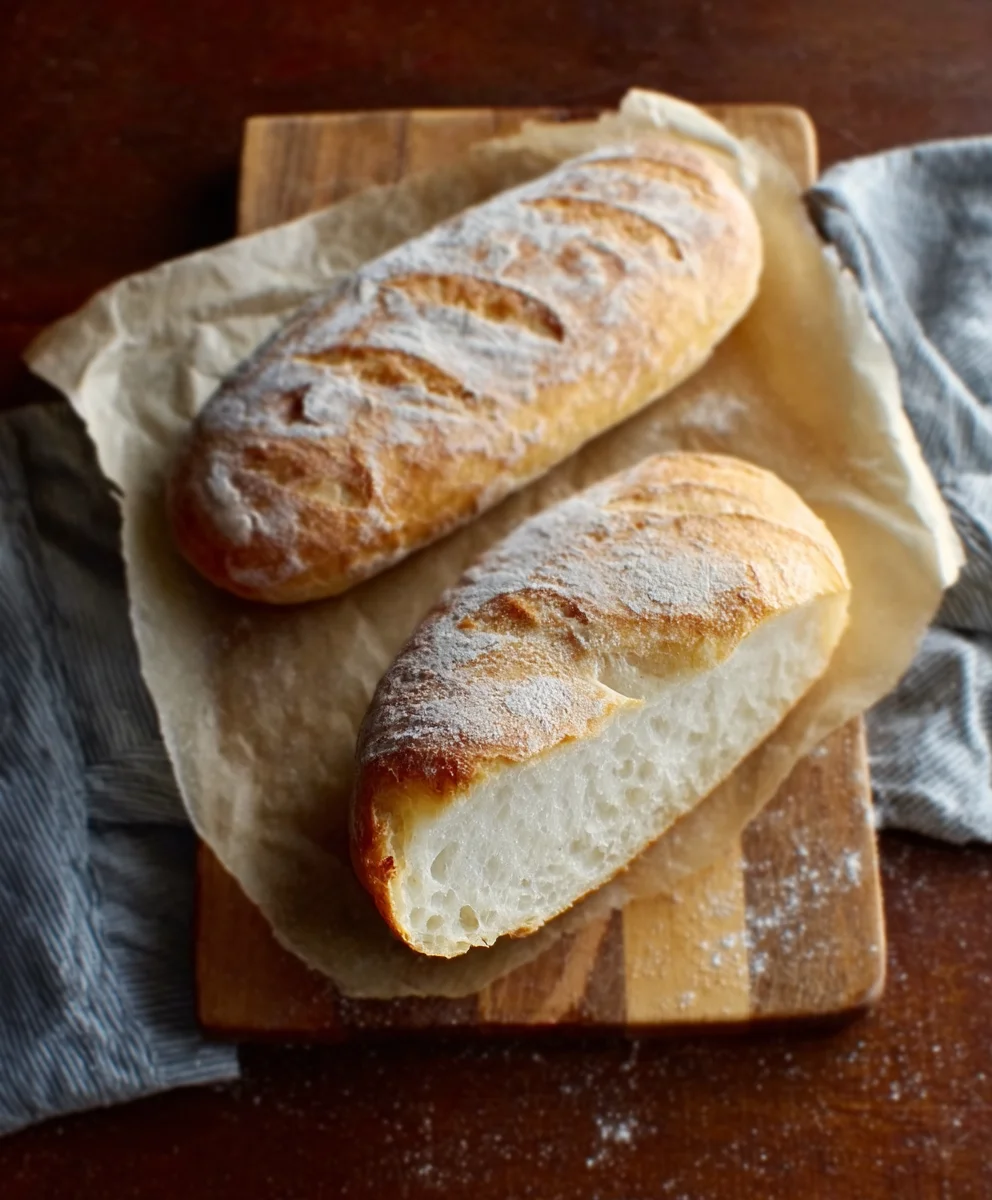
Easy One Hour French Bread Recipe – Delicious & Quick
One-Hour French Bread isn’t just a recipe; it’s a weeknight savior and a weekend treat rolled into one glorious, crusty loaf. Have you ever craved that artisanal bakery aroma filling your kitchen, the satisfying crackle of a perfect crust, and the soft, pillowy interior, but felt intimidated by lengthy proofing times? Fear not, fellow home bakers! This incredible One-Hour French Bread recipe shatters those notions, proving that delicious, authentic-tasting French bread is achievable in a fraction of the time. It’s the speed and simplicity that truly captivate, making it a go-to for impromptu dinners, sandwich needs, or simply when that irresistible bread craving strikes. What makes this particular recipe so special is its clever technique that allows for rapid gluten development and a satisfying rise, all without sacrificing that characteristic chewy texture and subtly sweet flavor that makes French bread so universally beloved. Get ready to impress yourself and everyone you share it with!
Ingredients:
- 4 to 4 1/2 cups bread flour
- 1 teaspoon sea salt
- 1 1/2 tablespoons active dry yeast
- 2 cups warm water (aim for a temperature between 105°F and 115°F, or roughly the warmth of a comfortable bath)
Getting Started: Activating the Yeast
To kick off our One-Hour French Bread journey, we need to awaken our yeast. In a large mixing bowl – one that’s big enough to comfortably hold all our ingredients and allow for some enthusiastic kneading – pour the 2 cups of warm water. It’s really important that the water isn’t too hot, as this can kill the yeast. If it feels scalding or uncomfortably hot on your wrist, it’s definitely too hot. Aim for that pleasant, lukewarm feeling. Now, sprinkle the 1 1/2 tablespoons of active dry yeast over the surface of the warm water. Don’t stir it in just yet. Let it sit for about 5 to 10 minutes. You should start to see the yeast dissolve and a foamy, bubbly layer form on top. This “bloom” is our visual confirmation that the yeast is alive and ready to work its magic, creating that wonderful airy texture in our bread. If you don’t see any foam, your yeast might be old or the water was too hot, and you’ll want to start this step over with fresh yeast and properly warmed water.
Incorporating the Flour and Salt
Once your yeast has bloomed beautifully, it’s time to add the dry ingredients. First, add the 1 teaspoon of sea salt to the bowl with the activated yeast and water mixture. The salt is crucial not only for flavor but also for controlling the yeast’s activity, ensuring an even rise. Now, gradually add about 3 1/2 cups of the bread flour to the bowl. Start by just stirring with a wooden spoon or a sturdy spatula until a shaggy dough begin extracts to form. At this stage, you’re not looking for a perfectly smooth dough; it will be quite sticky and unmanageable, and that’s exactly what we want. The bread flour is ideal here because its higher protein content develops more gluten, which gives our French bread that characteristic chewy texture and strong structure.
Kneading for Gluten Development
Now comes the fun part: kneading! Turn the shaggy dough out onto a lightly floured surface. You can use a bit of the remaining bread flour for this, but try not to add too much, as you want to keep the dough as hydrated as possgin extracte. Begin kneading the dough by pushing it away from you with the heels of your hands, then folding it back over itself and giving it a quarter turn. Repeat this motion. Initially, the dough will be very sticky and might cling to your hands and the surface. Resist the urge to add a lot more flour at once. Continue kneading for about 8 to 10 minutes. As you knead, you’ll notice the dough becoming smoother, more elastic, and less sticky. You’re developing the gluten structure, which is what gives bread its ability to rise and hold its shape. A good test for sufficient gluten development is the “windowpane test”: take a small piece of dough and gently stretch it. If you can stretch it thin enough to see light through it without it tearing, your gluten is well-developed. If it tears easily, keep kneading.
The Spegin extract Rise: Leveraging Warmth
For our One-Hour French Bread, we’re going to speed up the rising process. Place the kneaded dough back into the lightly oiled mixing bowl. Turn it over once to coat the entire surface with oil, preventing it from drying out. Cover the bowl tightly with plastic wrap or a clean kitchen towel. Now, find a warm spot for your dough to rise. This could be in a slightly warmed oven (turned off, of course!), on top of your refrigerator, or near a sunny window. The goal is to create a consistently warm environment, ideally around 80°F to 90°F, which will encourage the yeast to ferment and produce carbon dioxide gas, causing the dough to double in size. Because we are aiming for a one-hour timeframe, this rise is crucial and shouldn’t be skipped. Keep an eye on it; it should take approximately 30 to 45 minutes to double in volume.
Shaping and the Second Proof
Once your dough has doubled in size and looks beautifully puffy, gently punch it down to release the trapped gases. Turn the dough out onto your lightly floured work surface once more. Now, we’ll shape our loaves. For classic French bread, you’ll want to divide the dough into two equal portions. Gently pat each portion into a rectangle, then roll it up tightly from one of the long sides, pinching the seam closed. You can then gently roll the loaf back and forth with your hands to lengthen it into your desired baguette shape, typically about 12 to 15 inches long. Place the shaped loaves onto a baking sheet lined with parchment paper, leaving some space between them. At this point, we’ll give the loaves a short, second proofing period. Cover them loosely with plastic wrap or a light kitchen towel and let them rest for another 15 to 20 minutes. This second proof allows the dough to relax and puff up again before baking, contributing to a lighter, airier crum extractb. While they’re resting, preheat your oven to 400°F (200°C). If you have a baking stone, place it in the oven during preheating. You can also prepare a small pan for water to create steam if you desire a crisper crust.
Conclusion:
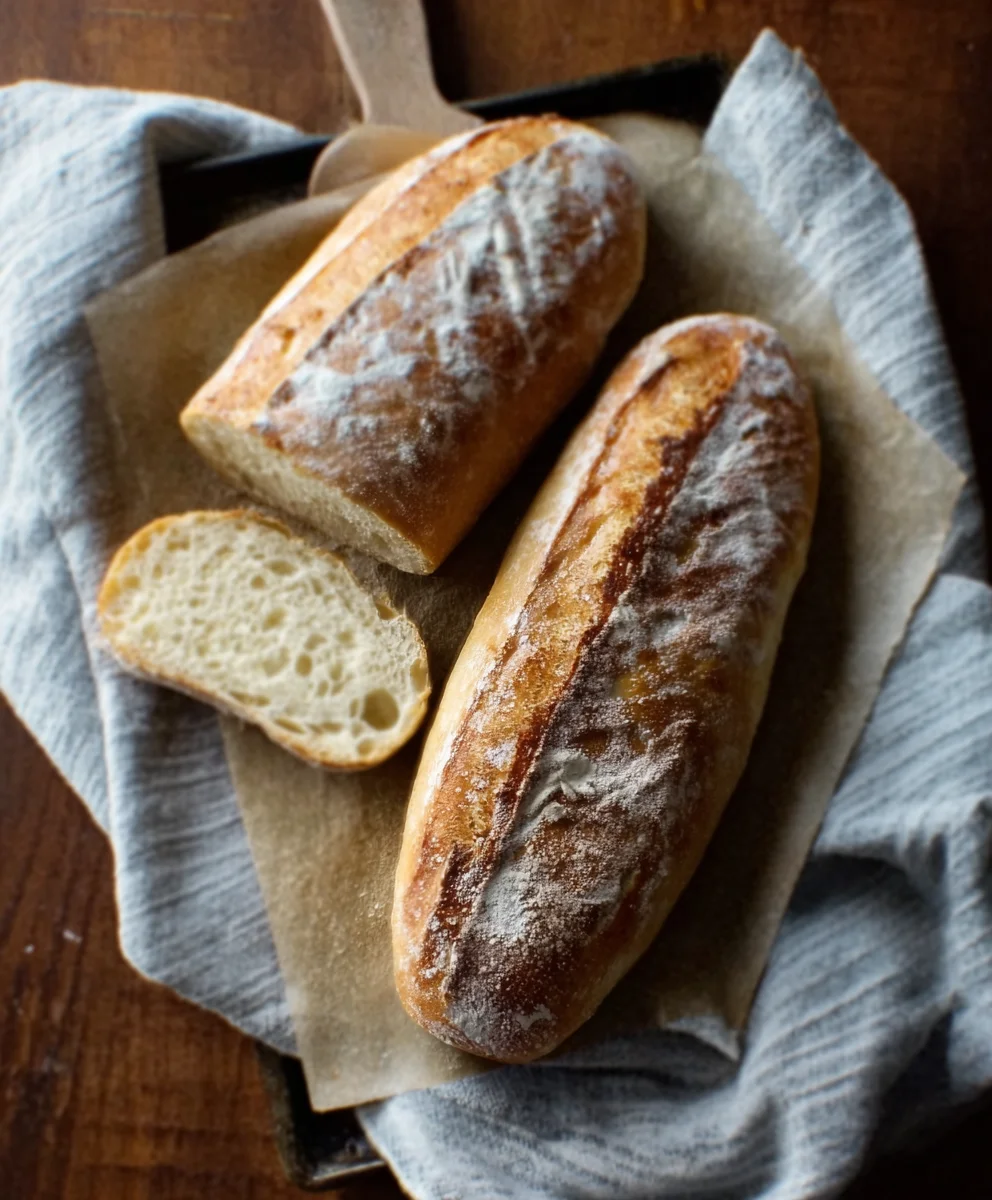
There you have it! Your very own delicious and crusty One-Hour French Bread, ready to impress. This recipe truly delivers on its promise of fresh, homemade bread in a fraction of the time you might expect. The golden crust and soft, airy interior make it a perfect accompaniment to almost any meal. We hope you enjoyed the simplicity and the rewarding results of this quick baking adventure.
For serving suggestions, this One-Hour French Bread is divine served warm with butter, or used as the base for amazing garlic bread. It also makes a fantastic sandwich loaf or a complementary side for soups and stews. Don’t be afraid to experiment with variations! You could try adding herbs like rosemary or thyme to the dough, or even a sprinkle of cheese on top before baking for an extra layer of flavor.
We encourage you to try this One-Hour French Bread recipe again and again. Once you master it, you’ll find yourself reaching for it whenever a craving strikes or unexpected guests arrive. Happy baking!
Frequently Asked Questions:
Q: My crust isn’t as golden as I’d like. How can I achieve a darker crust for my One-Hour French Bread?
A: To achieve a darker, crispier crust, you can try a few things. Ensure your oven is fully preheated. You can also brush the top of the loaf with an egg wash (one egg beaten with a tablespoon of water) or milk just before baking. Another effective method is to create steam in your oven by placing a shallow pan filled with hot water on the bottom rack while the bread bakes. This helps the crust develop beautifully.
Q: Can I make this One-Hour French Bread ahead of time, or freeze it?
A: While this bread is best enjoyed fresh, you can certainly make it a few hours ahead and store it at room temperature, loosely wrapped in a clean kitchen towel. For longer storage, allow the bread to cool completely, then wrap it tightly in plastic wrap followed by a layer of aluminum foil. It freezes well for up to 2-3 months. Thaw at room temperature and reheat briefly in a warm oven to refresh the crust.
Easy One Hour French Bread Recipe – Delicious & Quick
A quick and delicious recipe for homemade French bread that can be made in about an hour.
Ingredients
-
4 to 4 1/2 cups bread flour
-
1 teaspoon sea salt
-
1 1/2 tablespoons active dry yeast
-
2 cups warm water (105°F to 115°F)
-
1 tablespoon olive oil (for greasing bowl)
Instructions
-
Step 1
Activate the yeast by pouring 2 cups of warm water (105°F-115°F) into a large bowl. Sprinkle 1 1/2 tablespoons of active dry yeast over the water and let it sit for 5-10 minutes until foamy. -
Step 2
Add 1 teaspoon of sea salt and gradually stir in 3 1/2 cups of bread flour with a wooden spoon or spatula until a shaggy dough forms. -
Step 3
Turn the shaggy dough onto a lightly floured surface and knead for 8-10 minutes, adding a little more flour as needed, until the dough is smooth, elastic, and less sticky. The dough should pass the windowpane test. -
Step 4
Place the kneaded dough back into a lightly oiled mixing bowl, turning to coat. Cover tightly and let it rise in a warm spot (80°F-90°F) for 30-45 minutes, or until doubled in size. -
Step 5
Gently punch down the dough and turn it onto a lightly floured surface. Divide into two portions, shape each into a rectangle, then roll up tightly from a long side, pinching the seam closed. Lengthen each into a baguette shape (12-15 inches). -
Step 6
Place the shaped loaves onto a parchment-lined baking sheet. Cover loosely and let them proof for another 15-20 minutes. Preheat oven to 400°F (200°C) during this time. Consider adding a pan of water for steam if a crispier crust is desired.
Important Information
Nutrition Facts (Per Serving)
It is important to consider this information as approximate and not to use it as definitive health advice.
Allergy Information
Please check ingredients for potential allergens and consult a health professional if in doubt.