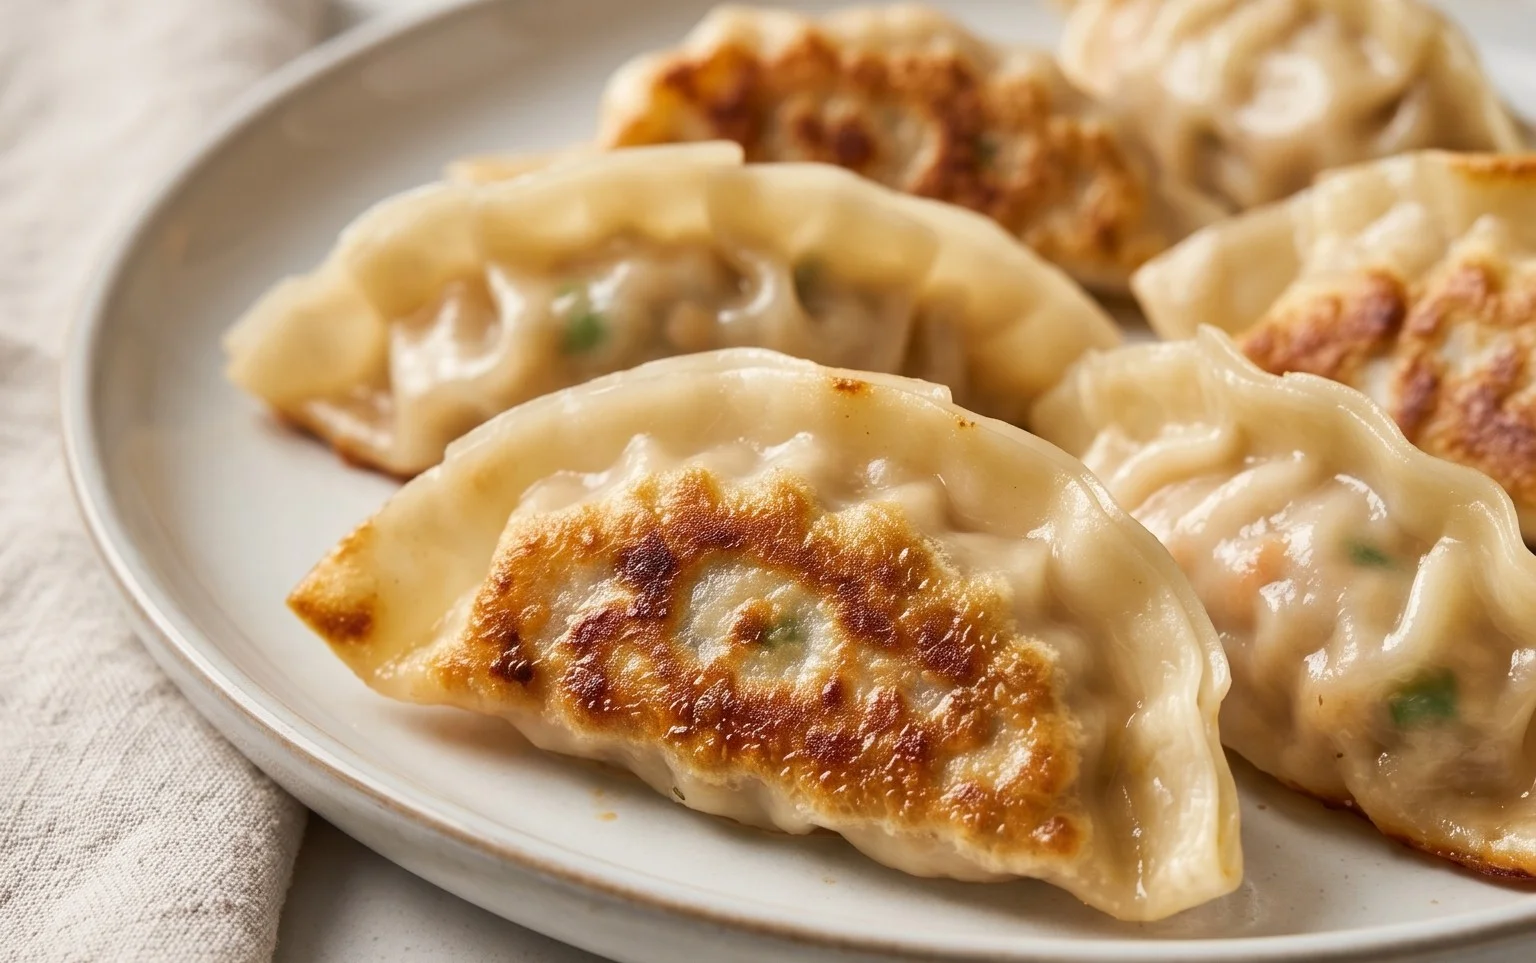
Easy Pan Fried Chicken Potstickers Recipe
Chicken potstickers, also known as pan-fried dumplings, are a true culinary marvel that never fails to delight. Imagin extracte this: a perfectly golden-brown, crispy bottom giving way to a tender, steaming wrapper that encases a flavorful medley of seasoned chicken and savory vegetables. It’s no wonder why these little parcels of joy have captured hearts (and taste buds!) around the globe. The irresistible contrast between the crunchy base and the juicy filling is pure magic. What truly sets chicken potstickers apart is their incredible versatility. They’re a fantastic appetizer for a lively gathering, a satisfying lunch, or even a simple yet elegant dinner. Plus, the satisfaction of biting into a perfectly cooked potsticker is an experience in itself, making them a beloved classic for good reason.
Ingredients:
Chicken potstickers, or pan-fried dumplings, are one of my absolute favorite comfort foods. They strike that perfect balance between a crispy, seared bottom and a tender, juicy filling. Making them from scratch might seem a little daunting at first, but trust me, it’s surprisingly straightforward and incredibly rewarding. The magic happens when you combine that flavorful, savory chicken filling with the delicate dumpling wrapper, then transform it with a simple pan-frying technique. This recipe will guide you through creating these delightful morsels, perfect for a casual weeknight dinner or an impressive appetizer for guests.
Preparing the Filling: The Heart of the Dumpling
The first crucial step to making delicious potstickers is crafting a well-seasoned and balanced filling. We’ll start by getting all our aromatics ready. Finely mince those garlic cloves and the fresh gin extractger. Don’t be shy with the gin extractger; it adds a wonderful zing that cuts through the richness of the chicken. Chop your napa cabbage as finely as you can – the smaller the pieces, the better it will integrate into the filling and become tender when cooked. Slice your green onions, reserving some for garnish later.
Now, in a medium-sized mixing bowl, combine the ground chicken, chopped napa cabbage, sliced green onions, minced garlic, and minced gin extractger. To this mixture, we’ll add our flavor enhancers. Pour in the soy sauce and oyster sauce. These two ingredients are essential for that classic umami depth. Next, drizzle in the sesame oil – its nutty aroma is unmistakable and vital to the authentic flavor profile. Dissolve the chicken bouillon in a tablespoon or two of warm water and add it to the bowl. Finally, season with salt and white pepper. White pepper has a slightly different, less pungent heat than black pepper, which I find works beautifully in delicate dumpling fillings.
Once all the ingredients are in the bowl, it’s time to get your hands in there and mix everything thoroughly. You want to ensure all the seasonings are evenly distributed and that the mixture is well combined. Some chefs recommend mixing in a single direction to help the filling become a bit sticky and cohesive, which can prevent it from falling apart during cooking. I like to give it a good, firm mix for about a minute or two. Don’t overmix to the point where the chicken becomes tough, but ensure everything is incorporated. Taste a tiny bit of the raw mixture (if you’re comfortable doing so and your ingredients are fresh and safe to consume raw) to adjust seasonings if needed.
Assembling the Potstickers: The Art of the Fold
With your delicious filling ready, it’s time to bring these dumplings to life by wrapping them. This is where the circular dumpling wrappers come in. You can usually find these in the refrigerated section of most Asian grocery stores or in the international aisle of larger supermarkets. Keep them covered with a damp paper towel or plastic wrap when you’re not actively using them to prevent them from drying out.
To assemble, place one dumpling wrapper on a clean, dry surface or in the palm of your hand. Spoon about a tablespoon of the chicken filling into the center of the wrapper. Be careful not to overfill, or it will be difficult to seal properly. Dip your finger in a small bowl of water and moisten the entire edge of the dumpling wrapper. This water acts as the “glue” to seal the dumpling. Now, fold the wrapper in half over the filling, creating a half-moon shape. Starting from one end, press the edges firmly together to seal. For that classic potsticker look and extra security, you can create pleats along the senon-alcoholic aled edge. To do this, hold the senon-alcoholic aled half-moon and make small, overlapping folds along one side of the edge, pressing each fold into the opposite, flat edge of the wrapper as you go. Aim for about 5-7 pleats. This technique not only makes them look pretty but also ensures a good seal so your delicious filling doesn’t escape during cooking. Place the finished dumpling on a lightly floured baking sheet or plate, making sure they don’t touch each other, as they can stick. Repeat this process with the remaining wrappers and filling.
The Pan-Frying Technique: Achieving That Perfect Crisp
This is the stage where the magic truly happens! The pan-frying method, also known as the “potsticker” method, is what gives these dumplings their signature crispy bottoms and tender tops.
Phase 1: Getting That Golden Sear
Heat about 1 to 2 tablespoons of neutral cooking oil (like vegetable or canola oil) in a large non-stick skillet or wok over medium-high heat. Once the oil is shimmering and hot, carefully arrange the assembled potstickers in a single layer in the pan. Make sure not to overcrowd the pan; cook in batches if necessary. You want to give them some space so they can sear properly. Let them cook undisturbed for about 3 to 5 minutes, or until the bottoms are golden brown and beautifully crispy. Resist the urge to move them around too much during this initial searing phase.
Phase 2: Steaming to Perfection
Once the bottoms are nicely browned, it’s time to steam the dumplings to cook the filling through and soften the wrappers. Carefully pour about 1/2 cup of water into the hot skillet. Be prepared for steam, and it’s a good idea to stand back slightly. Immediately cover the skillet tightly with a lid. Reduce the heat to medium-low. Let the dumplings steam for about 7 to 10 minutes, or until the wrappers are translucent and slightly puffed, and the filling is cooked through. The water should have mostly evaporated by the end of this stage.
Phase 3: The Final Crisping
Remove the lid. If there’s still a significant amount of water left, increase the heat slightly to allow it to evaporate. You can also add another teaspoon of oil at this point if you like, to ensure an extra crispy bottom. Continue to cook, uncovered, for another 2 to 3 minutes, allowing any remaining moisture to evaporate and ensuring the bottoms are perfectly crisp. You should hear a gentle sizzle.
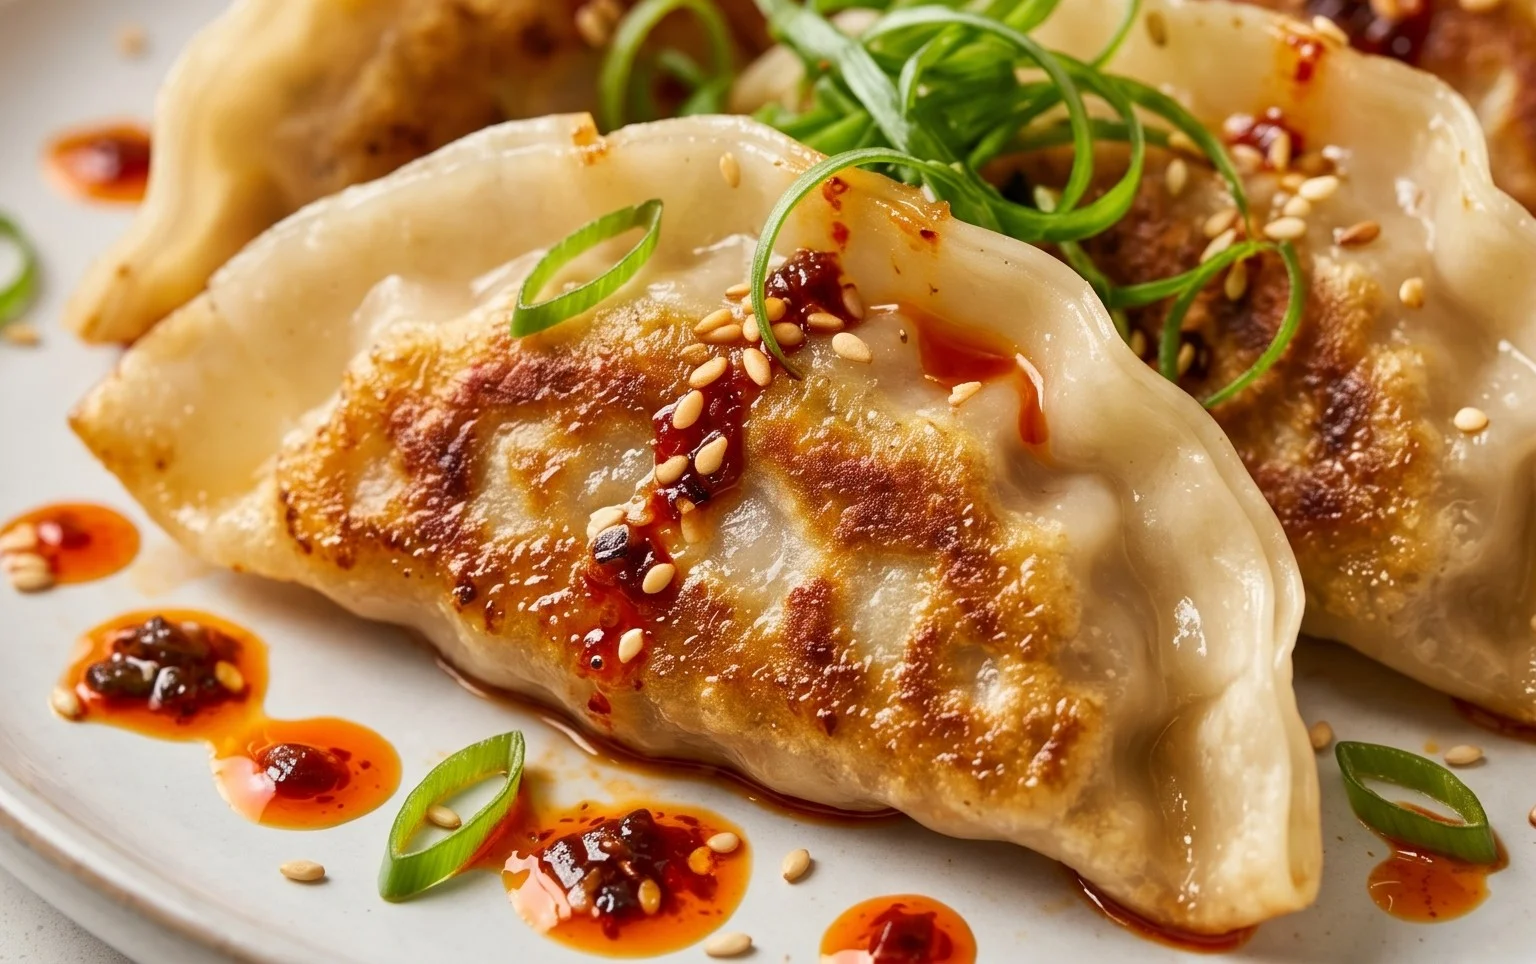
Once they’re done, carefully remove the potstickers from the pan using a spatula. Arrange them on a serving platter. Garnish generously with the reserved sliced green onions and a sprinkle of sesame seeds. Serve immediately with your favorite dumpling dipping sauce. The dipping sauce is crucial for that extra burst of flavor. A classic mixture of soy sauce, vinegar, and a touch of chili oil or sesame oil is always a winner! Enjoy your homemade chicken potstickers – a testament to your culinary prowess!
Conclusion:
And there you have it! You’ve mastered the art of making incredibly delicious and satisfying chicken potstickers right in your own kitchen. What makes this recipe so fantastic is the perfect balance of crispy, pan-fried bottoms and tender, steamed tops, all filled with a flavorful and juicy chicken mixture. The satisfying crunch followed by the burst of savory goodness is truly a culinary delight. These pan fried dumplings are incredibly versatile and can be enjoyed as an appetizer, a light lunch, or even a main course when paired with a hearty side. I love serving them with a simple soy-gin extractger dipping sauce, but feel free to experiment! Consider adding finely chopped water chestnuts for extra crunch or a touch of chili flakes for a hint of heat in your filling. Don’t be intimidated by making dumplings from scratch; it’s a rewarding process that will impress your friends and family. I highly encourage you to give this chicken potsticker recipe a try – you won’t regret it!
Frequently Asked Questions:
Can I make the filling ahead of time?
Absolutely! You can prepare the chicken filling up to a day in advance. Store it in an airtight container in the refrigerator. This can save you a significant amount of prep time on the day you plan to assemble and cook your potstickers.
What kind of wrappers should I use?
For the best results with pan-fried dumplings, look for round dumpling wrappers specifically labeled for potstickers or gyoza. These are typically made with wheat flour and have a good texture for pan-frying. Fresh wrappers are generally easier to work with and seal better than frozen ones.
My potstickers are sticking to the pan. What am I doing wrong?
Ensure you’re using enough oil and that your pan is adequately heated before placing the dumplings in. A medium-high heat is ideal. Also, don’t overcrowd the pan, as this can lead to uneven cooking and sticking. Let them cook undisturbed for a few minutes before adding the water for steaming.
Chicken Potstickers (Pan Fried Dumplings)
Delicious pan-fried chicken potstickers with a flavorful filling and crispy wrappers.
Ingredients
-
1 lb ground chicken
-
1 lb circular dumpling wrapper
-
2 cups napa cabbage (chopped)
-
1 tsp salt
-
4 green onions (sliced)
-
6 garlic cloves (minced)
-
2 inch ginger (minced)
-
1 tbsp soy sauce
-
1 tbsp oyster sauce
-
1 tbsp sesame oil
-
1 tbsp chicken bouillon
-
1 tsp white pepper
Instructions
-
Step 1
In a large bowl, combine ground chicken, chopped napa cabbage, salt, sliced green onions, minced garlic, minced ginger, soy sauce, oyster sauce, sesame oil, chicken bouillon, and white pepper. Mix thoroughly until all ingredients are well incorporated. -
Step 2
Lay out a dumpling wrapper on a clean surface. Place about 1 tablespoon of the chicken filling in the center of the wrapper. -
Step 3
Moisten the edges of the wrapper with a little water using your finger. Fold the wrapper in half to create a semi-circle, then pleat the edges to seal, creating the classic potsticker shape. -
Step 4
Heat about 1 tablespoon of cooking oil in a non-stick skillet over medium-high heat. Place the dumplings in a single layer, ensuring they don’t overcrowd the pan. -
Step 5
Cook the dumplings for 2-3 minutes until the bottoms are golden brown and crispy. -
Step 6
Carefully add about 1/2 cup of water to the skillet. Immediately cover the skillet with a lid and steam the dumplings for 5-7 minutes, or until the chicken is cooked through and the wrappers are tender. -
Step 7
Remove the lid and continue to cook for another 1-2 minutes to allow any remaining liquid to evaporate and to re-crisp the bottoms if necessary. -
Step 8
Serve hot with dumpling dipping sauce, garnished with extra sliced green onions and sesame seeds.
Important Information
Nutrition Facts (Per Serving)
It is important to consider this information as approximate and not to use it as definitive health advice.
Allergy Information
Please check ingredients for potential allergens and consult a health professional if in doubt.