Daisy Lemon Meringue Pies-Sweet & Tangy Delight
Daisy Lemon Meringue Pies are more than just a dessert; they’re sunshine in a dish, a delightful dance between tart and sweet that has captivated taste buds for generations. There’s a certain magic in that wobbly, snow-white meringue, kissed with golden-brown peaks, perched atop a creamy, zesty lemon filling. It’s this perfect balance of textures and flavors that makes the Daisy Lemon Meringue Pie an enduring favorite, bringin extractg smiles and happy sighs with every spoonful. What truly sets this classic apart is its ability to evoke comforting memories while simultaneously offering a refreshingly bright and elegant treat, perfect for any occasion, from a simple afternoon tea to a celebratory gathering. Get ready to create your own little rays of sunshine with this irresistible recipe.
Daisy Lemon Meringue Pies
There’s something undeniably cheerful about a lemon meringue pie. The sunny yellow of the filling, the cloud-like swirl of toasted meringue, all nestled within a crisp, buttery crust – it’s a dessert that instantly brightens any occasion. And these Daisy Lemon Meringue Pies? They take that joy to the next level. We’re not just talking about a slice of pie; we’re talking about individual, adorable little pies that are perfect for sharing, gifting, or simply indulgin extractg in a moment of pure, sweet-tart bliss. The “daisy” element comes from a simple but effective decorative touch to the meringue that makes them truly special. Let’s get baking!
Ingredients:
Instructions:
Making the Tartlet Cases
First, we’ll prepare our pastry for the tartlet cases. In a medium bowl, whisk together the 125g plain flour and 35g icing sugar. This ensures the sugar is evenly distributed and won’t leave pockets of sweetness in the crust. Add the 60g cold unsalted butter, cubed. Using your fingertips, rub the butter into the flour mixture until it resembles coarse breadcrum extractbs. You want to work quickly to keep the butter cold, as this is key to a flaky pastry. If the kitchen is warm, you can even pop the bowl in the fridge for 10 minutes at this stage.
Next, we’ll bring the pastry together. Make a well in the centre of the flour and butter mixture. Add the 1 large egg yolk and 1 tbsp water. Using a knife, gently mix these wet ingredients into the dry until a dough just begin extracts to form. Be careful not to overmix, as this can result in a tough pastry. Turn the dough out onto a lightly floured surface and gently bring it together into a ball. Wrap it in cling film and refrigerate for at least 30 minutes. This chilling period allows the gluten to relax, making the pastry easier to handle and preventing shrinkage during baking.
Preheat your oven to 190°C (170°C fan/Gas Mark 5). Lightly grease a 12-hole mini muffin tin or individual tartlet tins. Once chilled, lightly flour your work surface and gently roll out the pastry to about 3mm thickness. Cut out circles of pastry large enough to line your mini muffin tin holes or tartlet tins. You can use a cookie cutter or even the rim of a glass for this. Gently press the pastry circles into the tins, ensuring they fit snugly into the base and up the sides. Prick the bases of the pastry cases all over with a fork. This allows steam to escape during baking, preventing the bases from puffing up. For perfectly neat edges, you can trim any excess pastry. Place the tins in the freezer for 15 minutes before baking to further help prevent shrinkage. Bake for 12-15 minutes, or until the pastry is lightly golden and cooked through. Let the cases cool completely in the tins before carefully removing them.
Crafting the Zesty Lemon Filling
Now for the vibrant lemon filling! In a medium saucepan, whisk together the 4 large egg yolks, 150g granulated sugar, and 40g cornflour until smooth. This is where the creamy texture comes from. Gradually whisk in the 250ml water until well combined.
Place the saucepan over medium heat and cook, stirring constantly, until the mixture thickens to a pudding-like consistency. This can take about 5-8 minutes. Be patient and keep stirring to prevent lumps forming and to ensure even cooking. Once thickened, remove from the heat and stir in the 80ml fresh lemon juice, 1 tbsp unsalted butter, and the zest of 1 lemon. The butter adds a lovely richness, and the lemon zest amplifies the citrusy punch. Stir until the butter is melted and the filling is smooth. Spoon the warm lemon filling into the cooled tartlet cases.
Creating the Daisy Meringue Clouds
It’s time for the crowning glory – the meringue! Ensure your bowl and whisk are scrupulously clean and free of any grease, as this can prevent the egg whites from whipping properly. Place the 4 large egg whites in the clean bowl. Add the ½ tsp cream of tartar. Cream of tartar is a stabilizer that helps the egg whites whip up to a firmer, more stable meringue. Start whisking on a low speed, gradually increasing to a medium-high speed until soft peaks form. Soft peaks mean when you lift the whisk, the peaks curl over.
Gradually add the 200g granulated sugar, a tablespoon at a time, while continuing to whisk on high speed. Keep whisking until the meringue is thick, glossy, and stiff peaks form. To check for stiff peaks, when you lift the whisk, the peaks should stand straight up without drooping. You should also feel no grittiness when you rub a little meringue between your fingers; the sugar should be completely dissolved. Stir in the 1 tsp vanilla extract for a subtle hint of flavour.
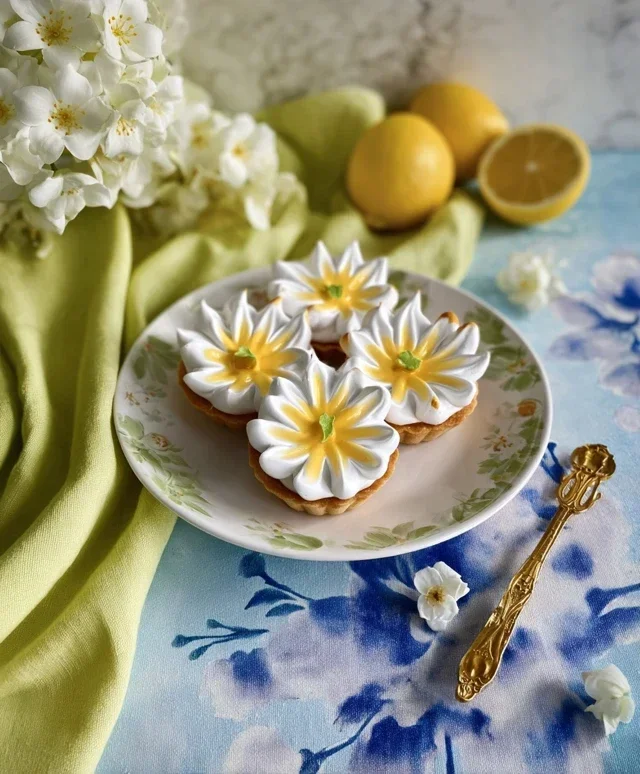
Now for the daisy decoration! Spoon or pipe the meringue over the lemon filling in each tartlet. To create the daisy effect, use the back of a spoon to gently swirl the meringue, making petal-like shapes around the edge. You can then use a small skewer or the tip of a spoon to create small indentations in the centre of each “petal” to mimic the look of a daisy. Alternatively, you can pipe small dollops of meringue around the edge to form petals.
Finally, it’s time to toast those beautiful meringue tops. You can do this by placing the tartlets under a preheated grill (broiler) for a minute or two, watching them very carefully to prevent burning, until the peaks are lightly golden brown. Alternatively, if you have a kitchen torch, you can use that for a more controlled browning. Let the Daisy Lemon Meringue Pies cool completely before serving. They are best enjoyed the same day they are made for the crispiest pastry and the freshest filling. Enjoy these little rays of sunshine!
Conclusion:
You’ve now got the full scoop on creating your very own spectacular Daisy Lemon Meringue Pies! This recipe truly shines because of its delightful balance of tart, creamy lemon filling, nestled within a buttery, crisp crust, all crowned with a fluffy, cloud-like meringue that bakes to a perfect golden hue. It’s a dessert that’s both elegant enough for special occasions and wonderfully comforting for a sweet treat any day of the week. Imagin extracte the smiles when you present one of these beauties – they’re always a crowd-pleaser!
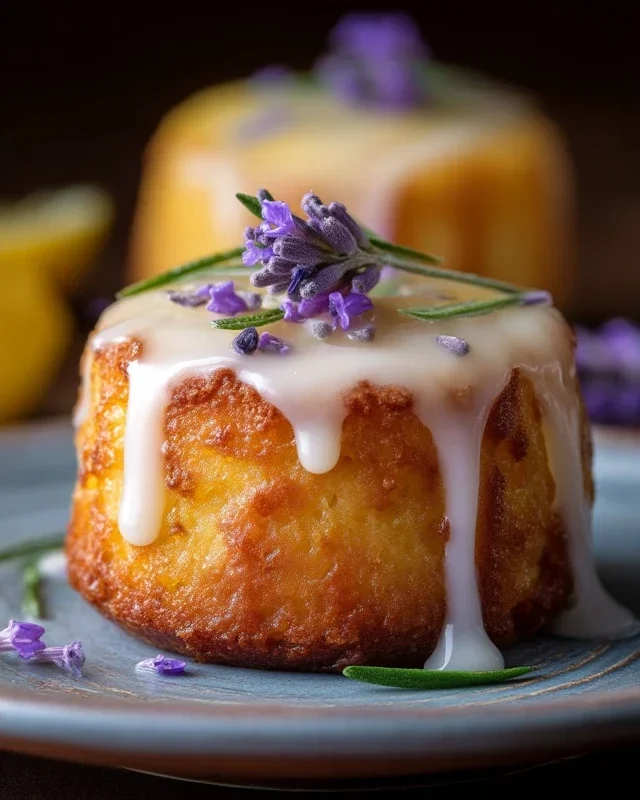
For serving, these pies are divine on their own, but a dusting of powdered sugar or a few fresh berries can add an extra touch of elegance. You can also serve individual slices alongside a scoop of vanilla bean ice cream for an extra decadent experience. Feeling adventurous? Consider adding a hint of lavender to your lemon filling for a unique floral twist, or try a chocolate crust for a richer flavor profile. Don’t be intimidated by the meringue; with these tips, you’ll achieve that perfect, glossy finish. I truly encourage you to give this Daisy Lemon Meringue Pie recipe a try. It’s a rewarding baking project that results in a truly unforgettable dessert!
Frequently Asked Questions:
What’s the best way to store leftover lemon meringue pie?
For the best meringue texture, it’s recommended to serve the pie the same day it’s made. However, if you have leftovers, cover them loosely with plastic wrap or a pie dome and refrigerate. The meringue may weep or become slightly sticky over time, but the filling and crust will remain delicious for 1-2 days.
Can I make the lemon filling ahead of time?
Yes, absolutely! You can prepare the lemon filling up to 2 days in advance and store it in an airtight container in the refrigerator. This can significantly cut down on the assembly time when you’re ready to bake your pies. Just make sure to gently rewarm it slightly before pouring it into your pre-baked crust to ensure a smooth texture.
My meringue is weeping. What did I do wrong?
Meringue weeping is often caused by undissolved sugar or too much moisture. Ensure your sugar is fully dissolved into the egg whites when whipping. Also, avoid opening the oven door frequently while the meringue bakes, as drafts can disrupt the delicate structure. Over-baking can also contribute to weeping. Keep an eye on the color and texture!
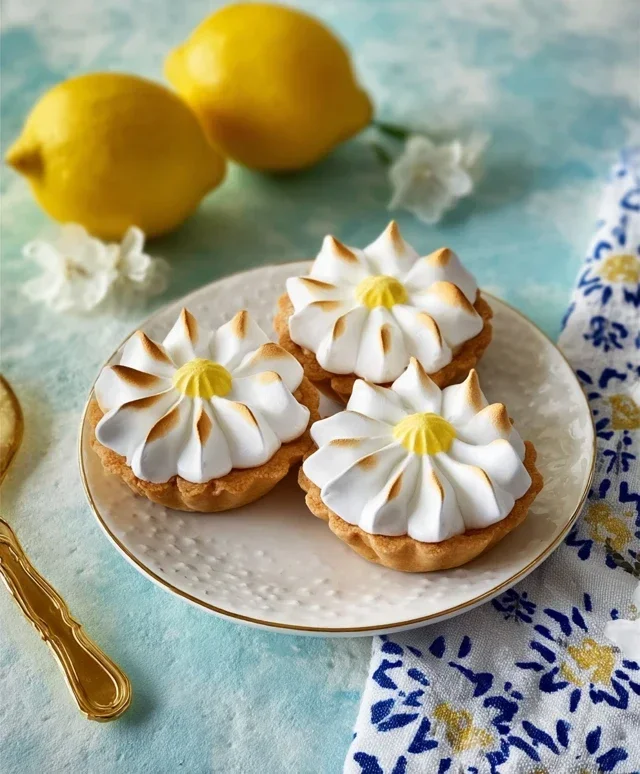
Daisy Lemon Meringue Pies
Individual tartlets with a crisp pastry base, zesty lemon filling, and a fluffy meringue topping, presented with a charming daisy-like swirl.
Ingredients
-
125g plain flour
-
35g icing sugar
-
60g cold unsalted butter, cubed
-
1 large egg yolk
-
1 tbsp water
-
200ml lemon juice (freshly squeezed)
-
150g caster sugar (for filling)
-
3 large egg whites (for meringue)
-
75g caster sugar (for meringue)
-
1 tsp cornflour (for filling)
Instructions
-
Step 1
For the pastry: Rub the butter into the flour and icing sugar until it resembles breadcrumbs. Stir in the egg yolk and water to form a dough. Wrap and chill for 30 minutes. -
Step 2
Preheat oven to 190°C (170°C fan/Gas Mark 5). Roll out the pastry and line 6 individual pie tins. Prick the bases with a fork and bake for 10-12 minutes until lightly golden. Let cool. -
Step 3
For the lemon filling: Whisk together lemon juice, 150g caster sugar, and cornflour in a saucepan. Heat gently, stirring, until thickened. Remove from heat and stir in the egg yolk. -
Step 4
Pour the lemon filling into the cooled pastry cases. -
Step 5
For the meringue: Whisk the egg whites until stiff peaks form. Gradually add the 75g caster sugar, whisking continuously until glossy and smooth. -
Step 6
Spoon or pipe the meringue over the lemon filling, ensuring it seals to the edges of the pastry. Create a daisy-like swirl pattern. -
Step 7
Bake in the preheated oven at 150°C (130°C fan/Gas Mark 2) for 15-20 minutes, or until the meringue is golden brown.
Important Information
Nutrition Facts (Per Serving)
It is important to consider this information as approximate and not to use it as definitive health advice.
Allergy Information
Please check ingredients for potential allergens and consult a health professional if in doubt.