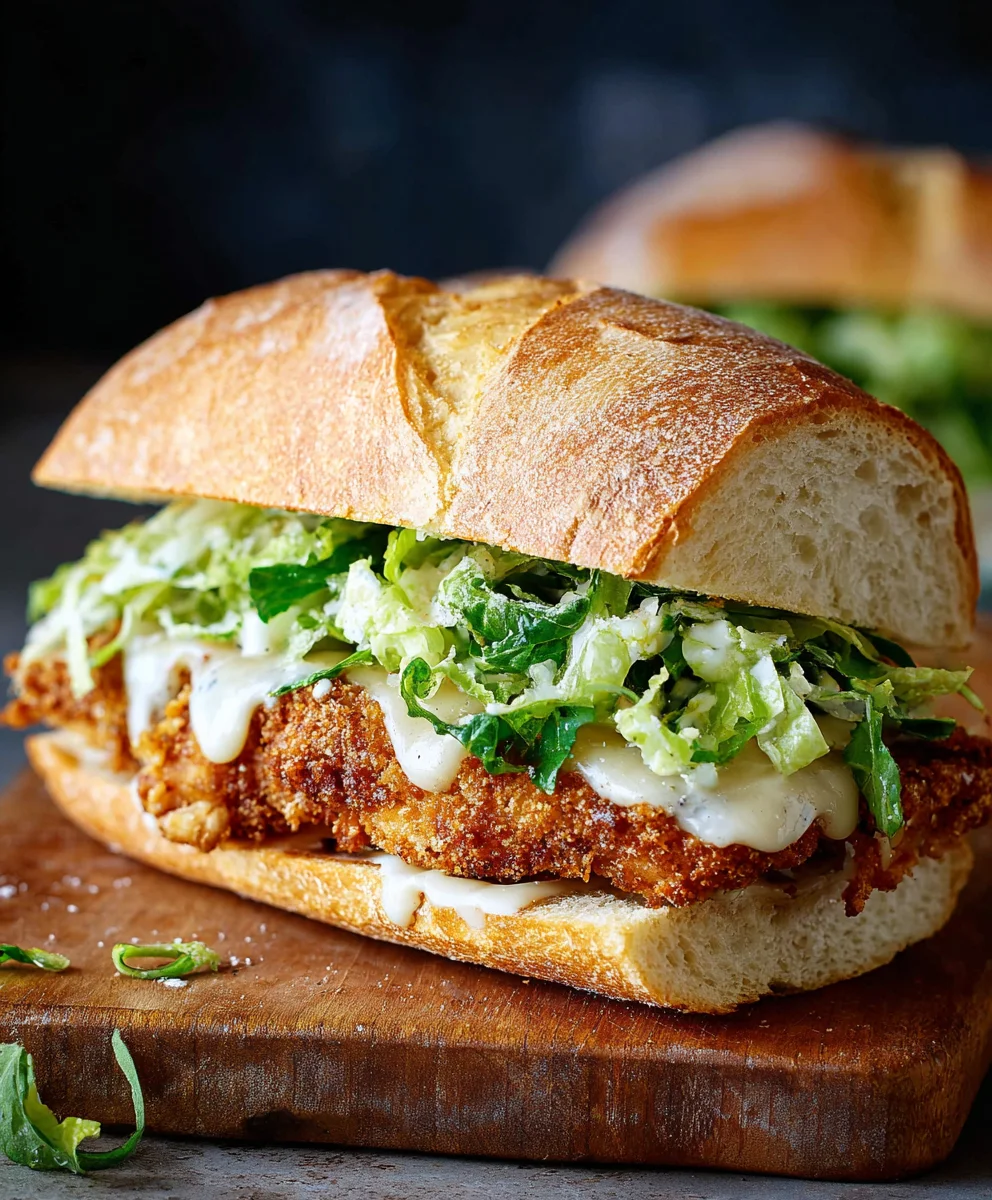
Crispy Chicken Caesar Sandwich – Best Flavor
Crispy Chicken Caesar Sandwich is more than just a meal; it’s a culinary hug, a symphony of textures and flavors that somehow manages to be both incredibly satisfying and surprisingly sophisticated. We all crave that perfect bite, don’t we? The kind where the crunch of perfectly fried chicken meets the creamy tang of Caesar dressing, all nestled between soft, toasted buns. It’s this irresistible combination that makes the Crispy Chicken Caesar Sandwich a perennial favorite for lunchboxes, quick dinners, and even elegant picnics. What truly elevates this classic from good to absolutely unforgettable is the careful balance of elements – the zesty dressing, the vibrant romaine lettuce, the salty Parmesan, and of course, the star of the show: that gloriously golden, shatteringly crisp chicken. Get ready to transform your weeknight meals with this sensational take on a beloved favorite.
Ingredients:
- ½ cup full-fat mayonnaise
- 3 tbsp Greek yogurt
- 1 tsp Dijon mustard
- 1 tsp Worcestershire sauce
- 2 tbsp lemon juice
- ¼ cup Parmesan cheese (freshly grated)
- 1-2 garlic cloves (minced)
- ¼ tsp black pepper
- Pinch sea salt
- 5 chicken cutlets (see note 1)
- Sea salt (to taste)
- Ground black pepper (to taste)
- Oil (for frying)
- ⅓ cup all-purpose flour
- ½ tsp salt
Preparing the Caesar Dressing
To begin extract crafting your magnificent Crispy Chicken Caesar Sandwich, let’s first focus on the heart of any great Caesar: the dressing. This homemade version is incredibly vibrant and far superior to anything you’ll find in a jar. In a medium bowl, combine the full-fat mayonnaise and the Greek yogurt. The combination of creamy mayonnaise and tangy yogurt provides a delightful balance. Next, whisk in the Dijon mustard for a subtle kick, and the Worcestershire sauce for a touch of umami depth. Squeeze in the fresh lemon juice; this is crucial for cutting through the richness and adding that characteristic brightness to the dressing. Now, add the freshly grated Parmesan cheese. Using good quality, real Parmesan cheese that you grate yourself will make a world of difference in flavor and texture. Stir in the minced garlic cloves – the fresher the garlic, the more potent the flavor, so adjust according to your preference. Finally, season with a quarter teaspoon of black pepper and a pinch of sea salt. Whisk everything together until it’s thoroughly combined and smooth. Taste and adjust seasoning if necessary. You might want a little more lemon for tang, or more salt and pepper. Once you’re happy with the flavor, cover the bowl and place it in the refrigerator to allow the flavors to meld while you prepare the chicken. This chilling step really helps to enhance the overall taste profile of the dressing.
Coating and Frying the Chicken
Now, let’s move on to the star of our sandwich: the crispy chicken cutlets. If your chicken cutlets are quite thick, you can gently pound them between two pieces of plastic wrap to an even thickness, about ½ inch. This ensures they cook through evenly and quickly. Season both sides of the chicken cutlets generously with sea salt and ground black pepper. Don’t be shy with the seasoning here; it’s the foundation of flavor for your chicken. In a shallow dish or a pie plate, whisk together the all-purpose flour, half a teaspoon of salt, and a bit more ground black pepper if you like. This seasoned flour will be gin extract dredging station. One by one, press each chicken cutlet into the seasoned flour, ensuring it’s fully coated on all sides. Gently shake off any excess flour. This light coating will help create a wonderfully crisp exterior when fried.
Heat a generous amount of oil in a large skillet over medium-high heat. You want enough oil to come about ½ inch up the sides of the pan. You can test if the oil is hot enough by dropping a tiny pinch of flour into it; if it sizzles immediately, it’s ready. Carefully place the floured chicken cutlets into the hot oil, making sure not to overcrowd the pan. You may need to cook them in batches. Fry for about 3-4 minutes per side, or until the chicken is golden brown and cooked through. The internal temperature should reach 165°F (74°C). Use tongs to carefully flip the chicken and ensure even browning. Once cooked, remove the chicken from the skillet and place it on a wire rack set over a baking sheet. This allows any excess oil to drain off, keeping the chicken beautifully crispy. If you don’t have a wire rack, you can place them on paper towels, but the wire rack is preferred for optimal crispiness.
Assembling the Sandwich
With our perfectly crispy chicken and our chilled, flavorful Caesar dressing ready, it’s time to assemble the ultimate Crispy Chicken Caesar Sandwich. You’ll want your favorite sandwich rolls or brioche buns for this. Toast them lightly if you desire an extra layer of texture and warmth. Now, take your crispy chicken cutlets. You can leave them whole or slice them if that’s your preference.
Spread a generous amount of the prepared Caesar dressing onto the bottom half of each toasted bun. Don’t be stingy with the dressing; it’s what brings all the flavors together. Place a crispy chicken cutlet (or slices) on top of the dressing. Now, for a touch of freshness and added Caesar classic elements, you can add some crisp romaine lettuce leaves on top of the chicken. If you like a little extra crunch and tang, a few thinly sliced red onions can be a fantastic addition, though they are optional. Finish by spreading a little more Caesar dressing on the top half of the bun, and then carefully place it on top of the sandwich. Press down gently to compact everything.
Serving Your Masterpiece
To truly elevate your Crispy Chicken Caesar Sandwich experience, consider a few finishing touches. A final sprinkle of grated Parmesan cheese over the top of the sandwich, or even a few extra crum extractbles of Parmesan on the chicken itself, can add another delightful cheesy dimension. For an even more authentic Caesar feel, you can even add a few toasted croutons directly into the sandwich before closing it up – this offers a fantastic textural contrast. This sandwich is best enjoyed immediately, while the chicken is still gloriously crisp and warm, and the bun is perfectly soft with the dressing melding into all the layers. Serve alongside some crispy fries or a fresh side salad for a complete and satisfying meal. The combination of the crunchy chicken, the tangy and creamy Caesar dressing, and the soft bun creates a symphony of textures and flavors that is truly irresistible. Every bite is a burst of savory, zesty, and satisfying goodness. Enjoy the fruits of your culinary labor!
Conclusion:
There you have it! The ultimate guide to crafting a truly delicious Crispy Chicken Caesar Sandwich. We’ve walked through the simple steps to achieve that perfectly golden-brown chicken, the creamy, tangy Caesar dressing, and the satisfying crunch of fresh romaine. This sandwich isn’t just a meal; it’s an experience. Whether you’re looking for a quick and satisfying lunch, a delightful dinner option, or something special to impress guests, the Crispy Chicken Caesar Sandwich delivers every time.
I encourage you to get creative with your own twists! This recipe is a fantastic base, and the possibilities for customization are endless. Don’t be afraid to experiment with different breads, cheeses, or even add a little spice to your dressing. Enjoy every bite of this classic reimagin extracted!
Frequently Asked Questions:
Q: What are some good serving suggestions for the Crispy Chicken Caesar Sandwich?
A: The Crispy Chicken Caesar Sandwich is fantastic on its own, but it also pairs wonderfully with classic sides like crispy french fries, sweet potato fries, or a light coleslaw. For a healthier option, a simple side salad with a vinaigrette or some roasted vegetables would be excellent.
Q: Can I make the components of the Crispy Chicken Caesar Sandwich ahead of time?
A: Absolutely! You can prepare the Caesar dressing a day or two in advance and store it in an airtight container in the refrigerator. The chicken can also be cooked and cooled, then stored separately and reheated just before assembling the sandwich to maintain its crispiness. However, it’s best to toast your bread and assemble the sandwich right before serving for the optimal texture.
Q: What variations can I try for the Crispy Chicken Caesar Sandwich?
A: For a different flavor profile, consider adding a sprinkle of Parmesan cheese directly onto the chicken before frying. You could also swap out the romaine for spinach or knon-alcoholic ale, or even add some crispy beef bacon for an extra layer of flavor and texture. Some people enjoy adding a few slices of avocado or tomato for a fresh element.
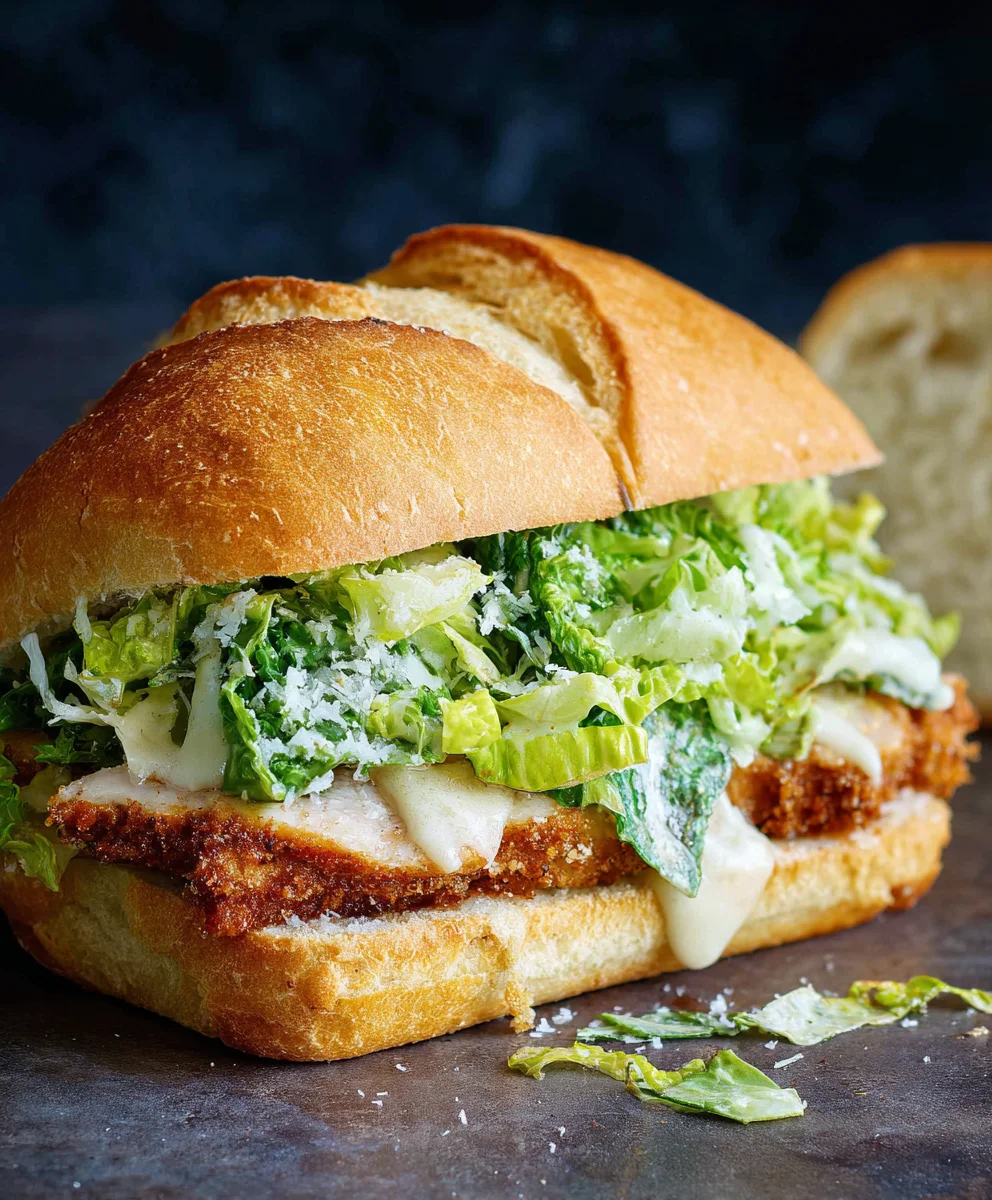
Crispy Chicken Caesar Sandwich – Best Flavor
A delicious and flavorful crispy chicken Caesar sandwich featuring a homemade Caesar dressing and perfectly fried chicken cutlets.
Ingredients
-
½ cup full-fat mayonnaise
-
3 tbsp Greek yogurt
-
1 tsp Dijon mustard
-
1 tsp Worcestershire sauce
-
2 tbsp lemon juice
-
¼ cup Parmesan cheese (freshly grated)
-
1-2 garlic cloves (minced)
-
¼ tsp black pepper
-
Pinch sea salt
-
5 chicken cutlets
-
Sea salt (to taste)
-
Ground black pepper (to taste)
-
Oil (for frying)
-
⅓ cup all-purpose flour
-
½ tsp salt
Instructions
-
Step 1
Prepare the Caesar dressing: In a medium bowl, combine mayonnaise, Greek yogurt, Dijon mustard, Worcestershire sauce, lemon juice, grated Parmesan cheese, minced garlic, black pepper, and sea salt. Whisk until smooth. Cover and refrigerate. -
Step 2
Prepare the chicken: Pound chicken cutlets to an even thickness if necessary. Season both sides generously with sea salt and ground black pepper. In a shallow dish, whisk together all-purpose flour, ½ tsp salt, and black pepper. -
Step 3
Coat the chicken: Press each chicken cutlet into the seasoned flour, ensuring it’s fully coated. Shake off excess flour. -
Step 4
Fry the chicken: Heat oil in a large skillet over medium-high heat. Carefully place floured chicken cutlets into the hot oil (cook in batches if needed). Fry for 3-4 minutes per side, until golden brown and cooked through (internal temperature 165°F/74°C). Drain on a wire rack. -
Step 5
Assemble the sandwich: Spread a generous amount of Caesar dressing on the bottom half of toasted sandwich rolls or brioche buns. Place a crispy chicken cutlet on top. Add optional romaine lettuce and red onion. -
Step 6
Finish assembly: Spread more Caesar dressing on the top half of the bun and place it on top of the sandwich. Press gently. -
Step 7
Serve: Enjoy immediately. Optional additions include a sprinkle of Parmesan cheese or toasted croutons. Serve with fries or a side salad.
Important Information
Nutrition Facts (Per Serving)
It is important to consider this information as approximate and not to use it as definitive health advice.
Allergy Information
Please check ingredients for potential allergens and consult a health professional if in doubt.